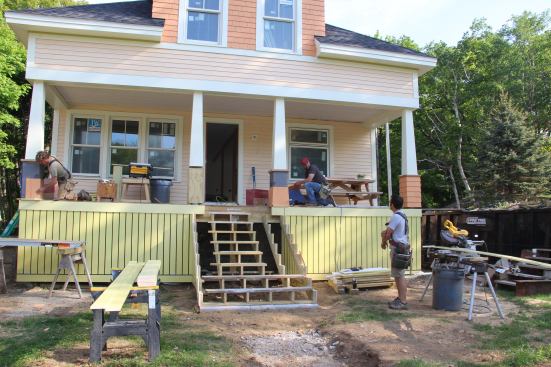
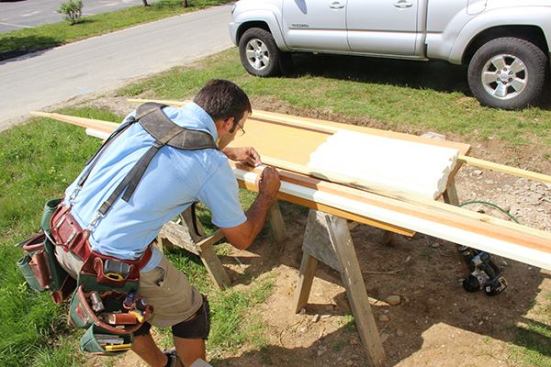
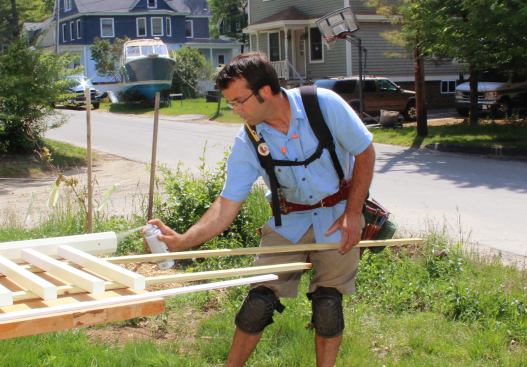
Mark Pollard, Shane Fenton, and Dale Cunningham work on porch st…
Mark Pollard, Shane Fenton, and Dale Cunningham work on porch stairs and columns in May.
Ted Cushman
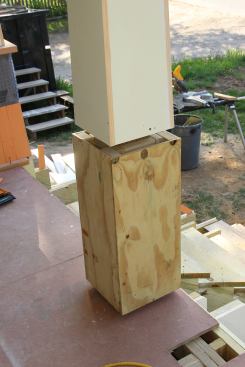
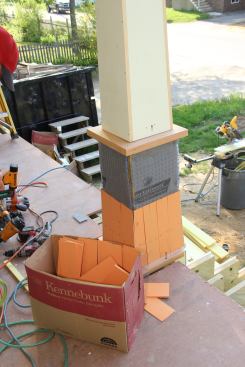
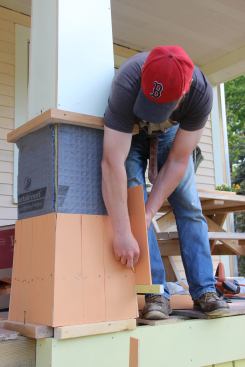
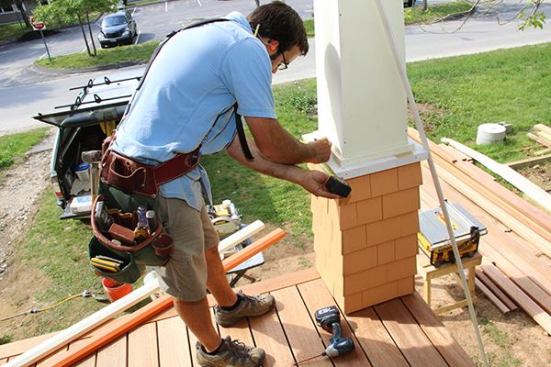
The base of the porch columns are boxed out with treated 2×4 blo…
The base of the porch columns are boxed out with treated 2×4 blocking and treated plywood.
Ted Cushman
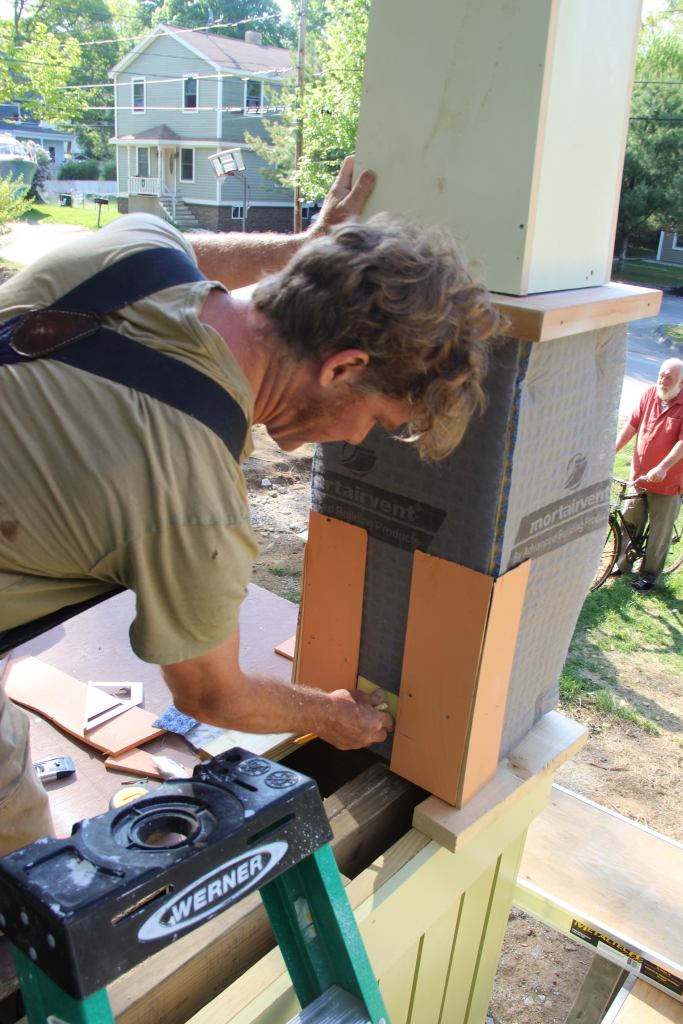
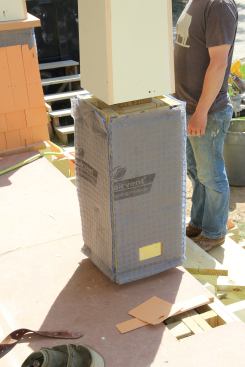
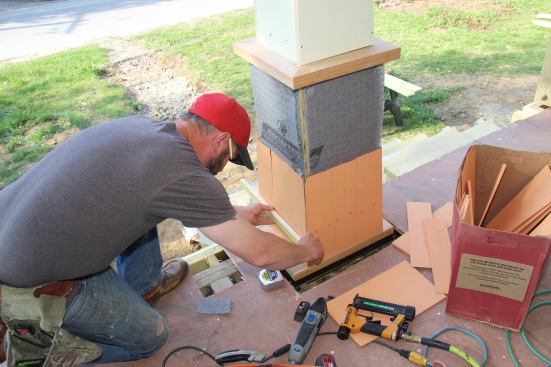
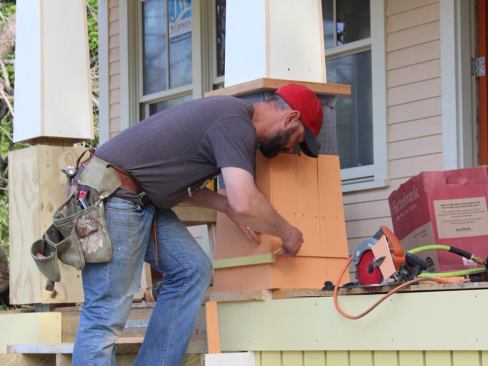
The crew wrapped the post bases with the same MortairVent rainsc…
The crew wrapped the post bases with the same MortairVent rainscreen fabric that was used under wood shingles in the upper stories. The fabric creates an air space that promotes drying for the pre-primed shingles and extends the service life of the paint job.
Ted Cushman
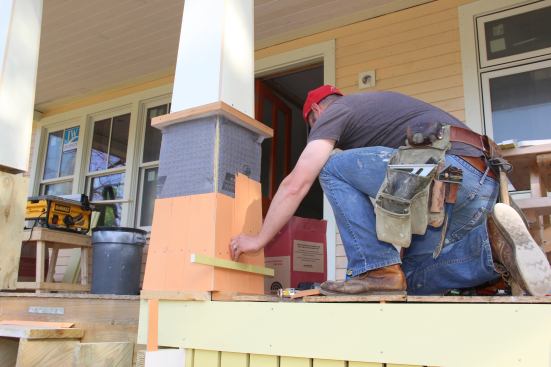
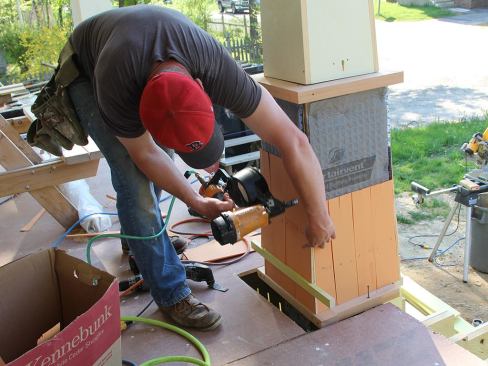
Here, a course of shingles has been nailed on over the MortairVe…
Here, a course of shingles has been nailed on over the MortairVent and a plinth, or "shingle base cap," as the crew terms it, has been applied at mid height.
Ted Cushman
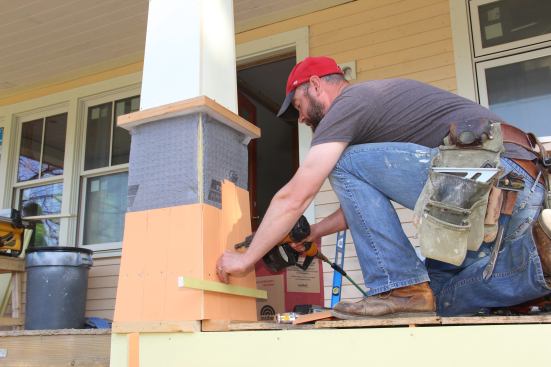
Shane Fenton tacks on a strip to set the location for his next c…
Shane Fenton tacks on a strip to set the location for his next course of pre-primed cedar shingles.
Ted Cushman
Fenton sets a cedar shingle in place on the post.
Ted Cushman
Fenton attaches a shingle using stainless steel staples.
Ted Cushman
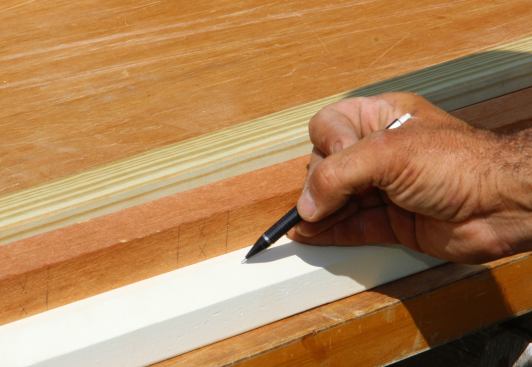
Fenton holds a shingle in place on the post and scribes the back…
Fenton holds a shingle in place on the post and scribes the back side for a taper cut.
Ted Cushman
Fenton cuts his scribed line for the taper on his next shingle.
Ted Cushman
After nailing a corner shingle, Fenton fine-tunes the edge with …
After nailing a corner shingle, Fenton fine-tunes the edge with a razor knife.
Ted Cushman
Scribing another corner shingle in place.
Ted Cushman
Fenton staples on another course of shingles as he works up the …
Fenton staples on another course of shingles as he works up the column.
Ted Cushman
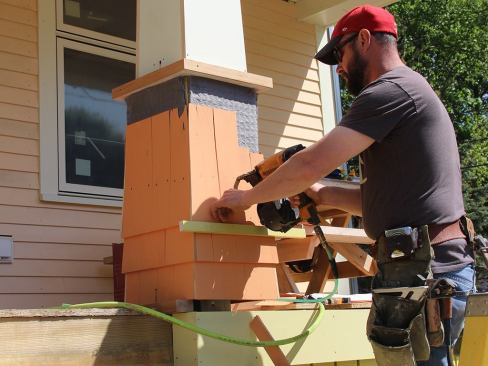
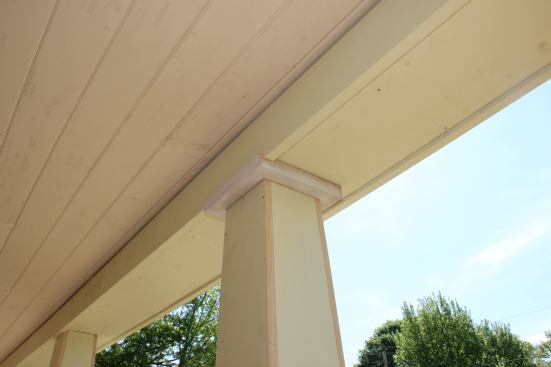
To help visually unify the home's front facade, the shingles on …
To help visually unify the home's front facade, the shingles on the porch post bases echo the shade of the shingles on the dormers above.
Ted Cushman
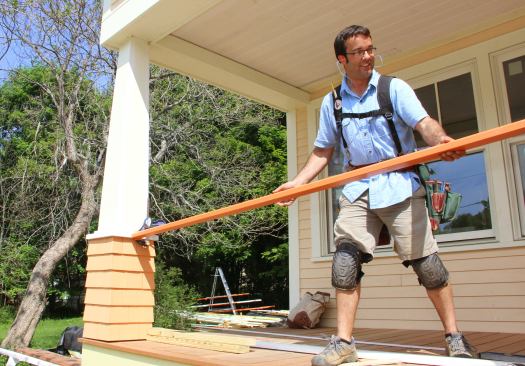
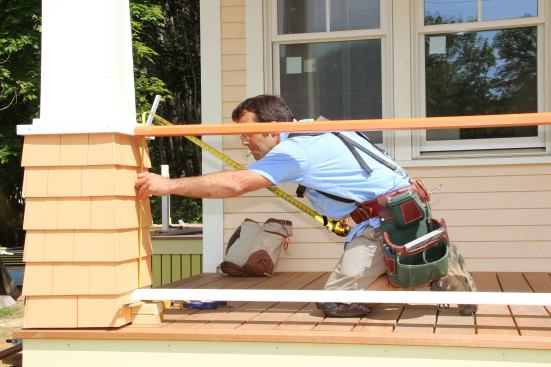
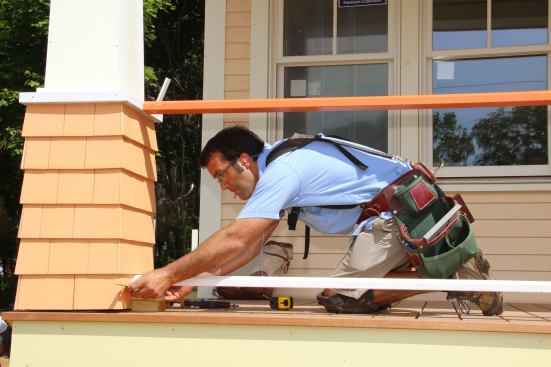
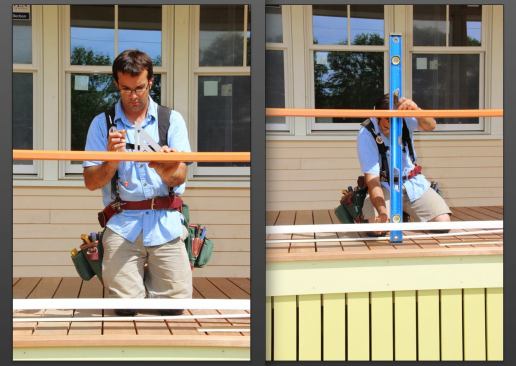
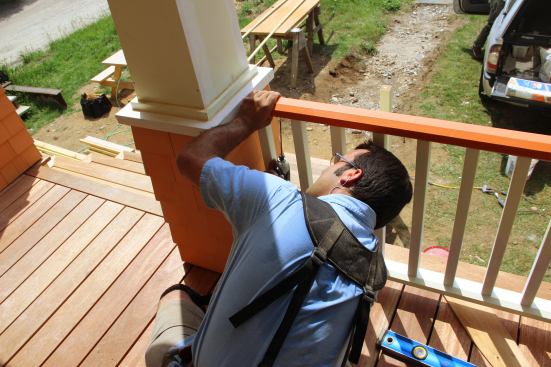
The location of the porch top was dictated by structural conside…
The location of the porch top was dictated by structural considerations. Here, the crew is experimenting with a trim solution for the upper termination of the columns, which was ultimately rejected in favor of an untrimmed column top.
Ted Cushman
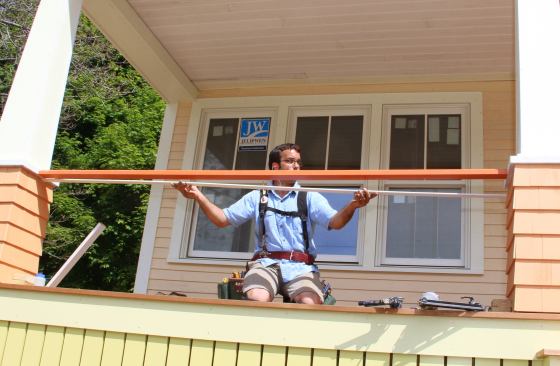
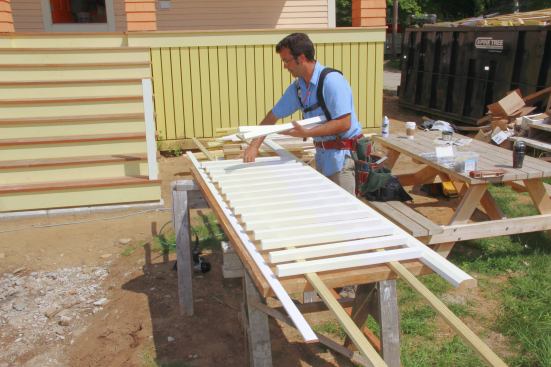
With the columns wrapped and ready, Mark Pollard makes a layout …
With the columns wrapped and ready, Mark Pollard makes a layout mark for a railing at the center of the post.
Ted Cushman
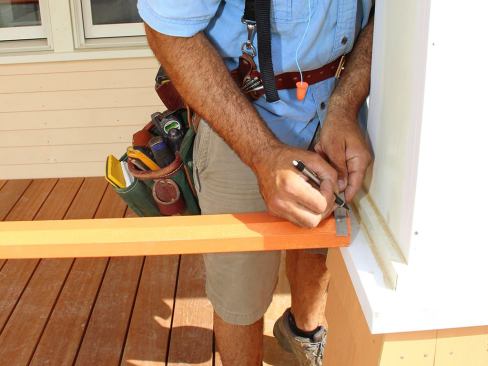
Pollard marks a railing end in place before cutting the piece to…
Pollard marks a railing end in place before cutting the piece to fit.
Ted Cushman
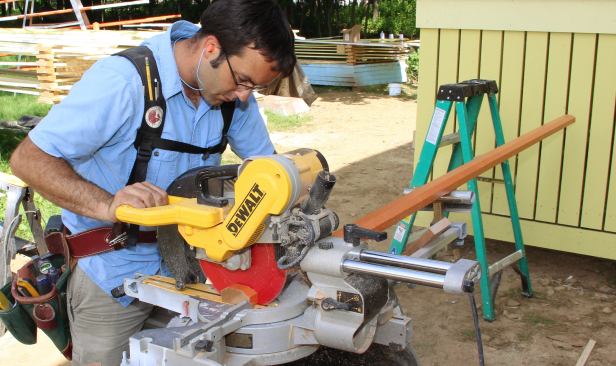
Cutting the pre-primed clear red cedar railing to fit on the rad…
Cutting the pre-primed clear red cedar railing to fit on the radial-arm miter saw.
Ted Cushman
Pollard sets the top rail in place.
Ted Cushman
Pollard holds a top sub-rail in place before marking it and cutt…
Pollard holds a top sub-rail in place before marking it and cutting it to length. This piece will be used to build the baluster assembly and fasten it in place.
Ted Cushman
Pollard test-fits the bottom rail.
Ted Cushman
Pollard shims one end of the bottom rail to the correct height.
Ted Cushman
Pollard checks the distance between top and bottom rails.
Ted Cushman
Shimming the bottom rail to the correct height. Balusters are al…
Shimming the bottom rail to the correct height. Balusters are already pre-cut to length.
Ted Cushman
Holding the sub-top-rail in place to check the fit.
Ted Cushman
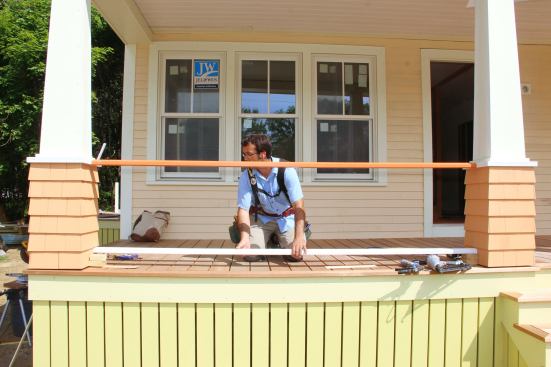
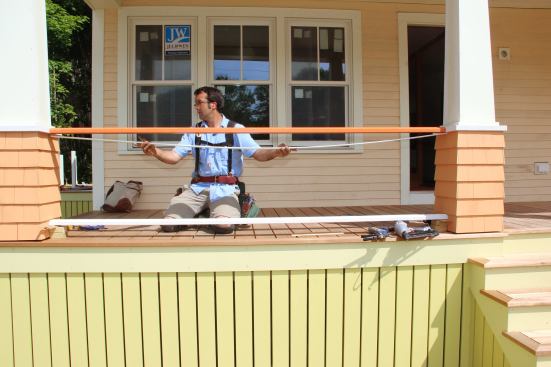
Pollard measures the distance from post to post in order to dete…
Pollard measures the distance from post to post in order to determine where mark the center of the opening on the ralis for his baluster layout.
Ted Cushman
Marking the center of the span from post to post.
Ted Cushman
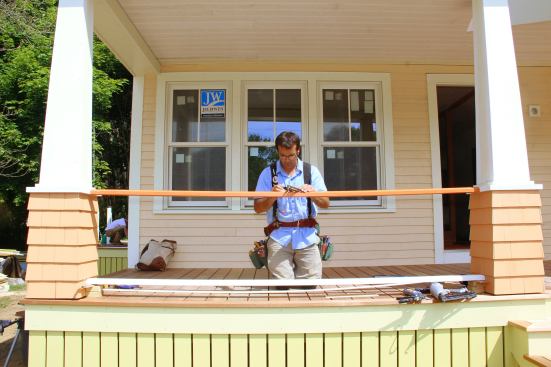
Pollard makes a layout mark at the center of the top rail (left)…
Pollard makes a layout mark at the center of the top rail (left) and transfers the mark onto the bottom rail (right).
Ted Cushman
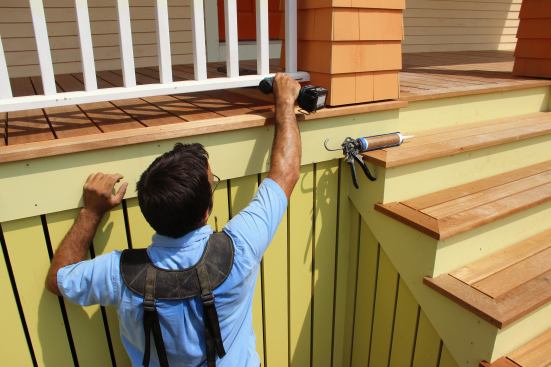
Pollard pre-primes the cut end of the upper rail before attachin…
Pollard pre-primes the cut end of the upper rail before attaching it to the column.
Ted Cushman
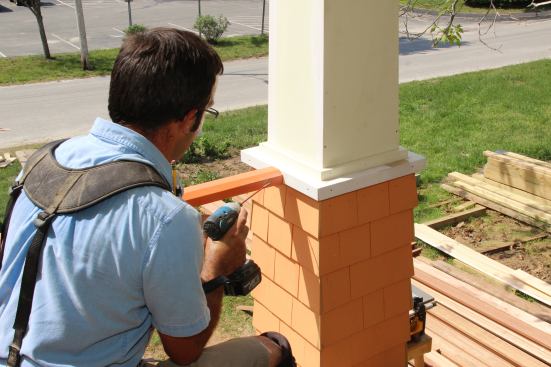
Attaching the railing to the porch column using #8 3-inch stainl…
Attaching the railing to the porch column using #8 3-inch stainless steel screws.
Ted Cushman
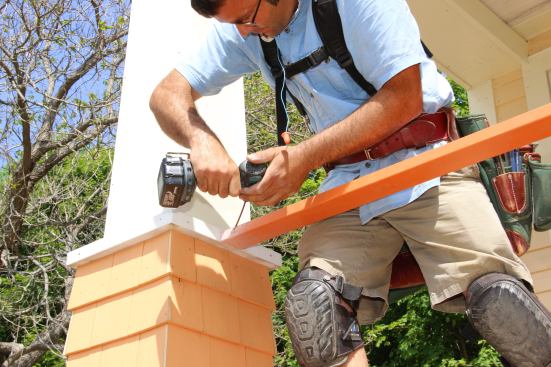
Pollard drives a 3-inch screw to fasten the top rail to the porc…
Pollard drives a 3-inch screw to fasten the top rail to the porch column.
Ted Cushman
Pollard transfers layout marks from a template onto the porch ra…
Pollard transfers layout marks from a template onto the porch railing, establishing a three-and-three-quarter-inch space between balusters as required by code.
Ted Cushman
Ted Cushman
Ted Cushman
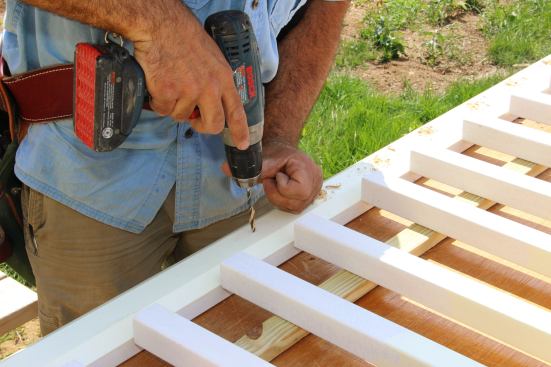
Pre-drilling screw holes at the pre-determined spacing for faste…
Pre-drilling screw holes at the pre-determined spacing for fastening balusters to the bottom rail.
Ted Cushman
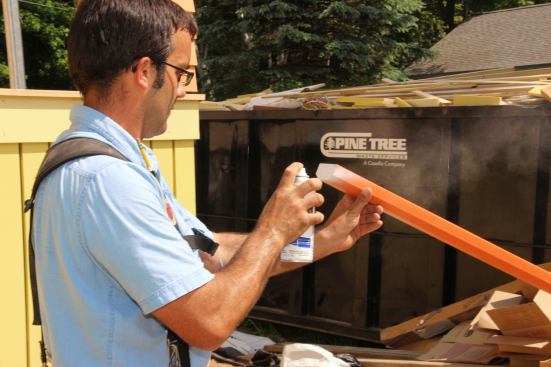
Pollard primes the cut end of the lower railing with spray prime…
Pollard primes the cut end of the lower railing with spray primer.
Ted Cushman
Pollard sets screws into his pre-drilled holes in the bottom rai…
Pollard sets screws into his pre-drilled holes in the bottom rail.
Ted Cushman
Pollard works his way along the bottom rail, setting a screw thr…
Pollard works his way along the bottom rail, setting a screw through the pre-drilled hole into the end of each baluster.
Ted Cushman
Pollard pins the top ends of the balusters to the sub-top-rail w…
Pollard pins the top ends of the balusters to the sub-top-rail with three 15-gauge stainless steel nails.
Ted Cushman
Pollard pre-sets stainless steel #7 1.5-inch screws into the sub…
Pollard pre-sets stainless steel #7 1.5-inch screws into the sub-top-rail in preparation for attaching the baluster and rail assembly to the already placed top rail.
Ted Cushman
Pollard pre-sets #8 three-inch screws in the bottom rail as he g…
Pollard pre-sets #8 three-inch screws in the bottom rail as he gets ready to install the baluster and rail section between the porch columns.
Ted Cushman
Pollard carries the rail assembly into position between the porc…
Pollard carries the rail assembly into position between the porch columns.
Ted Cushman
Pollard shims the lower rail and baluster assembly up tight agai…
Pollard shims the lower rail and baluster assembly up tight against the already-positioned upper rail.
Ted Cushman
Screwing from below, Pollard fastens the railing assembly throug…
Screwing from below, Pollard fastens the railing assembly through the sub-top-rail into the upper railing using his pre-placed stainless steel #7 1.5-inch screws.
Ted Cushman
Pollard screws up into the top rail through the sub-top-rail to …
Pollard screws up into the top rail through the sub-top-rail to fasten the baluster assembly in place.
Ted Cushman
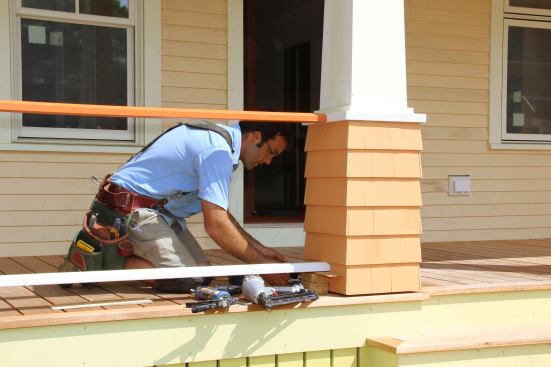
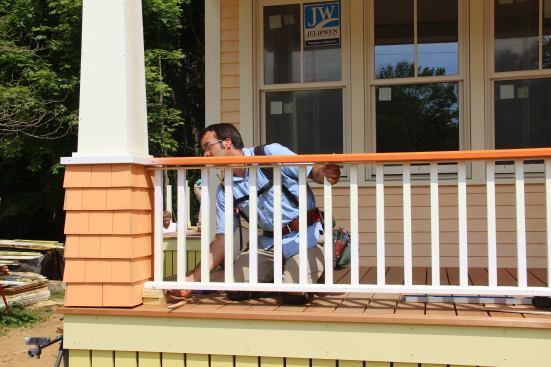
Fastening the lower rail to the column using three-inch #8 stain…
Fastening the lower rail to the column using three-inch #8 stainless steel screws.
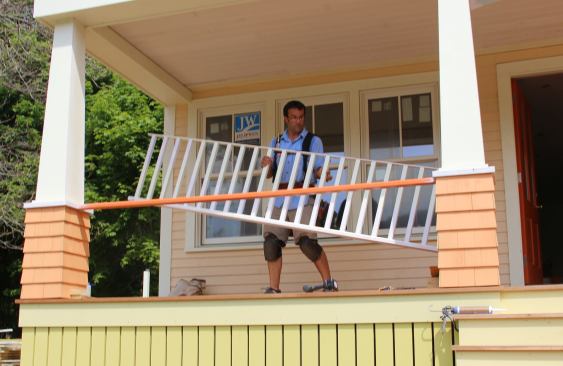
JLC’s Coastal Connection has been following a bottom-up gut/rehab project on Peaks Island in the Portland, Maine, harbor for six months. At this point, the crew is working outside in perfect June weather to apply finishing touches—including the porch column wrap and railing install we’re showing you here (see slideshow).
The client, graphic designer Will Crosby, has played a major design role in this part of the job, consulting with island architect Rachel Conly and the Thompson Johnson Woodworking crew on shapes and color schemes. Now it’s up to the crew to bring that vision to life.
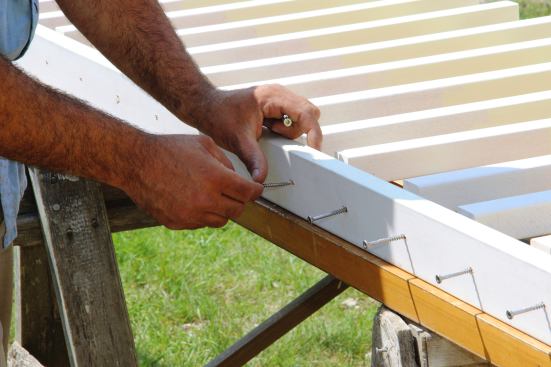
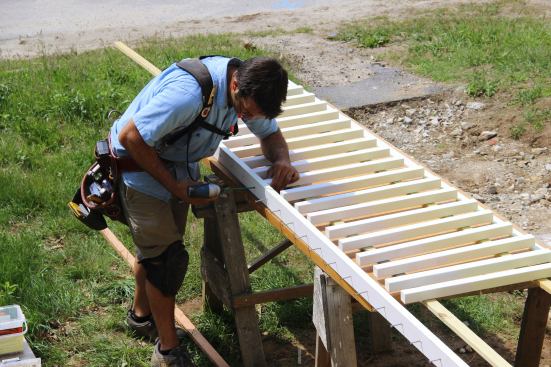
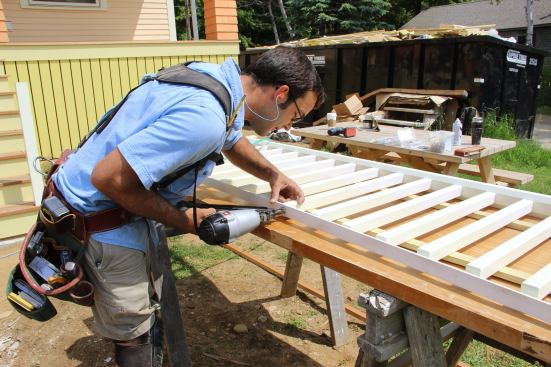
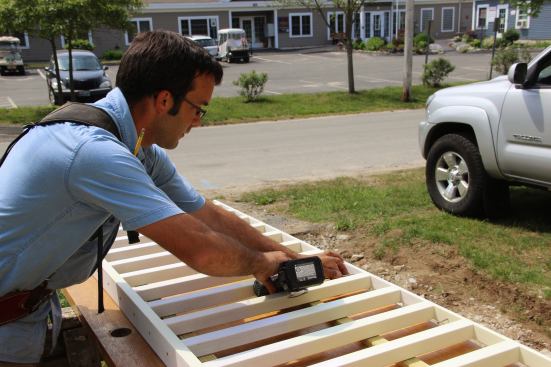
Starting with the 6×6 structural porch posts (which support an occupied space above), the crew built a tapered upper section on each column. The sides of the tapered column were ripped to the required taper using a track saw, and joined into a box using stainless steel trim-head screws. At the top of each column, the inside dimension of the tapered box is 1/8 inch larger than the pressure-treated wood post, to allow for seasonal movement of the wood. At the bottoms, only two faces of the tapered wrap are fastened to treated-wood blocking (on the railing faces of the columns)—again, to allow for movement.
The porch bases are boxed out with 1/2-inch pressure-treated plywood over pressure-treated 2-by blocking. The blocking wraps each post at the top and bottom of the lower section, and then four vertical 2×4 nailers are installed, connecting the upper and lower blocking, to serve as nailing for the plywood box.
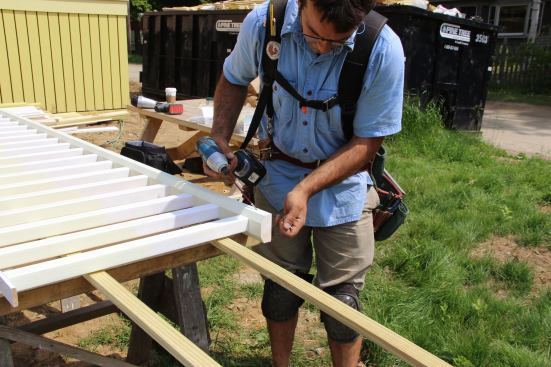
The lower sections of the columns are clad with pre-primed and pre-painted white cedar shingles, fastened with stainless steel staples over MortairVent rainscreen fabric, which will promote drying of the wood and prolong the service life of the shingles and the paint job. Before installing the shingles, the crew set solid blocking at predetermined locations to provide solid nailing for the lower porch rails (below). See the slideshow for a step-by-step look at the shingling and rail installation processes.