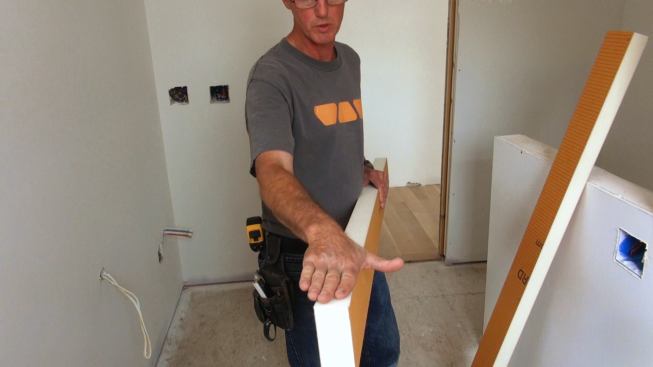
Tile contractor Tom Boucher with a two-inch-thick piece of Kerdi…
Tile contractor Tom Boucher with a two-inch-thick piece of Kerdi-Board. The board has an extruded polystyrene core and is faced with polyethylene membrane with a fleecy surface that is able to bond with mortar. Boucher has ripped the piece on a bevel, which will create a slope for drainage when the shower curb is topped with a piece of marble.
Ted Cushman/JLC
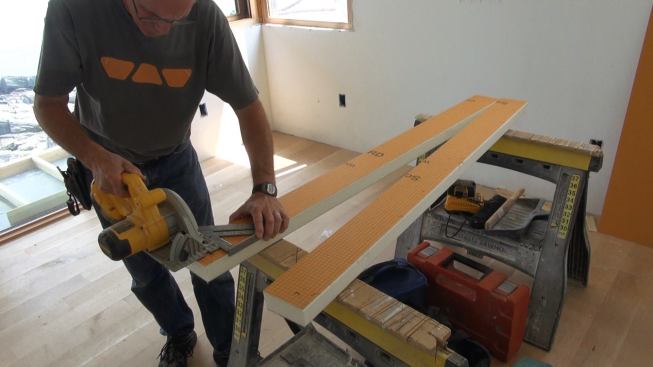
Boucher cuts two matching pieces of Kerdi-Board to length with a…
Boucher cuts two matching pieces of Kerdi-Board to length with a circular saw. The two pieces will be laminated face to face using cementitious mortar to create the shower curb.
Ted Cushman/JLC
Boucher works mortar into the faces of the Kerdi-Board pieces. P…
Boucher works mortar into the faces of the Kerdi-Board pieces. Pressing the mortar into the Kerdi-Board is important for achieving a good bond. Once the mortar sets up and cures, separating the pieces will be virtually impossible.
Ted Cushman/JLC
With both matching Kerdi-Board faces pre-coated with mortar, Bou…
With both matching Kerdi-Board faces pre-coated with mortar, Boucher adds more mortar to one of the faces and tools it to the proper depth using a special Kerdi trowel with one-eighth-inch notches.
Ted Cushman/JLC
Boucher lays the mortar-covered Kerdi-Board pieces together.
Ted Cushman/JLC
Boucher presses the two Kerdi-Board pieces together to create a …
Boucher presses the two Kerdi-Board pieces together to create a good mortar bond at the lamination joint.
Ted Cushman/JLC
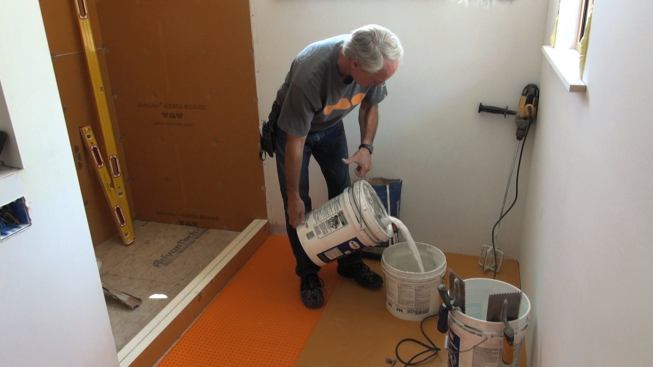
Boucher used unmodified mortar to join the two pieces of the cur…
Boucher used unmodified mortar to join the two pieces of the curb together. Here, he mixes up a small batch of modified mortar, using latex additive, for adhering the curb to the engineered wood panel subflooring. Unmodified mortar is used whenever impervious layers are laminated together; modified mortar is used when the wet mortar will have the ability to dry by evaporation or absorption (in this example, over the Advantech subfloor).
Ted Cushman/JLC
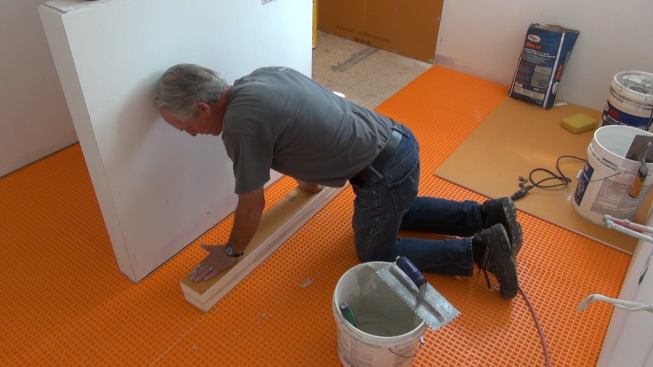
Boucher applies mortar to the subfloor in preparation for instal…
Boucher applies mortar to the subfloor in preparation for installing the Kerdi-Board curb.
Ted Cushman/JLC
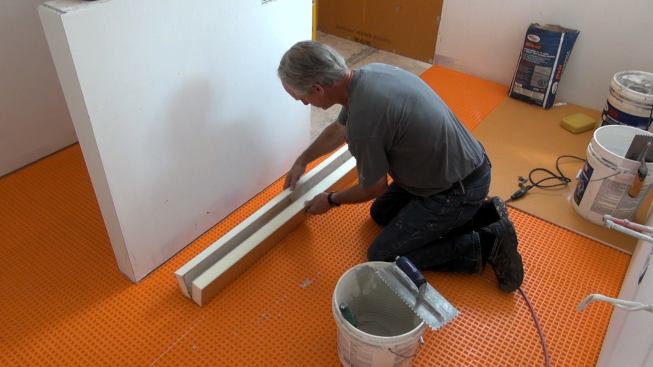
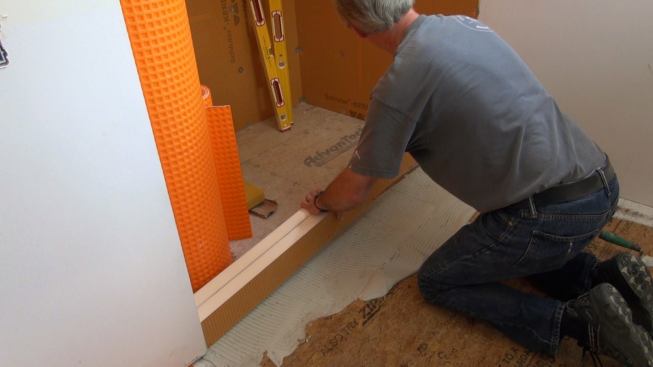
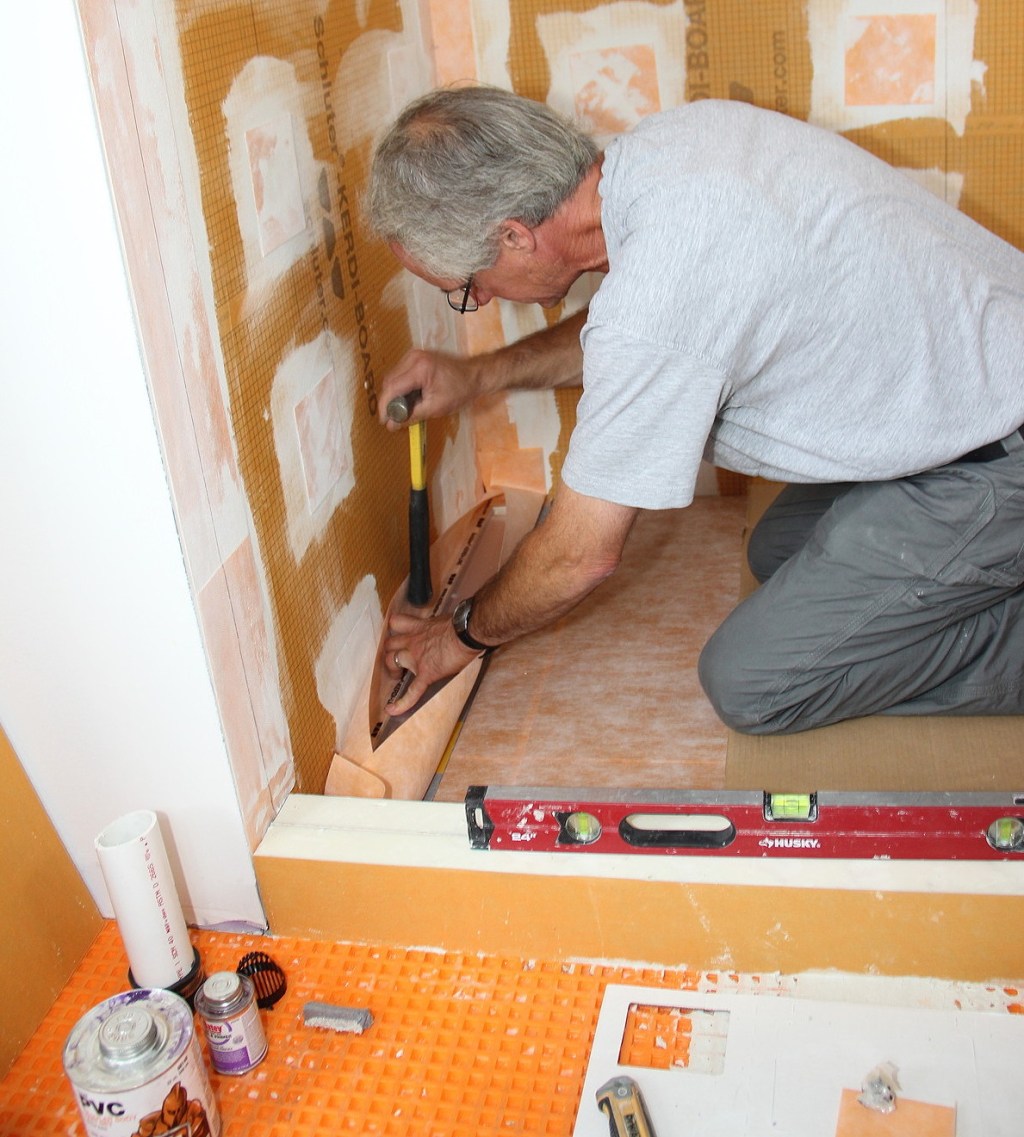
Boucher presses the laminated Kerdi-Board curb down into the mor…
Boucher presses the laminated Kerdi-Board curb down into the mortar bed. Once the cement sets and cures, the curb will be solidly attached.
Ted Cushman/JLC
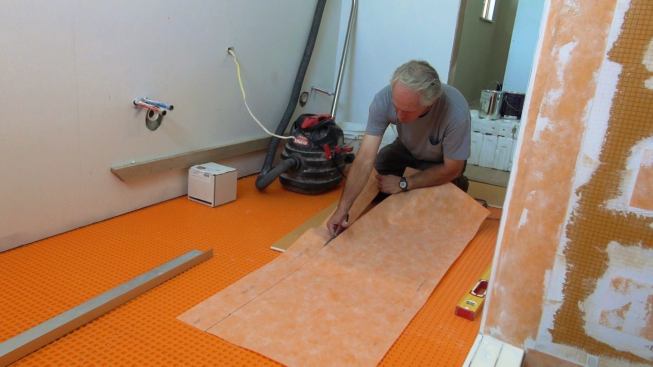
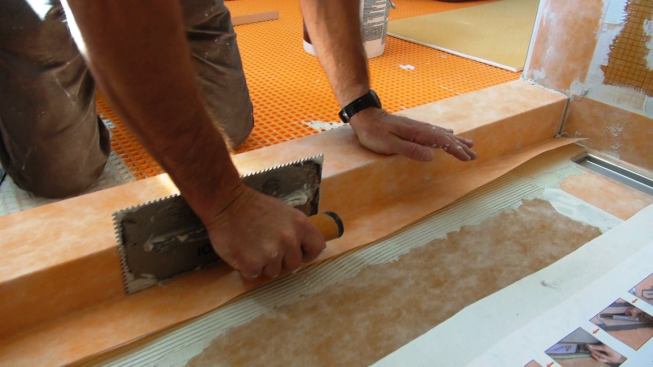
Boucher cuts Kerdi membrane to width before adhering it to the b…
Boucher cuts Kerdi membrane to width before adhering it to the built-up curb. The membrane will be layered onto a mortar bed over the curb to create a waterproof substrate for tile.
Ted Cushman/JLC
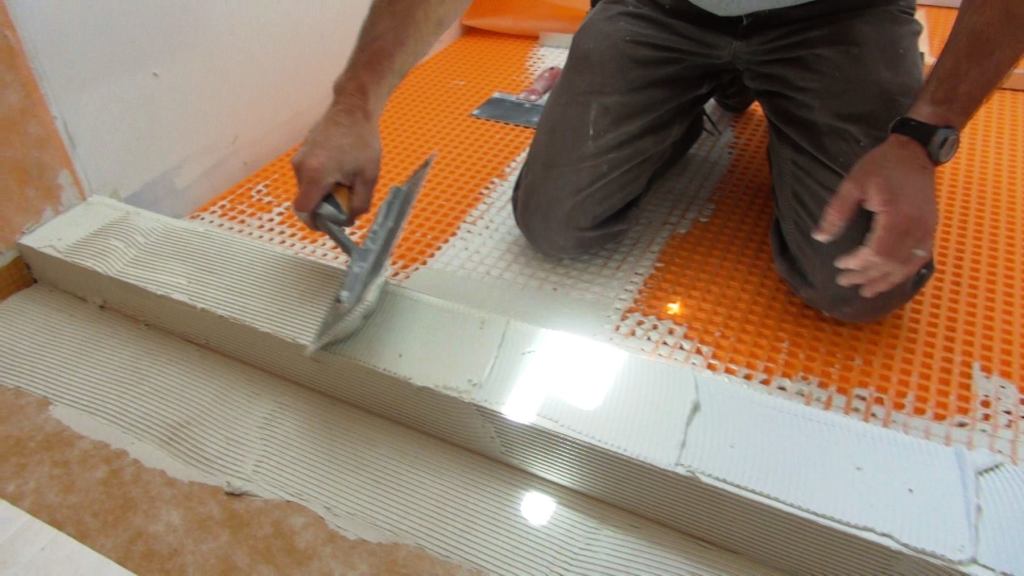
Boucher applies mortar to the polyethylene face of the Kerdi-Boa…
Boucher applies mortar to the polyethylene face of the Kerdi-Board curb.
Ted Cushman/JLC
Boucher applies mortar to the inside face of the curb. As in eve…
Boucher applies mortar to the inside face of the curb. As in every situation, the first step is to work the mortar thoroughly into the surface that's being prepared, to ensure a good bond.
Ted Cushman/JLC
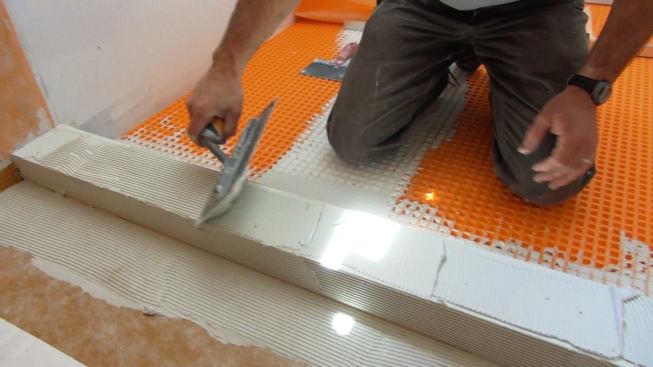
Boucher applies mortar to the previously installed sloped shower…
Boucher applies mortar to the previously installed sloped shower base (the installation of the shower base and drain is not shown here, but is covered in a different slideshow).
Ted Cushman/JLC
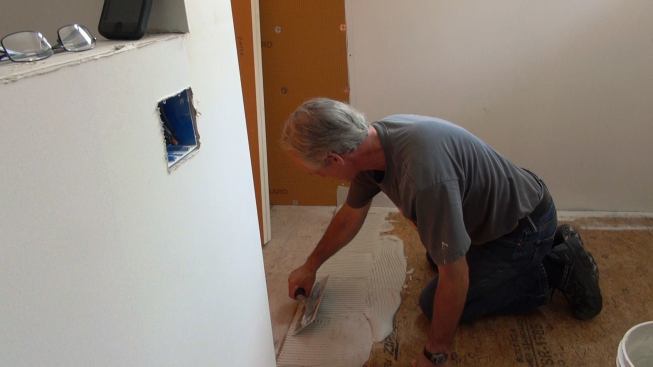
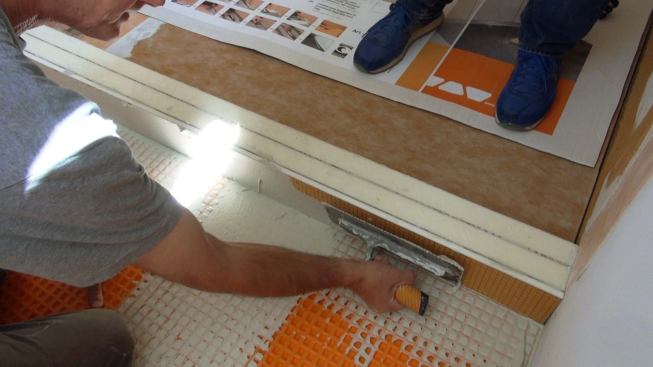
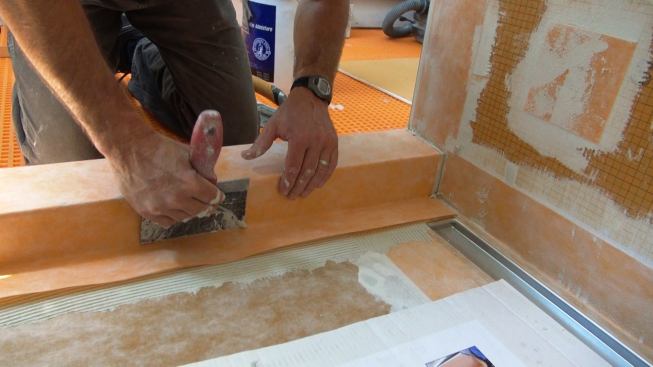
Boucher tools one-eighth-inch grooves into the mortar bed using …
Boucher tools one-eighth-inch grooves into the mortar bed using a special Kerdi trowel. Applying a consistent, uniform, measured amount of mortar to the substrate before installing the membrane is one of the keys to success for the system.
Ted Cushman/JLC
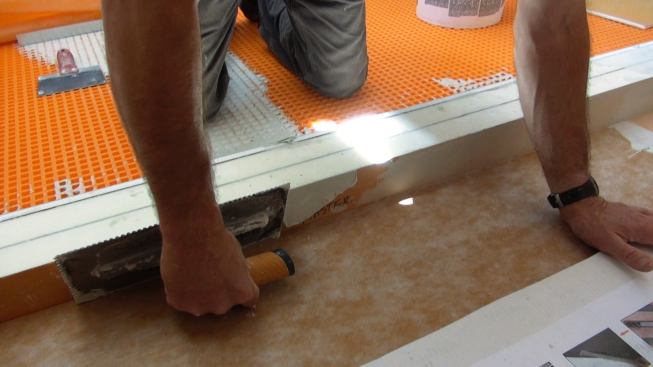
Boucher presses the membrane down into the mortar using a float,…
Boucher presses the membrane down into the mortar using a float, to create a firm, positive bond.
Ted Cushman/JLC
Boucher works the membrane into solid contact with the mortar us…
Boucher works the membrane into solid contact with the mortar using his six-inch spackle knife.
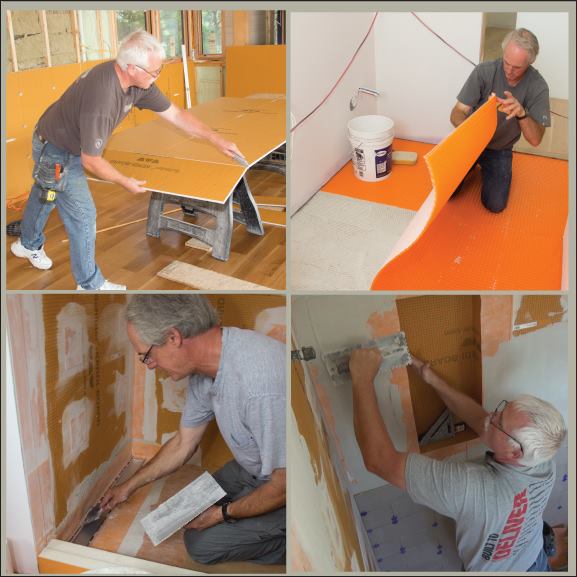
In July, JLC spent some time on site with tile contractor Tom Bouchard and fellow tile pro Bob Vedder as they prepped and tiled two bathrooms in a custom house under construction by architect and builder Caleb Johnson on the rocky shore of Maine’s Casco Bay. This week, we take a look at one step in the job: building the shower curb and getting it ready for tile.
The job is simpler than it used to be, says Tom Boucher. In the old days he would build up the curb using sawn lumber, then cover it with cement board. These days, he uses components from the Schluter Kerdi system, as shown below: he cuts pieces to fit the opening from Schluter Kerdi-Board, mortars the boards together to build up the curb, covers the rough curb with a measured amount of mortar, and applies Kerdi membrane over the fresh mud to integrate the waterproof curb into the continuous waterproof shower enclosure. Once the Kerdi-Board shower walls, floor, drain, and curb are all sealed at the joints with mortar and Kerdi membrane, says Boucher, “you could turn the shower on, and nothing would leak.” For a more detailed look at the curb construction and waterproofing process, see the slideshow.
Building the curb for a tile shower is quicker and simpler using Schluter Kerdi-Board and Kerdi waterproof membrane. Kennebunk, Maine, tile pro Tom Boucher shows how it’s done.