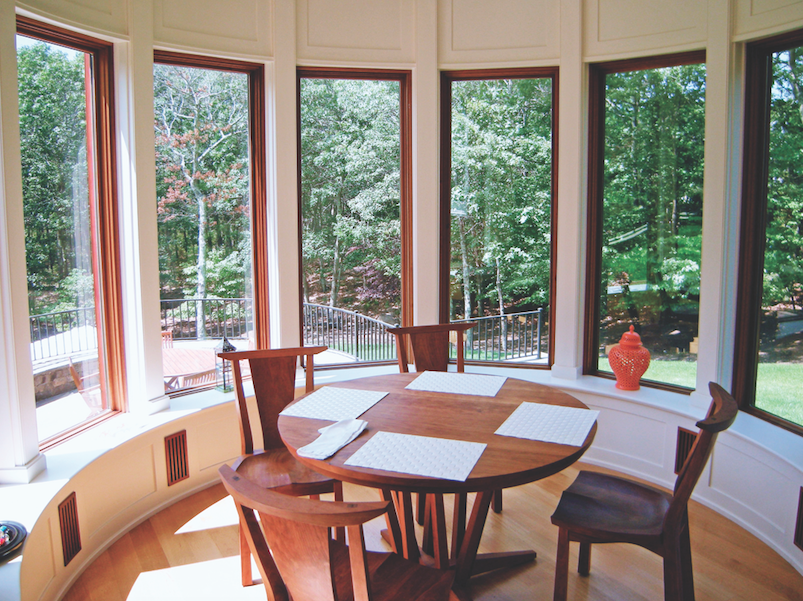
I have specialized in custom millwork and cabinets for 45 years. Every few years, I get a call to come to a remolding jobsite for one special reason: Most of the trim has been completed except in a curved room or bay window. The circular breakfast room pictured here is a tower addition on an East Hampton, N.Y., beach house. “I got you,” I tell the GC. Then I make templates for each radius (in the case of this tapered tower room) and return in a week with the panels for the GC and trim carpenter to install.
To accurately execute a curved stile and rail panel system, there are two difficult problems to overcome: making a curved rail with a curved rabbet and making a curved panel. I make the curved rails by bending five ¼-inch-thick laminations over a shop-made MDF form. I rip four outer laminations to the thickness of my rail (4 inches) and the center one to 3½ inches. After glue-up, I have a perfect ¼- by ½-inch curved rabbet to accept standard ¼-inch plywood. And that holds the secret of the curved panel: Most ¼-inch plywood has three plies that will bend into the radius of most bay windows or curved rooms. Bending the panel and working it into the curved rabbet creates a drum effect that keeps the panel rigid. The HVAC covers shown here were made from flat stock. The window sill was cut from wide stock with a jigsaw and trimmed with a router.
Curved trim and paneling does take more time than flat work, but it’s just as accurate to estimate, if you follow a standard method.