Fastening
Fasteners are critical to the longevity of any siding job. Cheap nails often rust prematurely, leaving unsightly streaks or rusting away completely. For a quality installation:
- Always use nails, not staples.
- When blind nailing, use double-hot-dipped galvanized ring-shank nails.
- For exposed fasteners, use stainless-steel ring-shank nails.
- Nails should be long enough to penetrate the framing by at least 1 1/2 in:
- Nail from the center the ends of the board or from one side to the other. Do not start at the ends and work towards the middle.
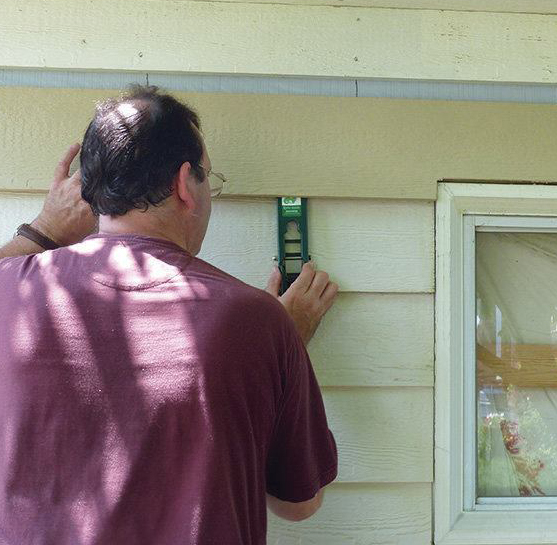
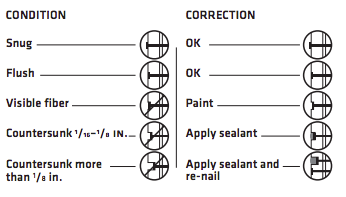
- Nails should seat firmly against the siding. DO NOT overdrive nails.
Sue Burnet
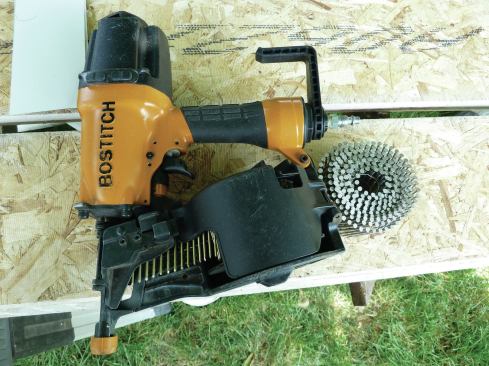
A coil siding nailer is a must for fastening denser siding or trim products. Most shoot nails in lengths from 1 1/4 inches to 2 1/2 inches (5d to 8d), and a few can fire 3-inch (10d) nails.
A must-have feature for engineered siding is an adjustable depth of drive on a pneumatic nailer; many nailers have a thumb wheel for this purpose. This practically eliminates the need to leave the work area to adjust your compressor’s regulator. Use no-mar rubber or plastic nosepieces to reduce the risk of damaging prefinished material.
Installation
The stud spacing behind engineered siding should be no more than 16 in. on-center. If codes permit, the siding can be fastened directly to the studs without sheathing.
Make sure that all vertical butt joints fall over stud locations.
Leave a 3/16-inch gap where the siding meets a window, door or vertical trim piece. Caulk the gap with a sealant.
Remember that this is a wood product, so the usual cautions apply.
- Store it off the ground, covered and on a flat surface.
- Use a properly installed weather-resistant barrier behind the siding.
- Prime and paint all cut edges, especially those that will be exposed.
- When using prefinished siding, touch up any damage to the finish before installing.
- There must be a separation between the siding and any masonry or stonework.
- At least six inches of clearance is needed above the finish grade.
- When installing over rigid foam sheathing, use a rain screen: vertical strapping installed at each stud location to provide a solid nailing base and to permit airflow behind the siding.
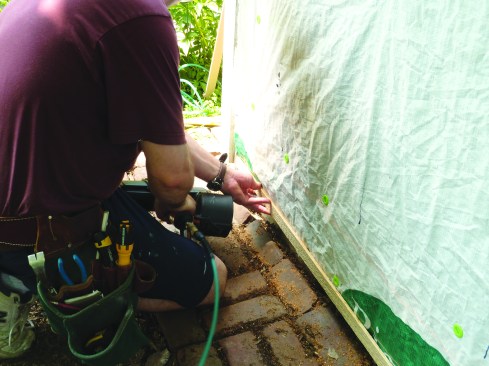
As with other horizontal sidings, the first course must be installed over a starter strip. Unlike taper-sawn wood clapboards, however, most engineered siding is the same thickness across the width of each board. So for the starter strips, rip a length of the material into 1 1/2-inch widths.