Shampoo niches are common in most tiled showers and tub enclosures these days. Some of my builder friends think they’re doing me a favor by framing out the niche ahead of time. While I appreciate their wanting to help, it would be miraculous—or very lucky—for that niche to line up with the tile layout. Instead, I prefer to cut and frame the opening myself, so all I need is the rough location of the niche.
Lay Out the Opening
My goal for the layout is twofold: Make the niche easy to install and as aesthetically pleasing as possible. To that end, I try to lay out the niche so that full-tile pieces land on all sides of it.
I lay out the tile for the niche wall from the center to avoid having small pieces along the edges. Keeping the niche in mind, if there is plumbing, electrical, or framing that may be in the way, I adjust the layout accordingly.
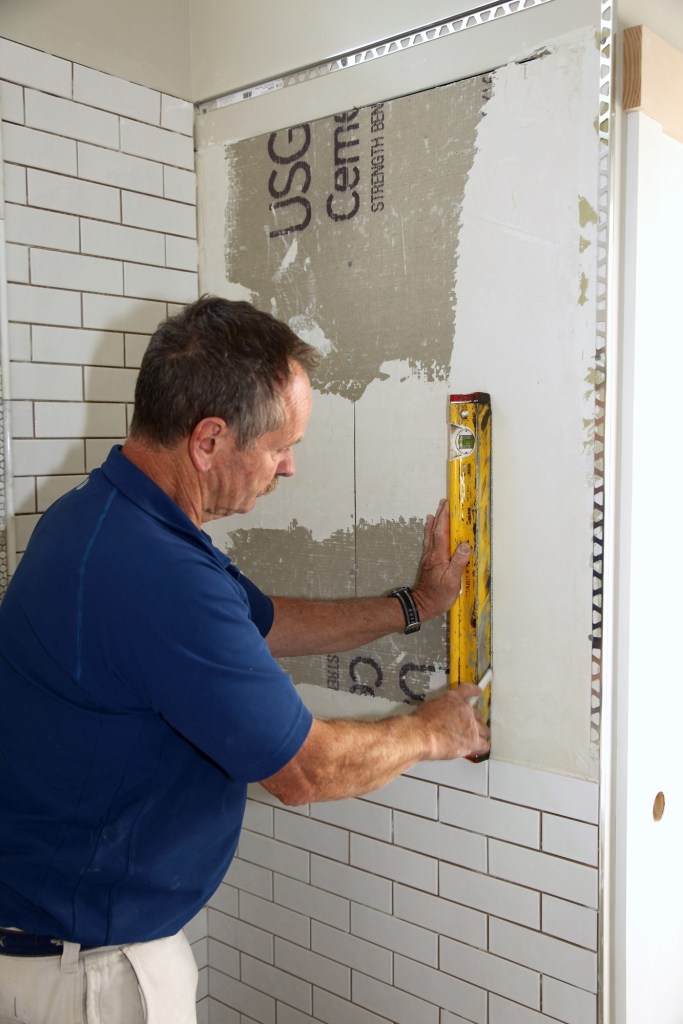
I install the tile on the niche wall, running the courses up to within a foot or so of where the bottom of the niche will be. With those courses done, I can plot the exact location of the niche. I simply plumb up from the tile below so that the edge of the niche lines up with joints between the tiles. To find the top and bottom of the niche, I either measure up for the horizontal lines using the courses below, or level over from the tile courses on an adjacent wall.
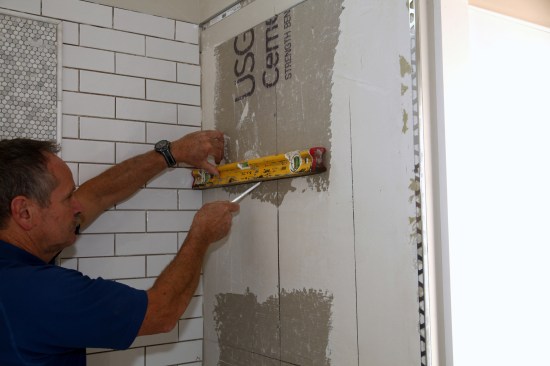
After drawing the outline, I double-check the layout for the tile I’m using. Usually, I cut the backerboard to the exact edge of the layout line, planning for the niche tile to bullnose over the edge of the wall tile. But if I’m installing tile like stone tile, for which I bullnose my own edges, I lap the wall tile over the niche tile for a cleaner look and make the opening wider by the thickness of a tile. Another option is installing a finish strip around the perimeter of the niche.
Cutting Out and Framing the Niche
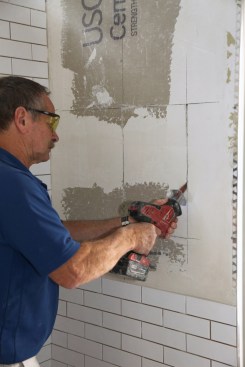
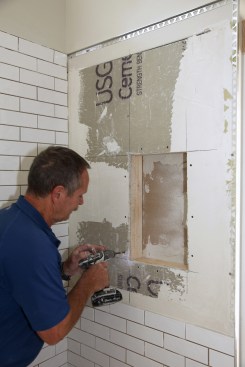
Before I start cutting, I double-check for any wires or pipes in the wall. Then I cut through the cement board with a reciprocating saw, running the saw blade slightly inside the layout line to allow for slight adjustments. I use a saw instead of a grinder to generate less dust.
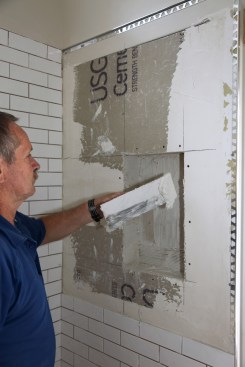
Framing the inside of the niche is slightly different every time. The horizontal framing pieces are cut out of 2-by stock that matches the depth of the wall framing. I cut these pieces so that they fit loosely between the wall studs. I spread latex-modified thinset on the inside of the wallboard where the framing pieces will be located, as well as on edges of the pieces themselves.
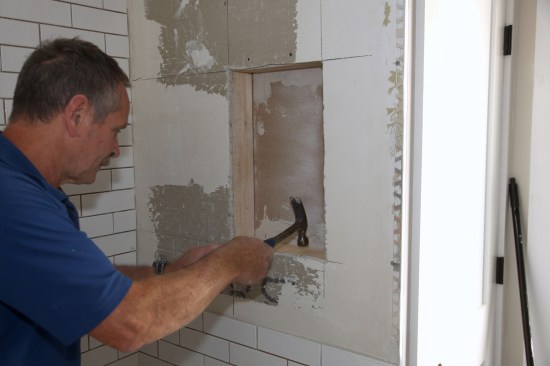
After tapping those pieces into place, I drive screws through the cement board and into the framing. For the vertical framing, I cut and install 2-by pieces to fit between the horizontal pieces I just installed. If I’m lucky, the opening lands on a stud, so I only need to add framing along one side. If I need less than the thickness of a 2-by, I build out the stud with latex-modified thinset or strips of backerboard. When the framing is done, I drive screws into all sides of the niche.
Waterproofing
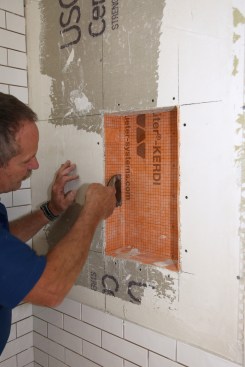
To waterproof the niche, I install a membrane like Schluter System’s Kerdi membrane. After measuring and cutting the membrane, I dry-fit it in the framed cutout, slicing the bottom corners where the membrane will overlap. Then I spread a layer of thinset over the whole niche with a 1/8-inch V-notched trowel and press the fabric carefully into the cavity. At the bottom where the membrane overlaps, I apply thinset between the layers to bond and set the corners.
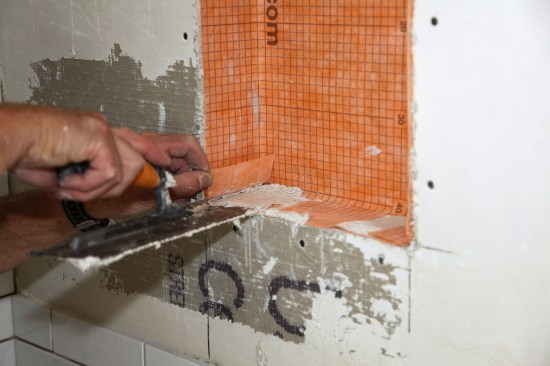
With the membrane in place, I flatten it and squeeze out any excess thinset with a putty knife, which also pushes out any air bubbles. At that point, I can spread thinset over the niche and start tiling or wait a day. Either way is fine.
Tiling
When tiling a niche, I make sure the trowel I use has the right-size notches. It’s important that the tiles on the back and side walls of the niche line up with the walls of the main shower.
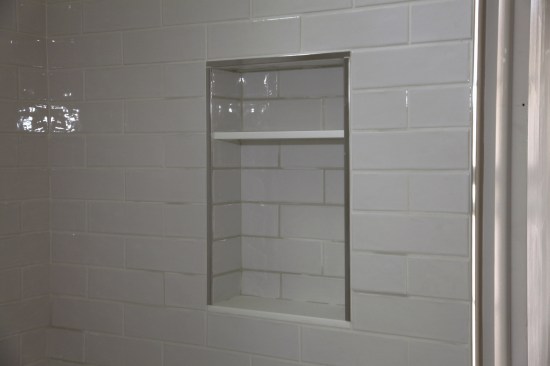
Most of the time, I install a solid piece of stone or some other solid product for the bottom shelf, pitched outward slightly for drainage. I often install a second shelf, which I only cut into the side walls of the niche unless the shelf is very fragile. This shelf doesn’t need to be pitched because water can simply drain behind the shelf and down the tiled back wall of the niche.