Most carpenters and residential contractors will be asked to hang drywall at some point in their careers. Those who tackle the task with no experience and a “how hard can it be?” attitude are going to come away frustrated. Hanging drywall is not rocket science, but there are quite a few tips and tricks that can make the process go more quickly and efficiently.
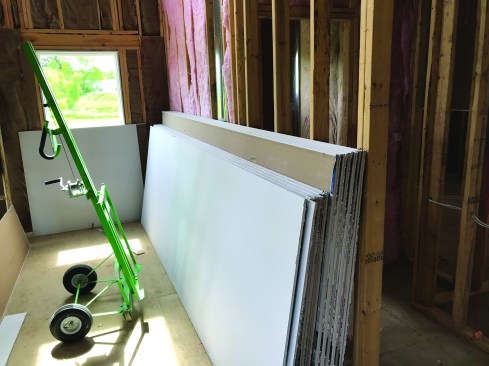
Drywall comes in many different lengths and widths.
Types of drywall. Drywall is essentially a sandwich with a layer of gypsum between a paper face finish side and a paper backing. The most common type of drywall is a standard 1/2-inch board. Fire-resistant (Type X or Type C) drywall, which is 5/8 inch thick, is often required on ceilings. You can also get a wide range of other types of drywall, including water-resistant; abuse-, mold-, and impact-resistant; sound-absorbing; formaldehyde-absorbing; paperless; and foil-backed.
In addition to carrying various types of drywall, supply yards carry a variety of lengths, but the sizes available can depend on what region of the country you live and work in. Where I live in upstate New York, I can easily get 8-, 9-, 10-, 12-, 14-, and 16-foot lengths in 48-inch widths, and I can even get 12-footers that are 54 inches wide.
Fasteners. I recommend bugle-head drywall screws to fasten drywall. Use coarse-threaded screws for wood framing. Screws only need to penetrate wood a minimum of 5/8 inch, so for 1/2-inch-thick drywall, 1 1/4-inch screws work best. For steel studs, I use 1 1/4-inch self-drilling drywall screws.

Common tools for working with drywall are routers, drywall saws, and utility knives.
Drywall cutting tools. Most drywall cutting is done with the “score-and-snap” method, using a utility knife for the scoring, but a drywall utility saw is necessary for making cuts where you need to notch the material or make more than one cut in a sheet to remove a section. A drywall router can also be handy for cutting out electrical boxes, but that tool does come with a learning curve.
Drywall T-squares help guide crosscuts.
Crosscuts. For making cuts across a sheet using the “score-and-snap” method, a drywall T-square is a must. When setting the blade of a T-square at your measurement, get in the habit of holding the bottom of the blade with your foot to keep it from moving as you score the sheet with your utility knife.
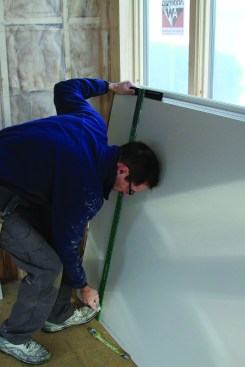
To cut a sheet of drywall to length, set the T-square at the measurement and score along it with a sharp utility knife.

Hold the square in place with one foot. Snap the piece back and cut through from the opposite side.
To cut a sheet to length, place the T-square on the measurement mark and score the paper face with a sharp utility knife. Then snap away from the side you scored and run the knife down the opposite side.
Don’t cut too precisely — small gaps in corners are covered in the taping process
Don’t try to be too precise with your measurements and cuts—doing so is a mistake that carpenters routinely make. Drywall should never be cut for a tight fit. Sometimes you can get a tight fit to work, but most often, the edge of the sheet will break or blow out as you try to push it into place.
Typically, the ceiling panels are installed first, and the wall panels are butted to the edges. This gives you a lot of tolerance with fitting ceiling panels. Any slight gaps at these corner intersections will be covered by the abutting panel or by taping and finishing. I usually aim for 1/4 to 1/2 inch shorter than the actual measurement.
Place the cut end, not the factory edge, of the sheet in the corner. If the wall is longer than the sheets you have, hang the full-length sheet first. Cut the sheet for the rest of the length and install it with factory edges of the two sheets mating (more on that later). If you absolutely have to mate a factory edge with a cut edge, allow about 1/8 inch to compensate for any irregularities in the cut.

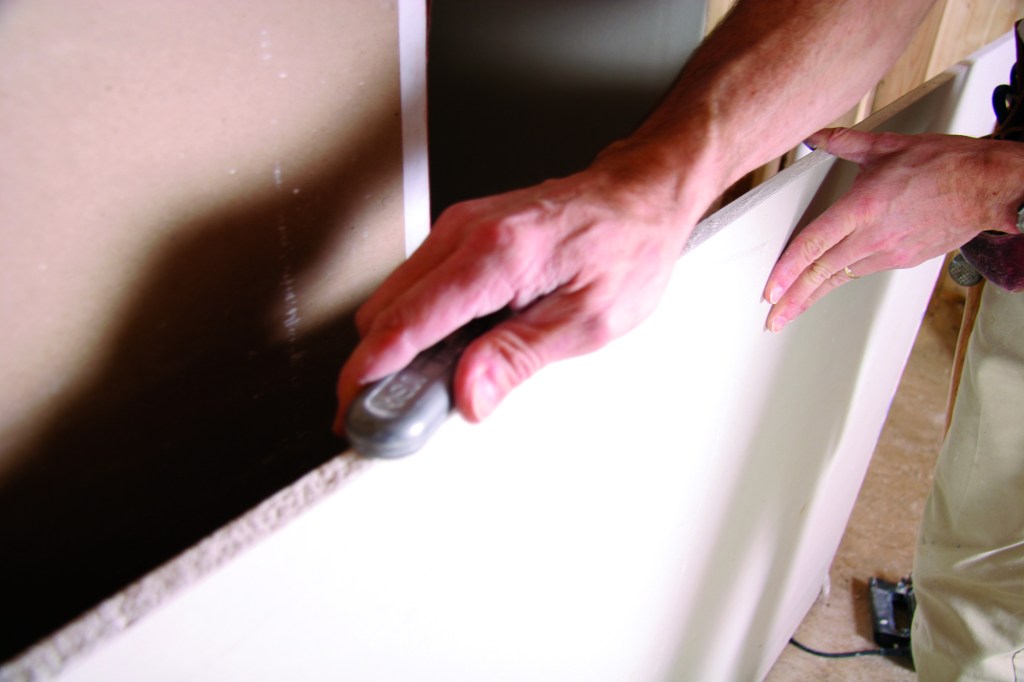
Score a rip by pulling the utility knife and the bottom of your measuring tape along the sheet.
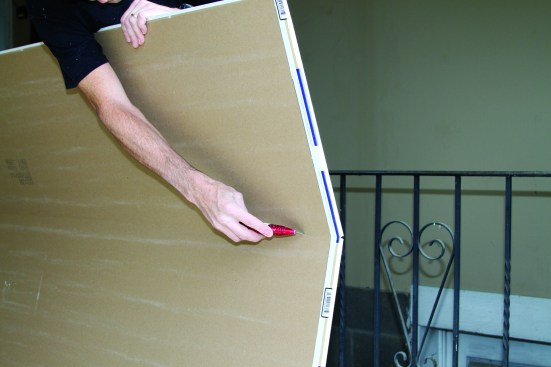
Snap the sheet back and score from the other side to remove the rip.
Rip cuts. For cuts along the length of a sheet (rip cuts), I use a tape measure and utility knife. I pinch the tape between my thumb and forefinger at the measurement I need to remove, and then let my finger ride along the top of the sheet while I score the sheet with a razor knife held against the hook of the tape. The trick here is keeping the tape perpendicular to the top edge for a straight score.
When I’ve scored the entire length, I snap away from the cut as with the end cut. But this time, gravity is working against you and wants to rip away the part you scored. Have another crew member help hold the sheet while you cut the score from the back. With practice, you can do this by yourself.

A drywall rasp can clean up a rough edge.
Don’t be overly concerned if the cut is not perfectly straight. Remember a tight fit is not necessary. For beginners, snapping a chalk line might be easier than trying to use the tape-measure-and-knife method. And you can always use a drywall rasp after the cut to clean up the edge if you need a better fit.
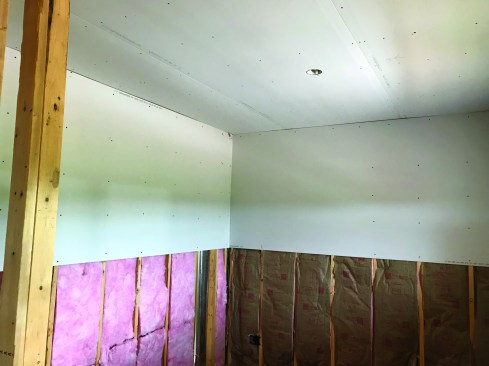
Top panel first. When hanging drywall, always put the ceiling panels in first. That way, the edges of the ceiling panels are supported by the wall panels. Here, we are focusing on walls, so let’s assume that the ceiling drywall is already in place. In residential construction, the walls are usually hung horizontally because there is less waste compared with a vertical installation.
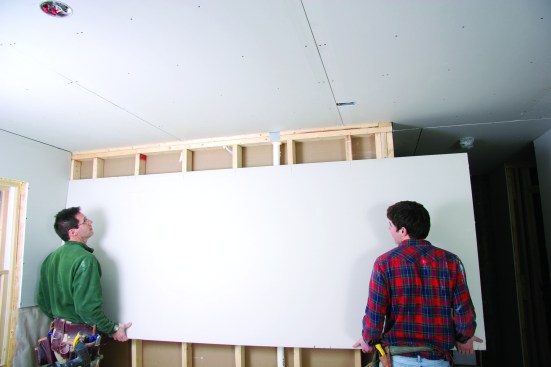
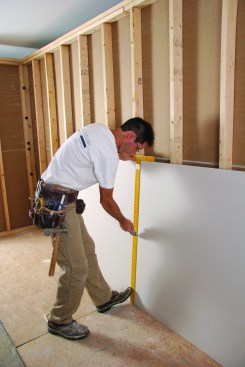
Mark stud locations before lifting the sheet.

You can cut out for windows before lifting, but it’s quicker to first lift and fasten the sheet in place and then cut around the frames with a router.
The top panel should always go in first. If necessary, cut the board to length. Next, set it on the floor directly below where it will be installed and mark the stud locations along the top edge. Lift it into place with a helper. Once the top edge is pushed up tight to the ceiling, drive a couple of fasteners at one end to tack the board in place. Then fasten the field, working toward the opposite end.
The main concern for the drywall finisher is a quality finish, and this starts with having to tape as few seams as possible. Starting with a full-width sheet means just a single horizontal seam on the walls for most rooms.
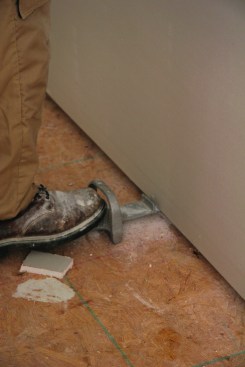
A drywall foot lift snugs the bottom sheet against the top sheet before fastening.
Bottom panel. After fastening the top sheet in place, cut the bottom one to length. With many of the houses I work on, I can use a full sheet on both the top and bottom and still have some leftover height to maneuver the sheet into place. If there isn’t enough room for a full-width sheet on the bottom, rip off enough to allow a 1-inch gap along the floor. Always put ripped edges along the floor and put the tapered factory edges along the seam.
To snug the bottom sheet against the top, use a drywall foot lift. A pry bar will also work but typically requires a scrap piece of drywall or wood as a fulcrum to give it enough lift.
Fastener depth. The tip of a drywall screw gun is designed to drive fasteners to the proper depth. Don’t force it. The top of each screw should be about 1/32 inch below the panel surface. If the screw breaks the face paper, then it is too deep. If a screw is too deep, I drive an additional screw about 1/2 inch away.
To fasten walls, I drive screws every 16 inches along each stud 16 inches on-center. If there are intermediate studs closer together, I often skip them. I try to keep the bottom course of screws close to the floor so the baseboard will cover them, and close to window and door rough openings so that the casing will cover them.
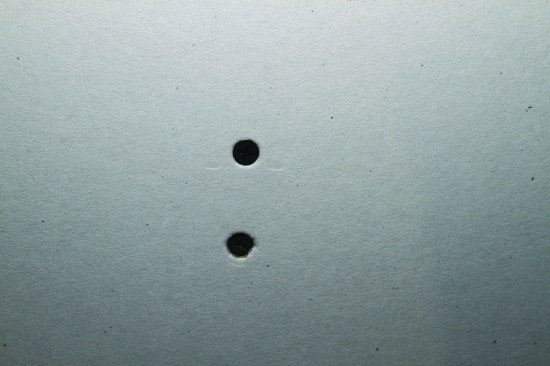
The top screw is driven properly, but the bottom screw has broken the paper around the screw head.
Openings. If I have to work around a window on the wall, I tack the full sheet in place and cut the opening by following the outside of the frame with a drywall router. For doors, I install a full sheet across the opening. After cutting up both side jambs with a drywall saw, I score the sheet from the back along the header. I snap the sheet away from the score cut, and then follow the cut line on the finish side with a utility knife and snap to remove the piece over the opening.

The author attaches a splicer to land a butt seam between studs.
Butt seams. I always try to cover the length of a wall with a full sheet if possible. If a butt seam is needed, it’s fine to have the seam land above or below a window as long as the seam is at least 7 inches from the corner of the opening. Never place a seam in line with the edge of a window or door—it is a sure recipe for a future crack.
When I do have to splice in a piece on a long wall, I end the sheet between studs and use a RockSplicer (Wilco Drywall Tools) to join the butted seam. (Trim-Tex ButtBoards also work.) I hang the first sheet and slide the splicer behind the end of the sheet, fastening the end of the drywall sheet to the splicer. When the second sheet attaches to the RockSplicer, its slightly raised edges cause the drywall to bend in slightly. The spliced seam is very stable, and the depression created by the RockSplicer makes the seam easy to hide with tape and compound.
All photos by Linda Ferguson