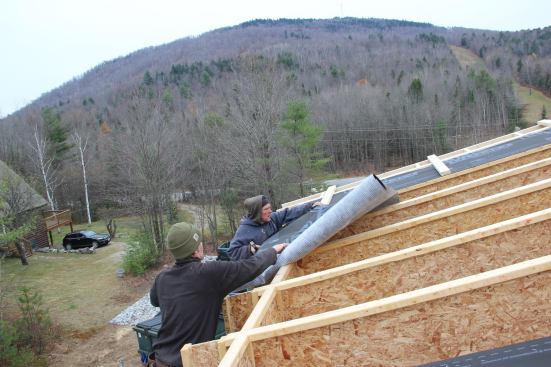
With gable overhangs already framed out on the lower shed-roof p…
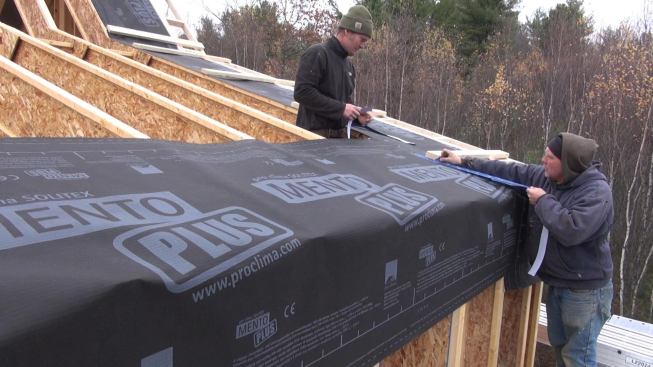
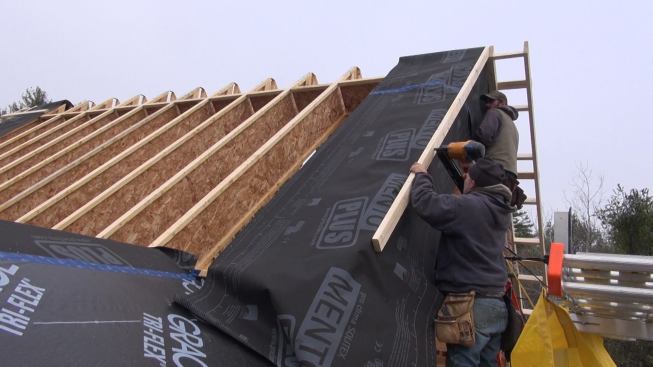
With gable overhangs already framed out on the lower shed-roof portion of the addition, Maine Passive House contractor Jesper Kruse and carpenter Todd place Pro Clima Mento Plus fabric at the roof eave.
Ted Cushman
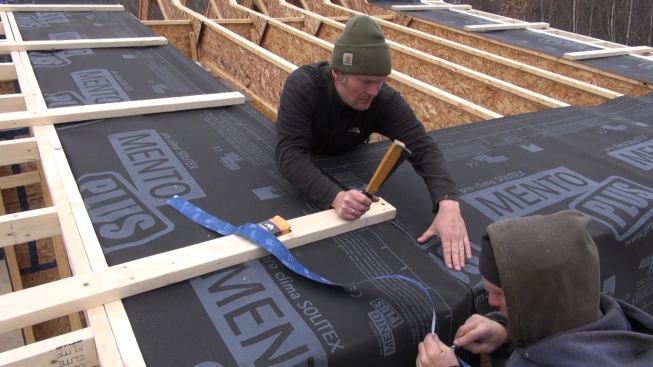
Jesper Kruse staples fabric to the I-joist rafter at the seam. T…
Jesper Kruse staples fabric to the I-joist rafter at the seam. The Mento Plus fabric is not the main drainage plane for this roof assembly (which will be capped with OSB and shingles over an air space). Even so, Kruse installs the fabric air-tight and water-tight.
Ted Cushman
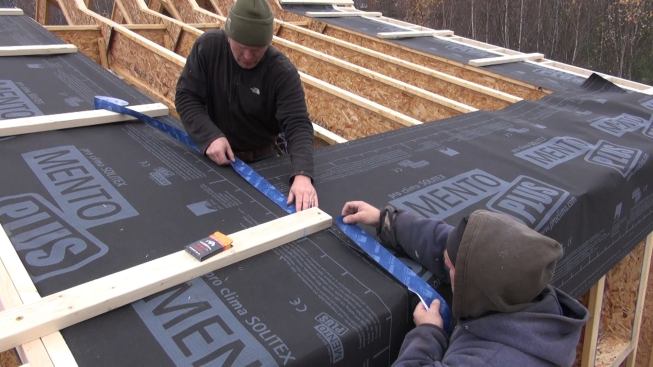
Taping the fabric seams with Pro Clima Tescon VANA tape.
Ted Cushman
Taping the fabric seams at the other end of the shed roof.
Ted Cushman
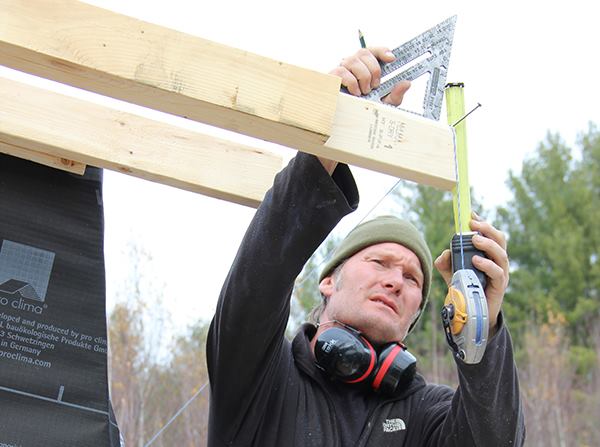
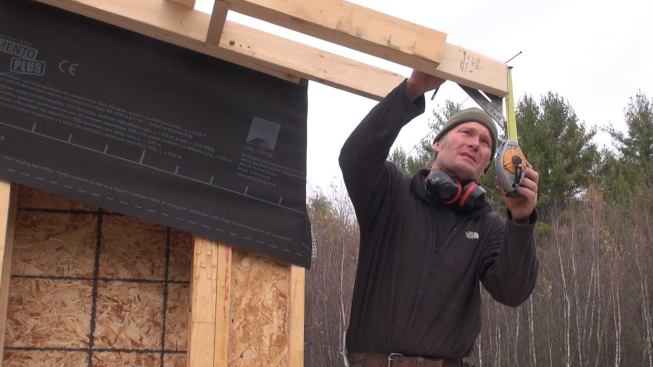
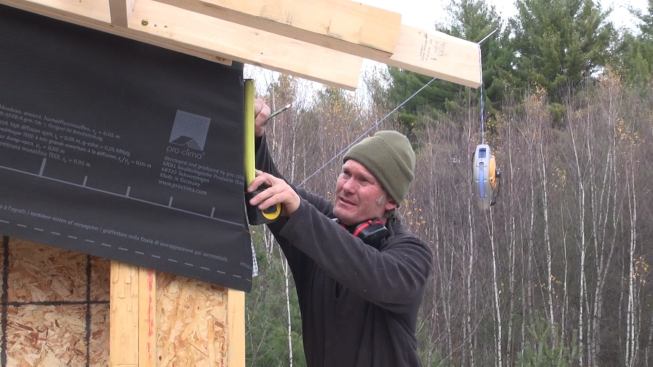
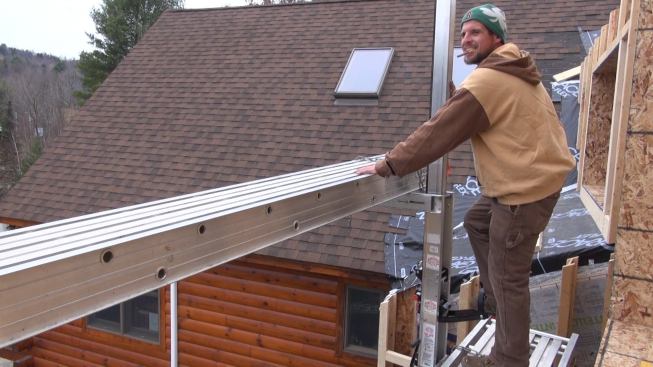
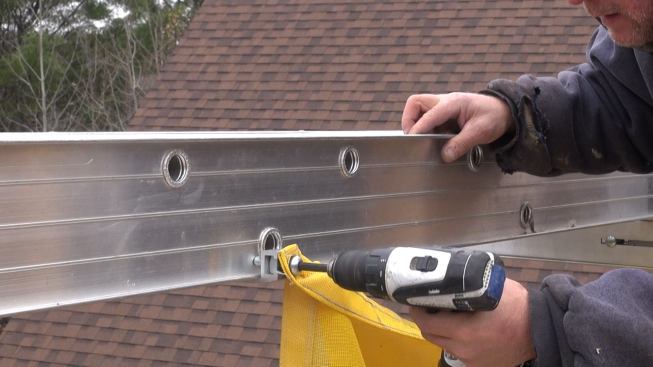
Kruse measures the rafter tail and ponders the layout for the fa…
Kruse measures the rafter tail and ponders the layout for the fascia and soffit framing at the roof eave.
Ted Cushman
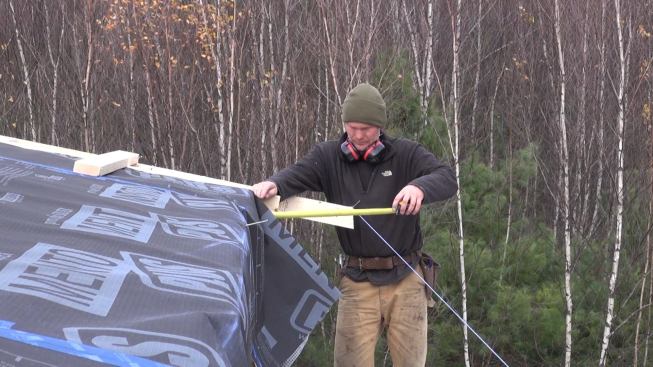
Measuring the distance from the rafter tail to the face of the I…
Measuring the distance from the rafter tail to the face of the I-joist wall buildout framing.
Ted Cushman
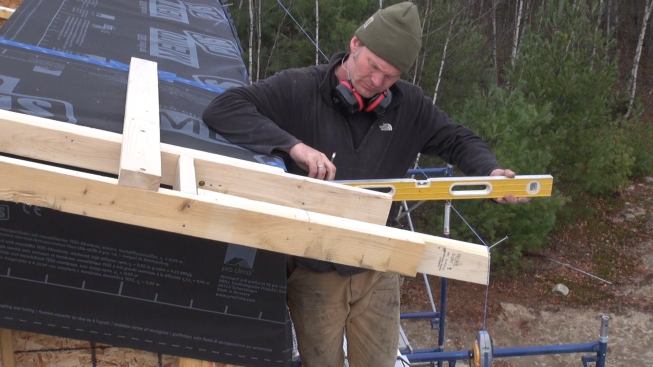
Leveling back to the wall framing face from the top edge of the …
Leveling back to the wall framing face from the top edge of the rafter overhang.
Ted Cushman
Checking the relationship between the lower edge of the overhang…
Checking the relationship between the lower edge of the overhang framing and the wall face.
Ted Cushman
Transferring the rafter tail elevation to the wall to find the l…
Transferring the rafter tail elevation to the wall to find the layout point for a soffit ledger.
Ted Cushman
Snapping a line for the soffit ledger.
Ted Cushman
Checking the soffit ledger layout line for level.
1
of 16
Ted Cushman
Steve pumps the staging up to a higher level.
Ted Cushman
Todd chains the plank to the pump jack.
Ted Cushman
Steve and Caleb attach a safety net clip to the upper staging pl…
Steve and Caleb attach a safety net clip to the upper staging plank.
Ted Cushman
Deploying the safety net.
Ted Cushman
Placing a clip for the safety net.
Ted Cushman
A closer look at the safety net clip.
Ted Cushman
Fastening the safety net clip to the staging plank.
Ted Cushman
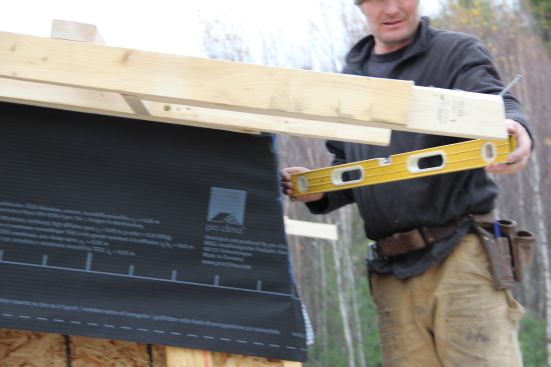
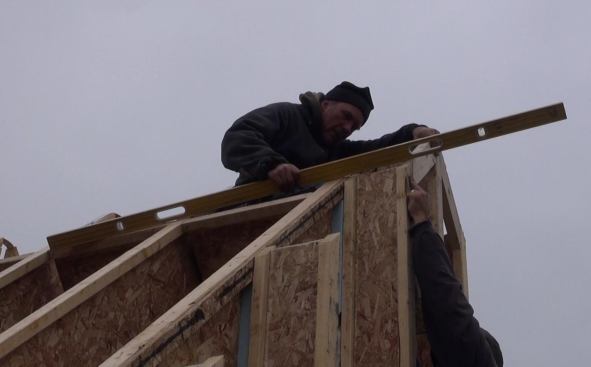
Todd places blocking at the roof peak, using a six-foot level to…
Todd places blocking at the roof peak, using a six-foot level to keep the block in plane with the I-joist rafters.
Ted Cushman
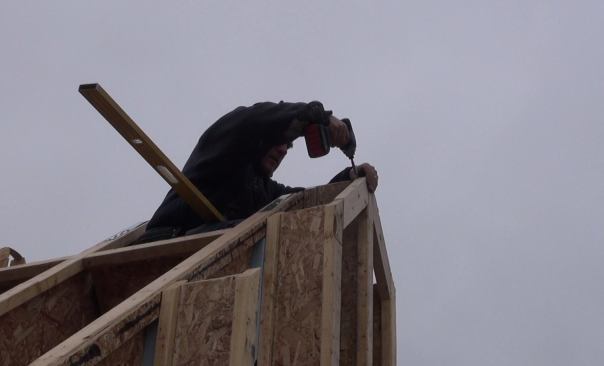
Screwing the roof peak blocking into place.
Ted Cushman
Another view of the roof peak blocking.
Ted Cushman
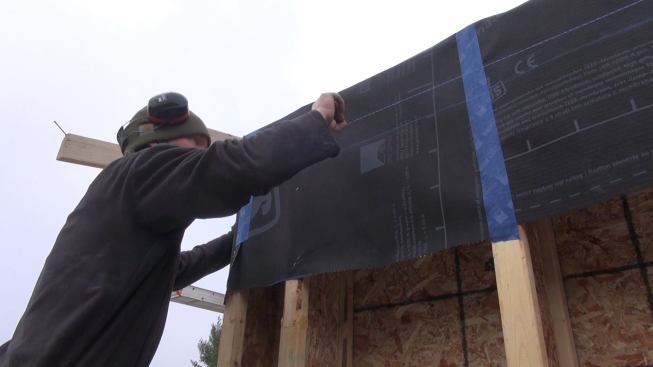
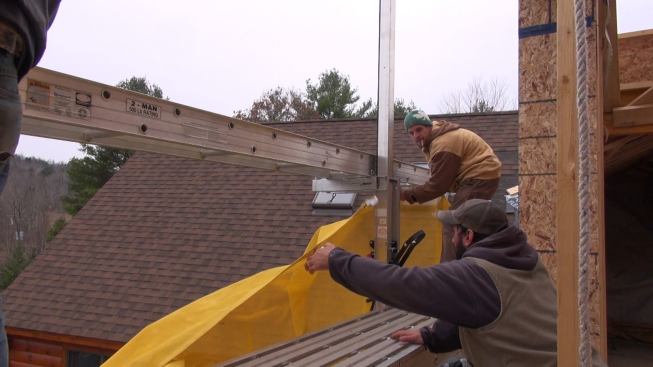
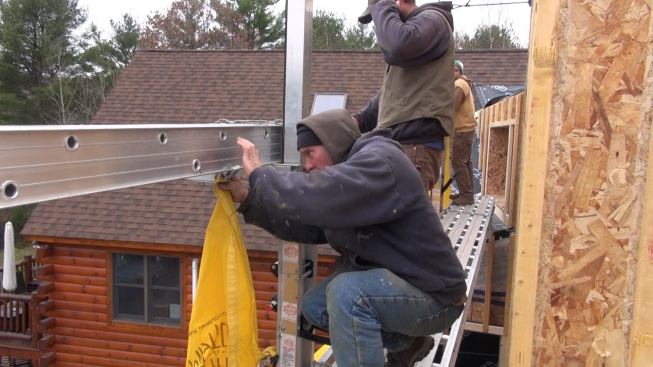
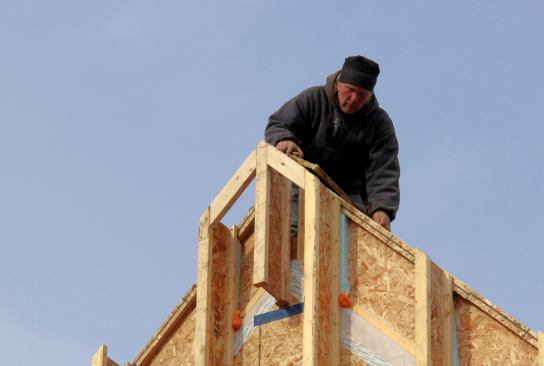
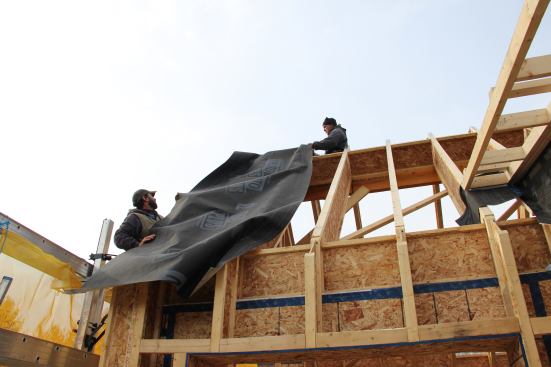
Todd and Caleb drape vapor-open, air-tight and waterproof Mento …
Todd and Caleb drape vapor-open, air-tight and waterproof Mento Plus fabric over the roof-to-wall intersection.
Ted Cushman
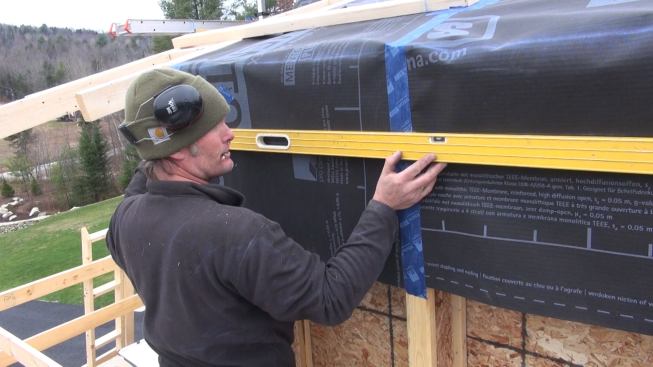
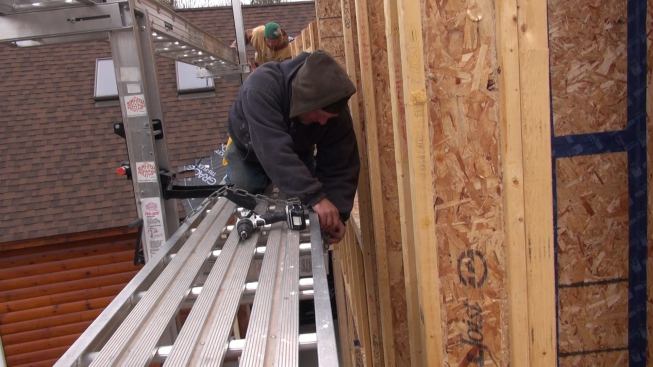
Todd installs a nailer over the Mento Plus fabric, nailing into …
Todd installs a nailer over the Mento Plus fabric, nailing into the face of the I-joist build-out on the wall.
Ted Cushman
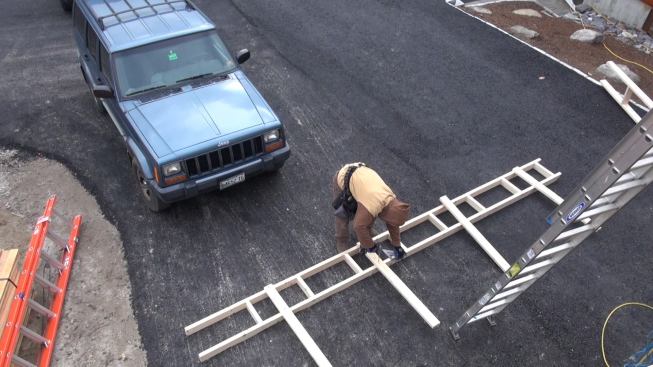
While Todd and Caleb install the fabric, Steve assembles an outr…
While Todd and Caleb install the fabric, Steve assembles an outrigger on the ground.
Ted Cushman
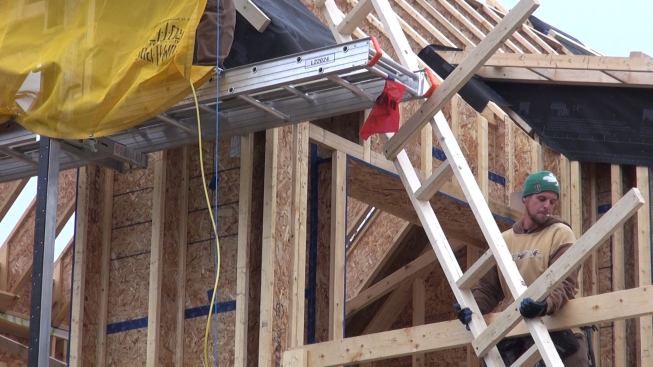
Steve hauls the outrigger up to the workers on the staging.
Ted Cushman
Installing a nailer on the opposite side of the roof. The first …
Installing a nailer on the opposite side of the roof. The first outrigger has already been nailed on.
Ted Cushman
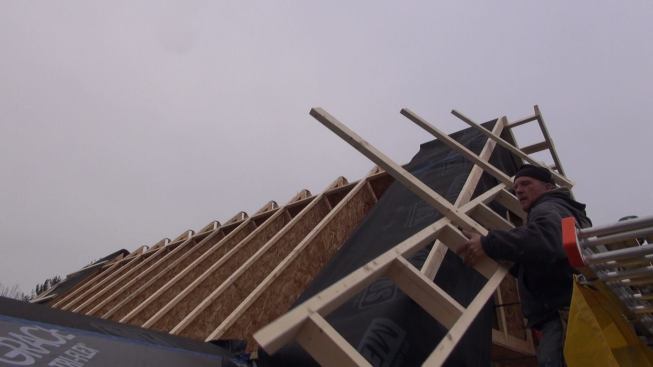
Setting the overhang outrigger on the gable end of the roof. Lat…
Setting the overhang outrigger on the gable end of the roof. Later, the roof will be strapped, sheathed, and shingled, and finish soffit and fascia trim will be applied to the outrigger.
Last month, Coastal Connection visited a job site in Maine ski country to follow along on the roof and wall framing for a super-insulated, high-performance addition designed using Passive House methods. This week, we went back to the site and found Jesper Kruse and his carpenters working on the roof overhangs for the building.
Kruse was occupied with laying out the eave of the low-slope part of the addition’s roof. Taking into account the planned strapping and sheathing (not yet applied to the roof), as well as the wall strapping that will later be required for vertical board wall siding, required a little bit of head-scratching on the contractor’s part.
Meanwhile, the rest of the Maine Passive House carpentry crew (Todd, Steve, and Caleb) worked to install the last of the overhang framing on the addition’s steep south-facing gable. The crew set up pump jacks, applied permeable weather-tight Pro Clima Mento Plus membrane lapping from the I-joist wall build-out up onto the I-joist roof rafters, and then attached an overhang outrigger to the wall over the membrane.
To follow along, view the slideshows: Layout for Roof Overhang (Eave) and Framing Roof Overhangs
The building science details for this roof system involve a method that is increasingly common for cathedral roofs in Passive House construction. The underside of the rafters will receive a smart vapor barrier fabric (Pro Clima Intello) designed to resist the passage of moisture into the insulated cavities from interior space, but still allow the cavities to dry to the inside if necessary. The upper side of the rafters will receive a water-tight, air-tight, vapor-open fabric (Pro Clima Mento Plus) intended to allow drying to the outside. Over the rafters and fabric, the crew will first apply cross-strapping to form a vented air space, then OSB sheathing, then asphalt felt and fiberglass-asphalt shingles. The design is intended to minimize the risk of vapor intrusion while maximizing the system’s ability to dry out. We’ll keep you updated as work continues.