Lay out for rough openings
As mentioned before most manufacturers provide the RO dimensions for their products, and that information is usually part of the product labeling. As a fail-safe most architects and designers also provide that information in the house plans. The house plans also provide the locations of the openings for each wall, typically a measurement to the centers of the openings from the end of the wall. Locations can also be designated as center-to-center, the distance between the centers of two openings.
As with a stud-wall, the top and bottom plates should be cut to length, tacked together, and set in position along the snapped line on the floor deck. If a wall is to have openings, lay out the openings first before laying out the rest of the framing.

Measure to the Center To lay out and locate the RO, measure over the distance specified on the plans and mark the center of the opening.
Let’s say that the plans call for the center of the first opening on a wall to be 6 feet 6 inches from the end of the wall. Measure over an mark that point. Get in the habit of labeling every mark you make on the plates. Label the center of the opening with a “CL” (shorthand for centerline) along with the measurement that you pulled to that point. Many framers also write what the open is for and the RO size, such as “Window/32 inches.” Once you’ve established the center point, measure over 1/2 the RO—16 inches in this case. That point is the inside edge of the RO on that side, so keeping the hook of the tape on that point, measure over 32 inches for the other inside edge of the RO. Mark both of those points and then draw three lines: One for the inside edge of the RO and two more at 1 1/2 inch intervals from the first. In the space closest to the edge write a “J” for jack stud (the framers in the photos used an “O” to designate a jack), and in the space next to that, write an “X” for a full stud, which will be the king stud for that side of the opening.
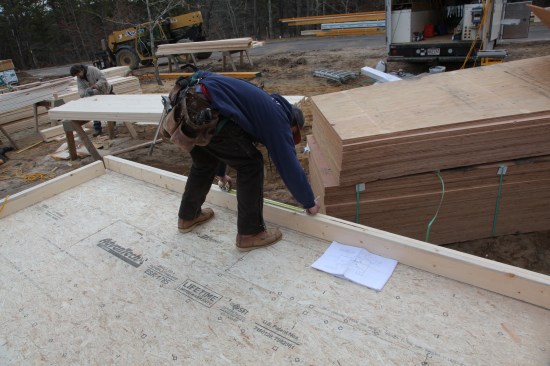
First One Side… Measure from the center point half the width of the RO. This point indicates one inside edge of the RO.
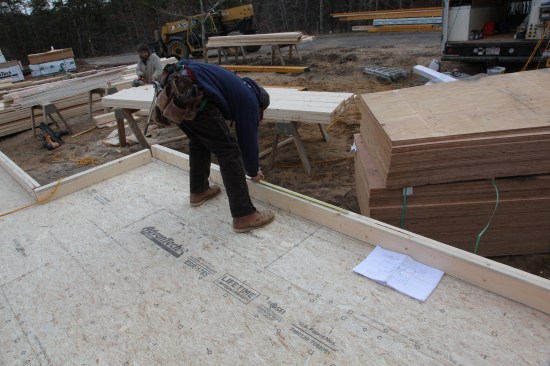
…and Then the Other From the side of the RO that you just marked, measure over the total wdith of the RO and mark the other side.
Mark the Kings and Jacks On each side of the RO, draw a line for the inside edge of the RO and then two more lines at 1 1/2-inch spaces. Mark the space closest to the edge of the RO as the jack (with a "J" or an "O") and mark the other space with an "X" for the king stud.
If the plans locate the center of the next opening in the wall at a measurement from the end of the wall, hook your tape on the end of the plates and pull that measurement, repeating the same layout procedure as before. If the location is measured from the center of the first opening, put the hook of your tape on the centerline point of the first opening and measure over for the centerline point of the next opening, and then repeat the layout procedure.
After all the openings are laid out, go back and pull the centers for the studs and other details such as ladder backs or partition studs. Pull the stud locations right across the openings. The layout points will locate any cripples that are needed between the header and the top plate, and if the opening is for a window, they will be needed for the cripples below the sill as well.
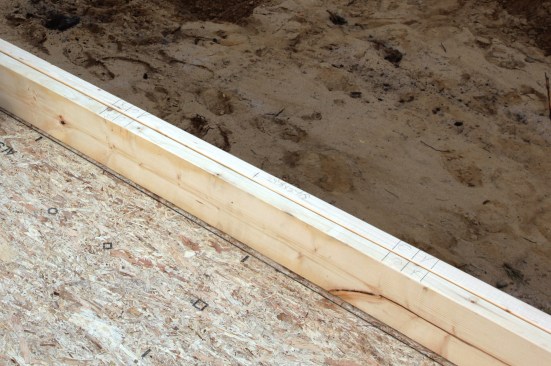
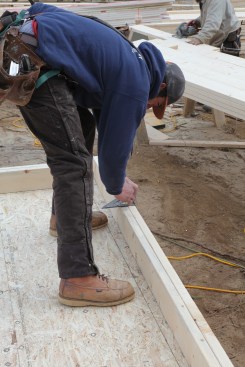
Completed Layout This completed RO layout shows the centerline of the opening as well as the king and jack studs on either side of the opening. Note that the RO dimensions were also written on the plate for reference while framing the opening.
Building rough openings
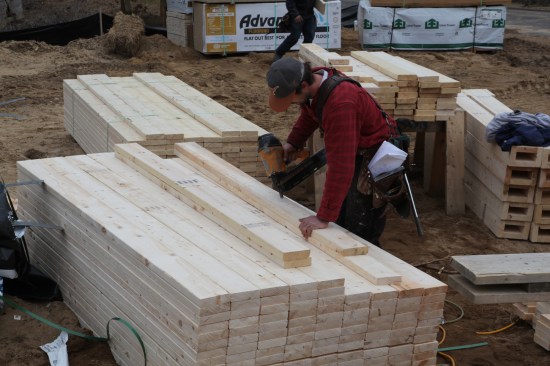
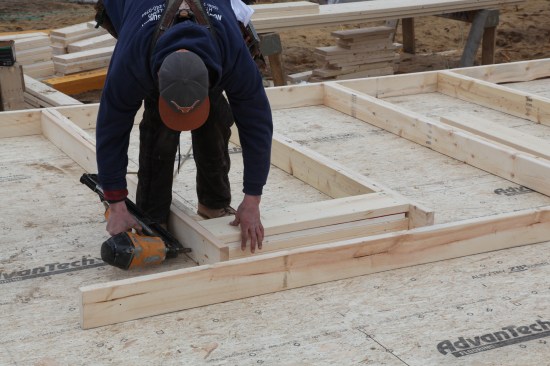
Assemble Kings and Jacks A production crew precuts and preassembles as many parts as possible. Here the crew member nails a jack onto a king stud. Headers are also preassembled to match the width of the 2-by framing stock, in this case 2x6s (Header Configurations).
Most production framing crews set up an impromptu “factory” to cut all the wall framing parts they’ll need ahead of time, including jack studs, cripples, and sills (see Building and Raising Exterior Walls, June 2016). Headers are cut to the proper length and assembled to the thickness of the wall framing. For the 2×6 wall in the photos, two 2x’s are sandwiched together with 1-inch layer of rigid foam and a final 2x layer to complete the thickness. (It should be noted that there are many different header configurations based on regional differences and energy-performance criteria, Header Configurations). As each framing part is cut, it is labeled and stacked for quick and easy access during the wall-building process. As part of the prep work they usually nail the jacks to the king studs ahead of time.
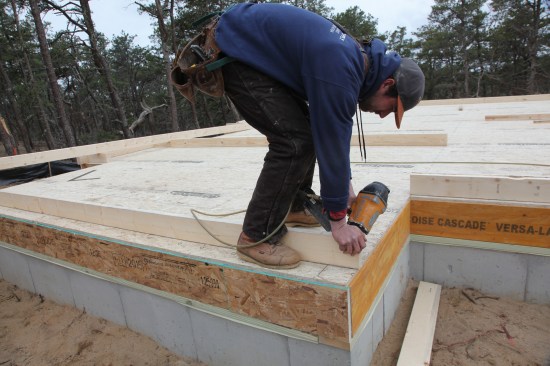
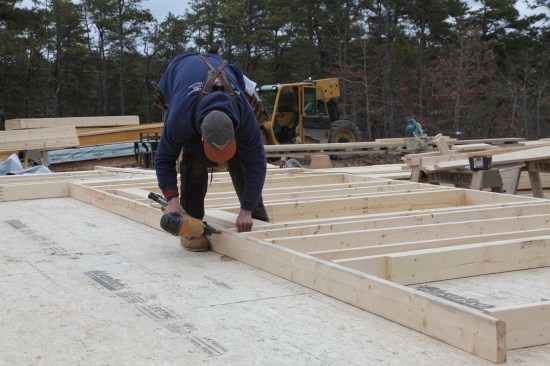
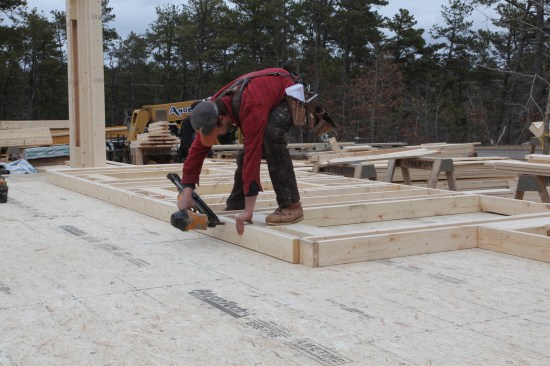
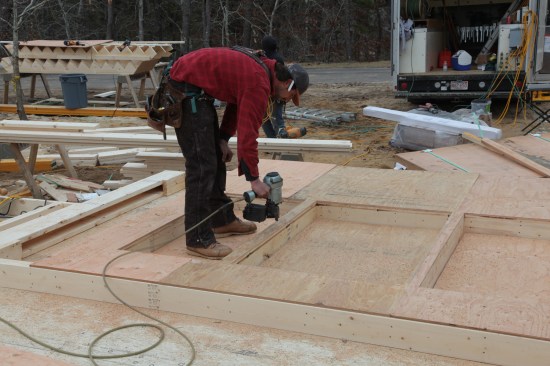
Tack the Bottom Plate After the layout is complete, the crew member separates the plates and toenails the bottom plate to the snapped line. The toenails keep the plate in place while the wall is built, and act as a hinge when the wall is raised.
When ready to begin building a wall, a crew member separates the two laid-out plates a little more than a stud’s length apart, and then tacks bottom plate to subfloor along the snapped layout line. He then brings over the king/jack assemblies (a pair for each opening), along with the header for that opening. After nailing the king/jack assemblies to the bottom plate, and he snugs the header to the tops of the jacks and drives nails through the king studs and into the header.
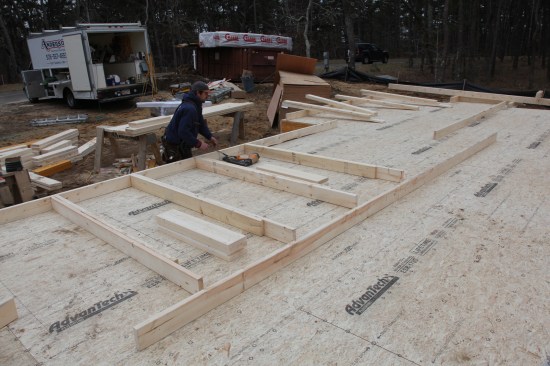
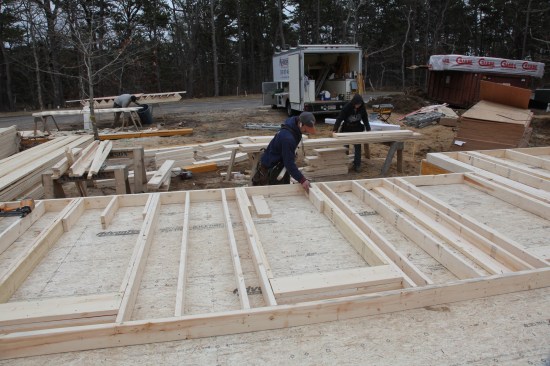
Kings and Jacks First The crew member distributes king-jack assemblies for each opening along with the appropriate width header. The kings and jacks are the first framing members to be nailed to the bottom plate.
Headers Come Next Next the header snugs up againt the jacks and the crew member drives nails through the king stud into the header to hold it in place.
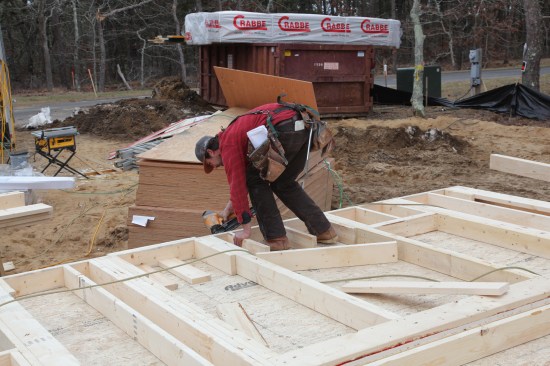
Top Plate Goes On After the intermediate studs are nailed to the bottom plate, the first top plate nails on.
ROs for Windows For door ROs, the framing stops with kings and jacks. For windows, the crew member first loads the spaces with the right number of cripples. (Note that this crew installs cripples against the jacks to support the ends of the sill. These cripples are often eliminated to save material and to maximize insulation in the wall).

Sill Layout The crew member places the sill for each window against the plate and copies the cripple layout onto the sill.
Next any full studs are set into place along the wall and nailed to the bottom plate as well. At this point the first top plate is nailed to all the vertical framing members. For door openings, the framing is complete except for short cripples between the header and the top plate (if they are needed). For window openings, the crew member then loads each opening with the right number of cripples as well as the sills (either one or two sills depending on the specifications). To lay out the sills for the cripples, he places the sill against bottom plate and transfers the layout.
Cripples Go In For each opening, first nail cripples to the jacks on either side if specified. Then nail the cripples to the bottom plate.
First Sill The first sill nails to cripples using the layout copied from the plate earlier.
Second Sill If specified, a second sill now nails to the first. The second sill helps when attaching window trim and casing. (If installing a double sill, be sure that the vertical dimension of the RO can accommodate the second sill).
Crips on Top If the header for the openings is not directly below the top plate, nail small cripples on the stud layout between the header and the top plate.
The first cripples nail directly to the jacks on either side of the opening. (These cripples are often eliminated to save lumber and to maximize insulation in the walls). Then the intermediate cripples nail to the bottom plate. The first sill then goes in using the transferred layout to place the cripples. (If the cripples adjacent to the jacks have been left out, the sill toenails directly into the jacks). If a second sill is specified, it goes in next. If cripples are needed to fill in space above the header, they should be installed at this point.
Squaring and sheathing

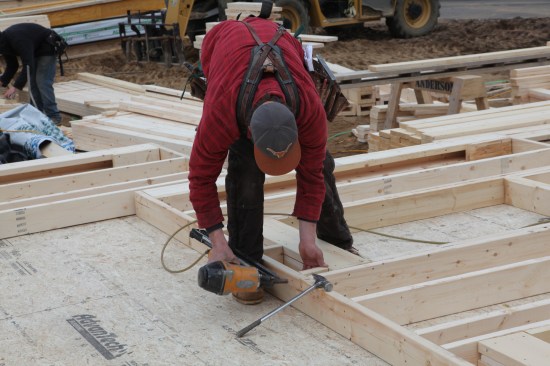
Diagonal Squaring A crew member takes corner to corner diagonal measurements to square the wall. When the measurements are equal, he tacks through the headers to hold the wall in place while it is sheathed.
Second Top Plate When the wall is square, a second top plate nails to the first with a gap on the end for the overlapping top plate from an adjacent wall.
Before nailing on the sheathing, the crew makes sure the walls are square by making diagonal measurements between the corners. When the measurements are exactly the same, one or two tacks are driven through the headers and into the floor to hold the frame square while the sheathing is installed. (For obvious reasons it’s important to remove these tacks before raising the wall). The second top plate is nailed to the first, leaving a gap at the end to receive the overlapping top plate from the intersecting wall.

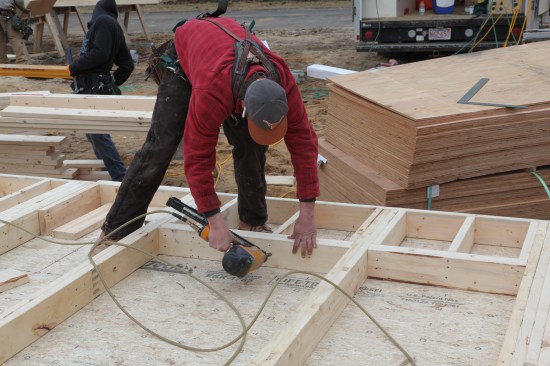
Sheathing The sheathing tacks to the frame with the specified gap between sheets.
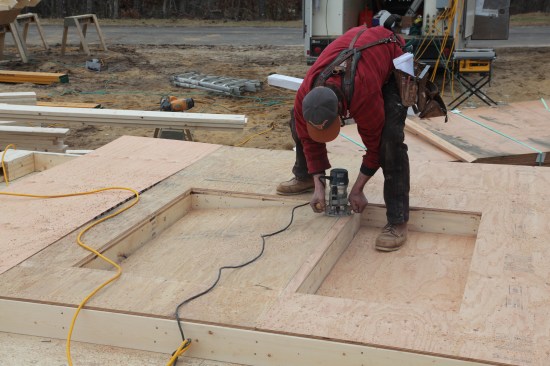
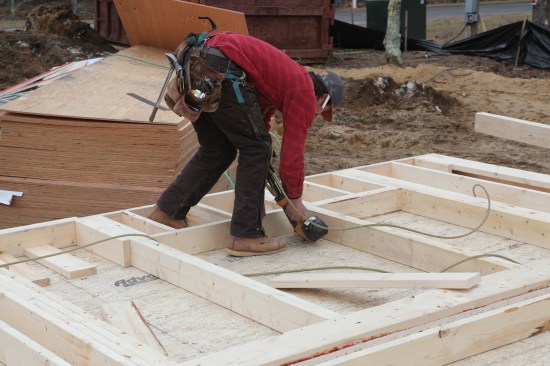
Rout the Openings After tacking the sheets in place, a router with a flush trim bit cuts the openings quickly and efficiently.
Nail the Sheathing Next the sheathing can be nailed off completely. Don't forget to remove the tacks that held the framing square when you installed the sheathing.
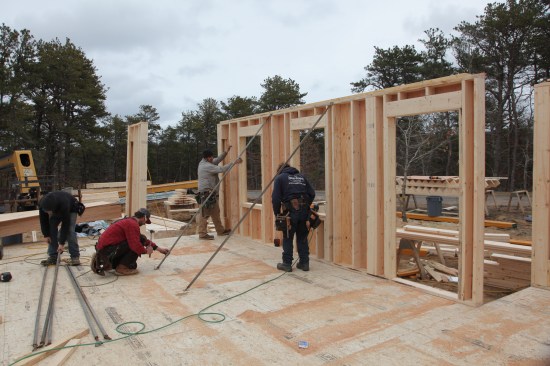
Up She Goes The crew raises the completed wall and then braces it plumb while adjacent walls are built.
The sheathing can be installed either horizontally or vertically, leaving a gap between sheets as recommended by the manufacturer. Don’t try to cut the sheathing around the opening at this point. As each sheet goes over the opening, measure in from the edge and mark that point to drive nails accurately. Tack the sheathing sheets to the plates at the corners as well as around the windows. Then grab the router with a flush trim bottom-bearing bit. Plunge the router bit through the sheathing a few inches inside the edge of each opening. Push the router to the edge of the opening and cut out the sheathing for each opening by letting the bit ride on the framing. Remember to always push the router opposite the rotation of the bit so that the rotation keeps the bit against the framing as it cuts. When the openings have been cut out, go back and nail off the rest of the sheathing. The final step is raising the walls and bracing them plumb while the other walls are assembled and raised.