Just about every carpenter takes on the task of strip-flooring installation at some point in his or her career. It requires a few basic tools and a good strategy. JLC has published many articles on the topic over the years, most of which were written by Howard Brickman, a professional flooring installer who teaches seminars on the topic and is featured in the photos for this article.
Flooring is often installed before baseboard, but in the project shown here, the floor is being installed in a finished room, so the flooring butts against the baseboard. If the floor were being installed first, it would simplify the project, but you would still have to run a string line to keep the first board straight.
Before you begin. Start by checking the moisture content of the flooring and the subfloor with a moisture meter. If both are 10% or less, you will be fine. Next, check the floor with a straightedge. It should be flat to within 1/4 inch in 8 feet. Mark the joist locations along the longest wall. The flooring should always be installed perpendicular to the framing. Note that the flooring is installed over asphalt-impregnated felt paper—not rosin paper.
Start straight. It’s imperative that the starting course be dead straight. This is accomplished by measuring from the baseboard out 4 inches at each end wall and stretching a string. Use a scrap to check the distance from the string to the baseboard or wall, and note the point where the string is farthest away from the wall. Then screw plywood guides to the floor at a distance described in the photos below. After this, it’s a matter of using the guide to help you scribe the first course made from perfectly straight stock, and installing the first board.
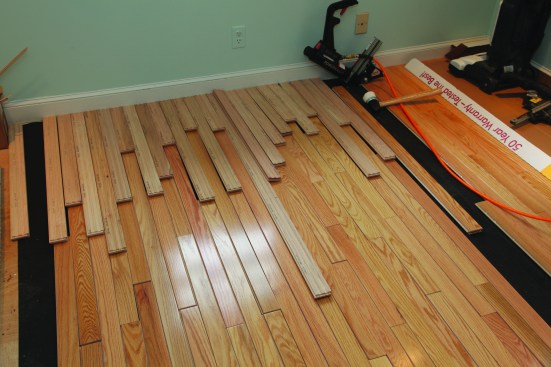
The photo progression shows the rest: the field installation followed by the tricky steps of installing the last board.
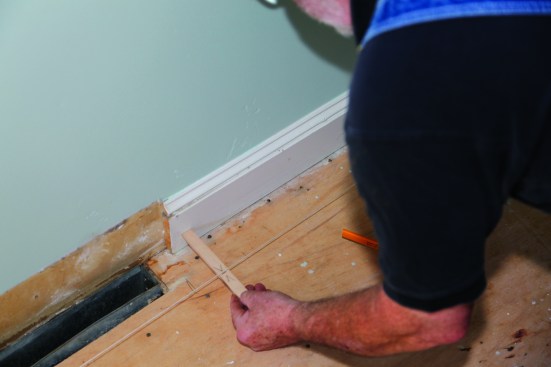
After checking the walls for parallel, a string is stretched along the beginning wall. A simple piece of wood with the distance marked on it becomes a gauge to see how straight the wall is and to find the farthest point from the string.
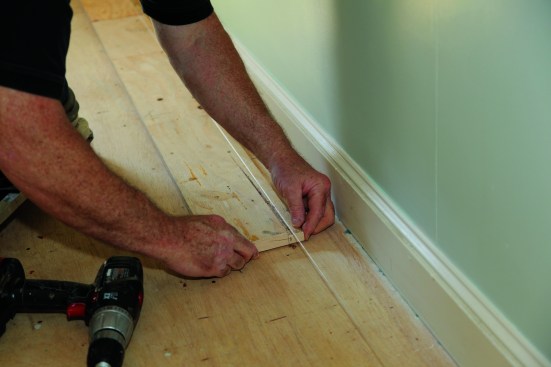
A straightedge screwed to the floor will keep the starter course straight as it's being scribed to the wall. A notched stick helps place the straightedge precisely parallel to to the string.
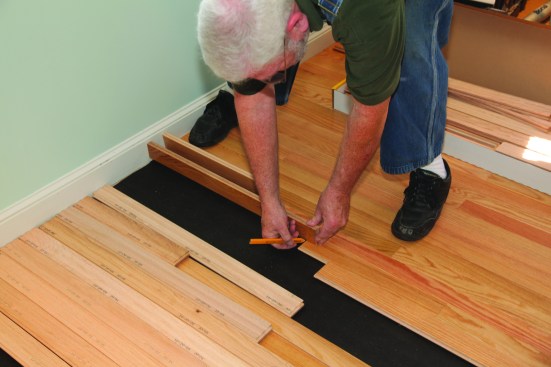
After cutting the first course to length and setting it against the straightedge, a scrap piece of flooring is used to mark the scribe line.
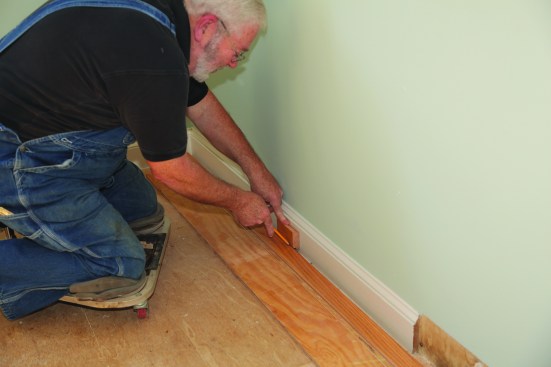
The quickest and most accurate way to cut to the scribe line is with a hand plane. The angled cut from the saw makes this a quick operation.
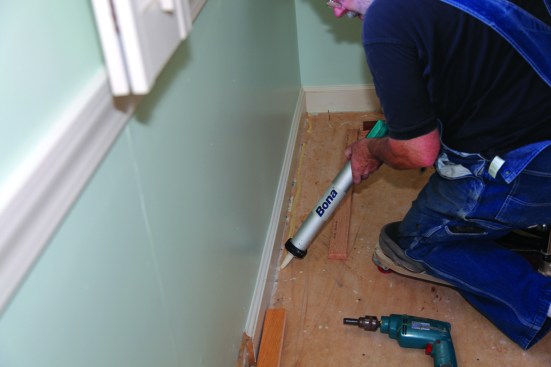
Glue down the first course
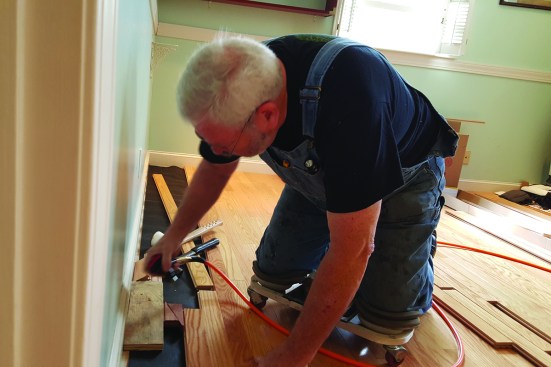
A nail spinner (in the drill on the floor) drives the flooring nails part way. A hammer finishes driving them and each nail is set flush with the tongue.
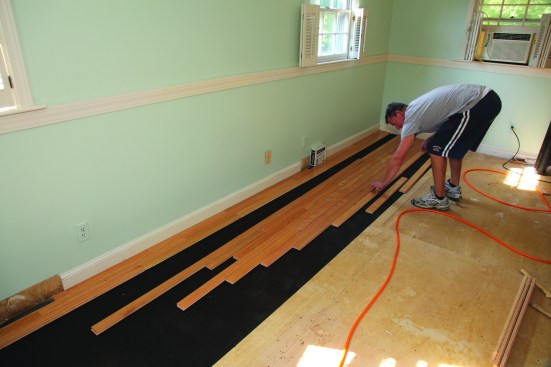
While one of the crew nails off the first courses, another "racks" the boards to be installed. Boards are placed on the floor with seams staggered the proper amount. The installer can then just pull the boards over with his feet and nail them into place.
At the end of the floor, the person racking lays down the final pieces upside down and backward.
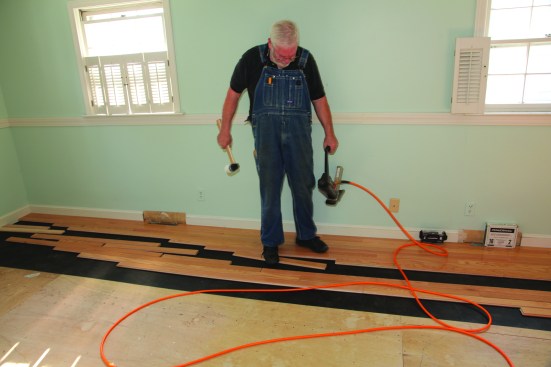
An installer's feet get as much of a workout as the arms. Soft-soled shoes are a must! The first step is pulling the next board over from the "rack."
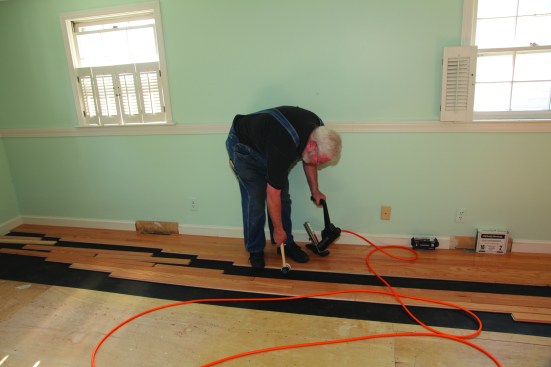
The next step in the dance is tapping the strip snuggly against the installed flooring.
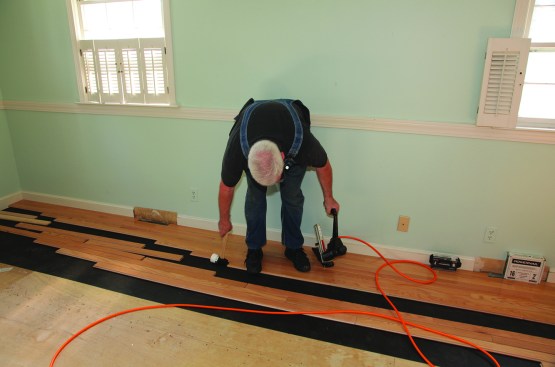
A tap on the end closes any gap between the boards and it's ready to be nailed
The quickest way to install the flooring is to pull the pieces over and install them in a stair-step fashion. Usually one of the crew cuts the end pieces while the other continues installing the "steps."
With the end pieces racked upside down and backward, they can be tilted up and the length marked on them. With the stair-step strategy, three or four boards can be marked at a time.
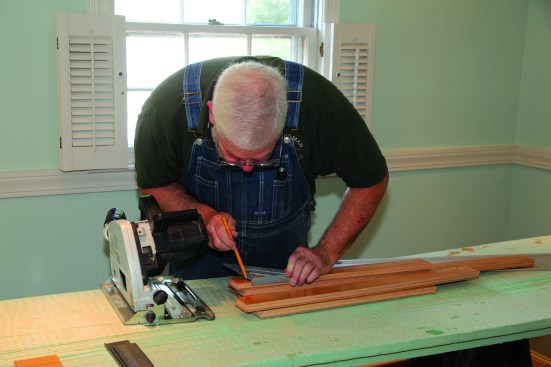
Lines are squared across the boards at the length marks.
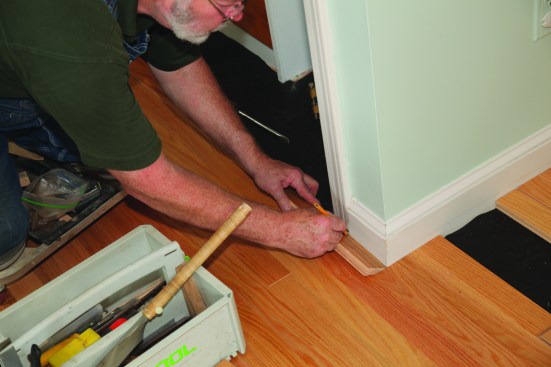
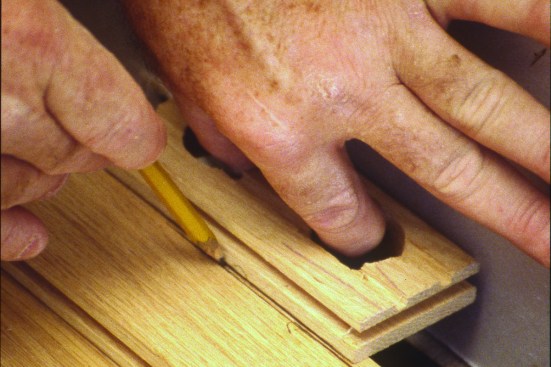
Author scribes pieces for both sides of the doorway, marking the length and width at every critical place.
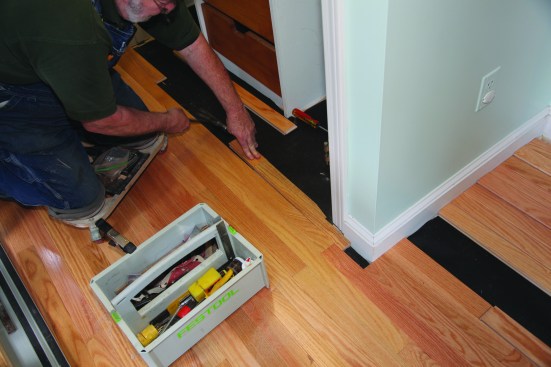
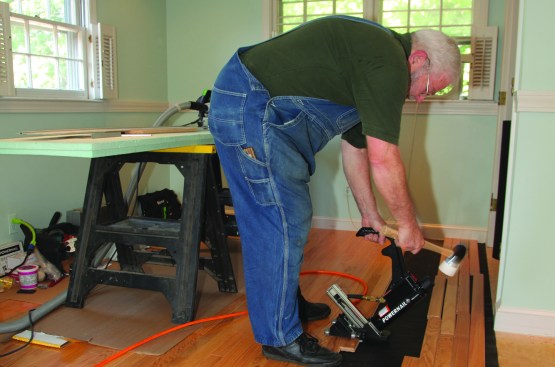
After cutting to the scribe lines, the piece is tapped into place using a scrap block to protect the end.
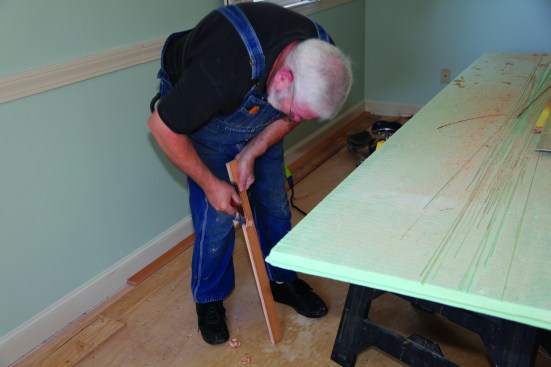
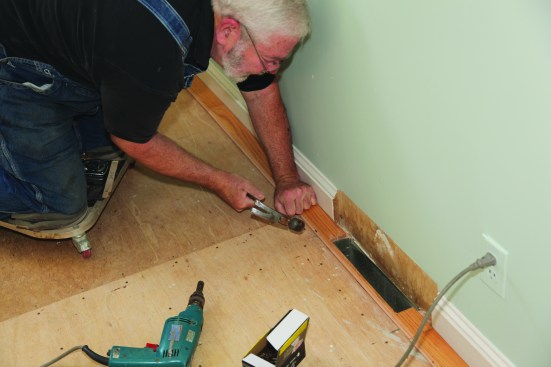
A jig made from scrap scribes the final board.
It is then planed to the scribe and installed with face nails.
Photos by Roe Osborn