Photos by Roe Osborn
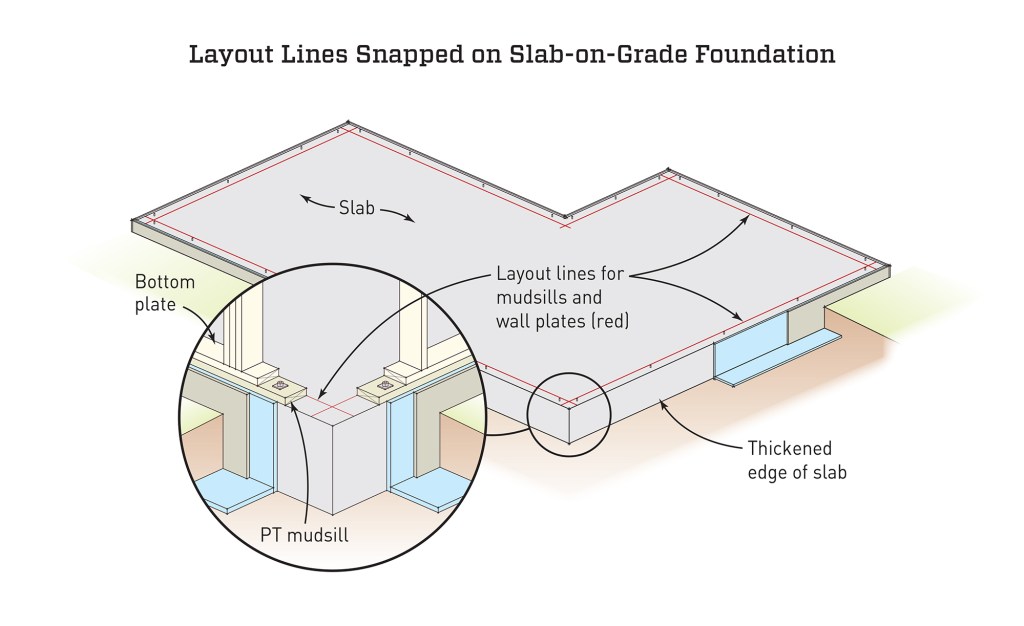
Whether you’re building walls directly on the mudsills or on top of a floor frame or deck, the mudsills must be laid out square (“Mudsill Layout for a Complex Foundation,” May/14). If a deck is built on the mudsills, it should be built square as well. With the framed floor, you still need to lay out and snap lines to keep the walls straight and perfectly square. In most cases, the same crew frames both the deck and the house walls, so any major discrepancies have already been dealt with. They can compensate for minor differences at the wall plate layout stage.
If the deck is a simple rectangle, the process is simple. When the deck is an irregular shape with more than one rectangle, I start by looking for the longest wall and the largest rectangular section. The example we use for the step-by-step illustrations has a small rectangle that bumps out of a larger rectangle. And we’ll stay with that basic layout to describe the process.
THE DIAGONAL METHOD
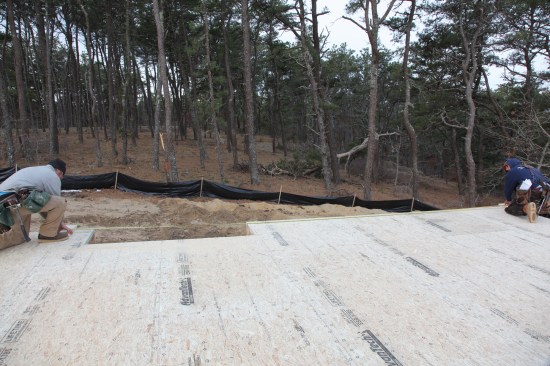
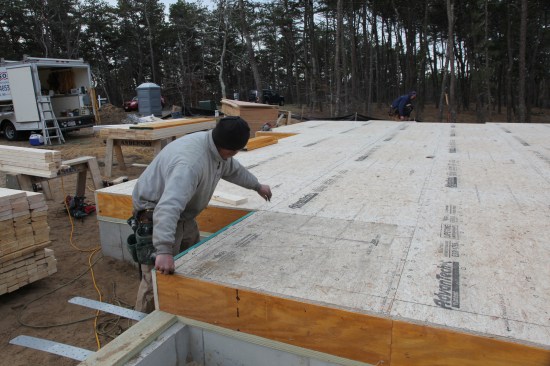
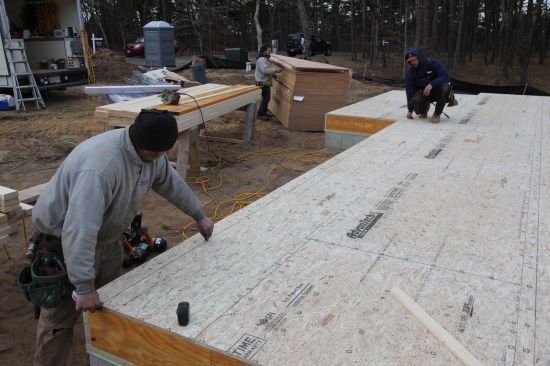
To lay out the wall lines, I first cut a scrap of the plate material (typically 2×4 or 2×6) about a foot long. Rather than relying on a tape measure for this step, I use the block for marking the inside edges of the plates. Starting with the longest wall, I hold the outside edge of the block flush with the outside of the rim joist on both sides of the corner and draw a line along the inner edge of the block.
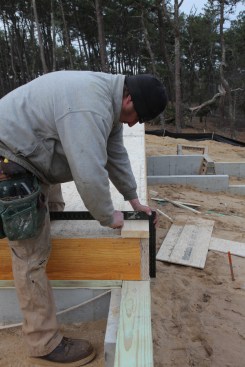
The first line to establish is the baseline, which is usually the longest wall of the house. Using a gauge block made from 2-by plate stock, square off the rim joist of the floor deck and mark the first corner of the baseline wall.
Repeat the process marking the opposite corner of the baseline wall and then snap a chalk line between the corners for the baseline.
I go to the other end of the longest wall and lay out that corner the same way, double-checking the overall length of the wall. With the length of the long wall and the corners established, I snap a chalk line between the marks to establish the control, or baseline, for laying out the rest of the walls.
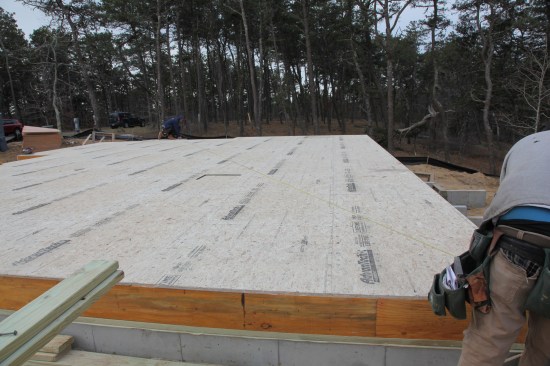
Next, I lay out the wall parallel to the base line. In our example with two rectangles, I measure up the length of the wall and use the gauge block to mark both sides of the first corner.
Using the gauge block, measure and mark the distance from the baseline (on the left) to the parallel wall. Working off the edge of the deck, mark an approximate corner with the gauge block.
Measure and mark the distance for the other end of the parallel wall. Here, that distance is not at a corner of the building so use the gauge block from the edge of the floor deck to mark the approximate corner.
It’s important to note that this corner mark is only approximate at this point and will be adjusted. On the other side of the building, there is no corner for the large rectangle, so I measure up and mark the length of the wall, and place the gauge block on the edge of the deck to mark the approximate corner on that end.
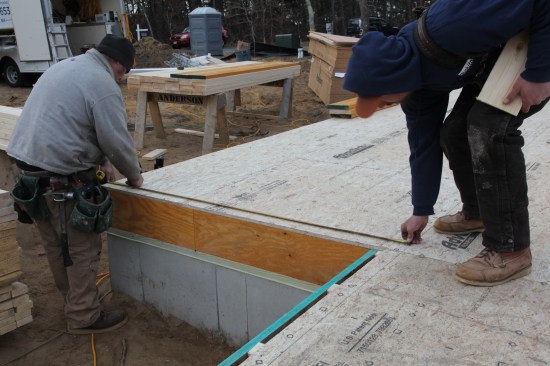
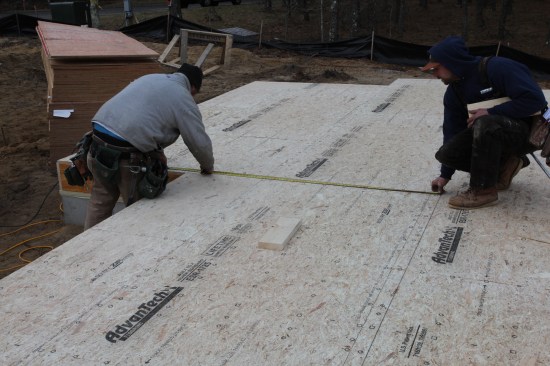
With the approximate corners marked, I use a 100-foot tape and take diagonal measurements between the baseline corners and the approximate corners on the parallel wall.
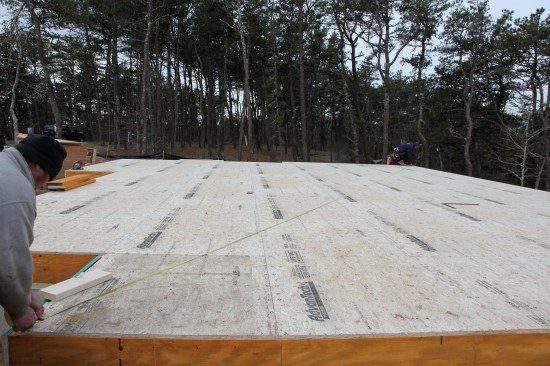
Measure diagonal distance between the corner on the baseline wall and the approximate corner on the parallel wall.
Measure the diagonal between the opposite corners. Adjust diagonals until the two diagonal measurements match exactly.
This is your chance to get the measurements dead equal. The simplest way to do that is to split the difference between the two measurements and adjust the corners to that figure. When the corners are adjusted to precisely the same measurement, I snap a line between the baseline corner and the adjusted corners.
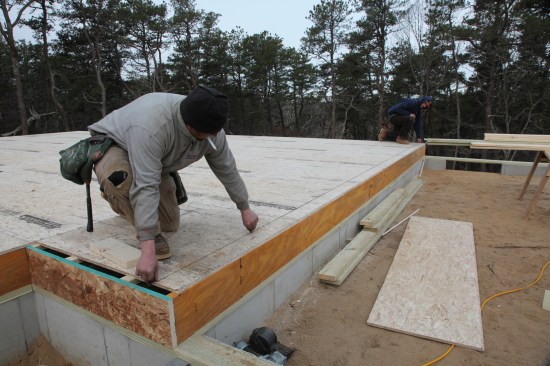
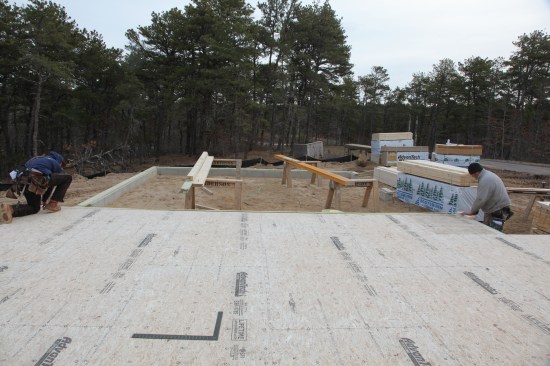
Snap a line from the baseline corner to the adjusted corner. That line for the square wall should be perfectly square to the baseline wall. Repeat the process for the square wall on the other side of the house. Note, the crew in the photos began the wall layout while another crew member was cutting the filler piece of sheathing for the end of the parallel wall. The missing sheathing did not affect the plate layout because the plate line for that wall fell on the installed sheathing.
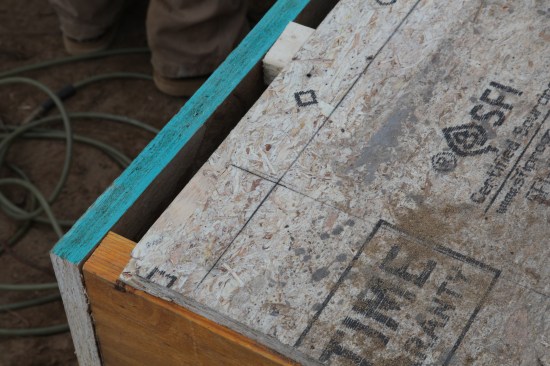
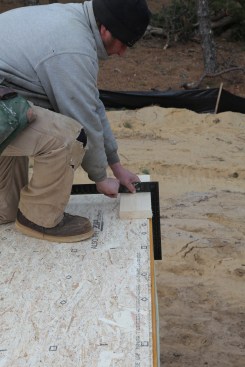
In this close-up of the intersection between the square wall and the parallel wall, the approximate corner is marked in pencil, and the adjusted corner of the intersection is snapped in permanent black chalk lines. (Note: The edge of the floor sheathing is missing from this photo. The crew will come back and piece this in before standing the 2×6 walls.)
Those lines should be perfectly square to the baseline for placing the perpendicular walls. I also re-snap the parallel wall line in permanent chalk.
Once the corners are confirmed and the square walls are snapped, re-snap the parallel wall in permanent black chalk.
THE 3-4-5 METHOD
In some instances, particularly remodeling situations, it’s not always feasible to measure diagonals to establish the lines for the square walls. In these instances, the 3-4-5 squaring method works well.
The essence of this method is that if one leg of a triangle measures 3 and the other 4 with a diagonal measurement of 5, the corner angle will always be square (90°). The beauty of this method is that it works in any multiple of the 3-4-5. For example, I most often use the numbers of 3 feet and 4 feet for the legs with the resulting 5-foot diagonal when laying out walls for a small area. But I may double up the dimensions to 6-8-10 when remodeling a kitchen, or even triple them to 9-12-15 for an addition or when finishing a larger area like a basement. Always use the largest multiple for the walls that you are laying out.
As with the diagonal method, we lay out the parallel wall after laying out the long wall, but this method really shines when you can’t easily snap the line for the parallel wall, or when you are working off an existing wall, as in the illustration example. In this case, snap out the baseline wall much like we did before (or use the existing wall as the baseline), establishing a corner point with a gauge block. Measure out from that corner along the baseline the largest multiple of 4 – let’s say 12 feet. Because I’ve tripled the 4-foot leg to 12, I also triple the 3-foot leg, to 9 feet. Then I butt a tape measure into the corner, extending it until the 9-foot mark comes into view, and lock the tape into position. I hook the end of a second tape on the 12-foot mark and extend the tape diagonally to the first tape, aligning the 15-foot mark on the diagonal tape (3 x 5 feet) precisely with the 9-foot mark on the first tape. I mark that point on the deck and snap a line from the baseline corner through this mark, extending the line over to the opposite wall. That layout line should be perfectly square to the baseline wall.
With the largest rectangle snapped out, measure off the established lines for the plate layout of the smaller rectangles. Here, the crew measures off the parallel line at one end…
… and then the other. At this point, using the gauge blocks is optional. It could be just as easy to subtract the width of the plate stock from the length of the wall.
PLATE LINES FOR OTHER WALLS
Once you have laid out the largest rectangle with either the diagonal method or the 3-4-5 method, use the same strategy for the walls on any smaller rectangles. Measure off established lines first for parallel walls, snapping lines between the points, and then lay out the square walls. Use diagonal measurements to check the walls for square.
Snap lines for the other parallel walls before laying out and snapping the smaller square walls. Check for square by doing diagonal measurements on the smaller rectangles.
Next step: To learn more about framing walls, explore the JLC Framing Workbook.