
SEQUENCE OF STEPS
Window air-sealing typically takes place after the window is installed, but there is one exception: If a backdam is used, it’s best to apply a bead of caulk along the outer face of the backdam while the window is being installed (see “Window Sill Detail,” above).
Instead of a backdam, some builders may use a piece of beveled siding on the rough sill. The bevel slopes to the outside and helps drain away water that might leak through the window. In either case, there is not enough room to seal the inside with foam; the bottom must be caulked tight instead.
The photos below show the steps to sealing a window with foam sealant. As an alternative to foam, you can also use a foam backer rod and caulk, as the last couple of photos demonstrate.
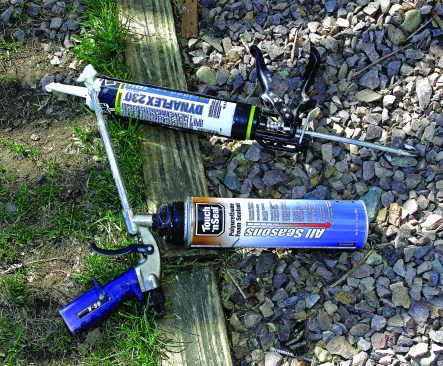
Start with good tools. A professional-grade caulk gun and foam gun (not a plastic straw) provide needed control

Sealing with foam. On this window, foam is applied on both sides and across the head. The carpenter started at the upper right corner and pulled a bead down the right side of the window.

After completing the right side, the carpenter returns to the upper right-hand corner and begins working across the head of the window.

Working steadily, he pulls a bead across the window head. Note that jamb extensions have not yet been installed.

The carpenter has inserted the gun’s tip deep into the gap, so the cavity fills from the back forward as the foam expands. Finally, the carpenter turns the corner and works down the left side.

Complete the air seal by caulking in the corner between the backdam and the window.
Matt Risinger
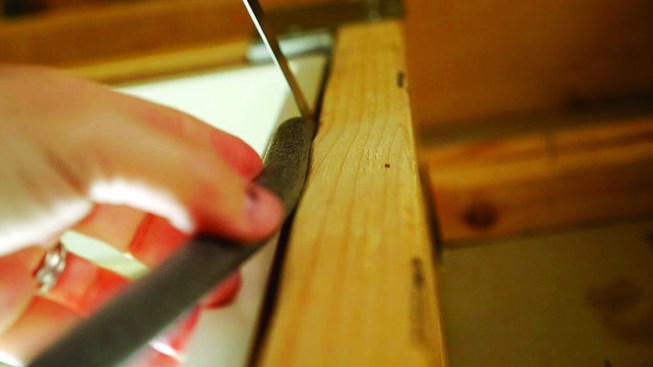
An alternative to foam. Instead of spray foam sealant, caulk can also be used to seal the wide gap at the sides and head of the window. Many builders prefer the more flexible seal that caulk provides. But in order to make caulk work, the gap must be filled with a foam backer rod first.

Matt Risinger
Backer rod is essentially to the caulk's ability to stay flexible and stretch with dimensional changes fthe framing and window materials over time.