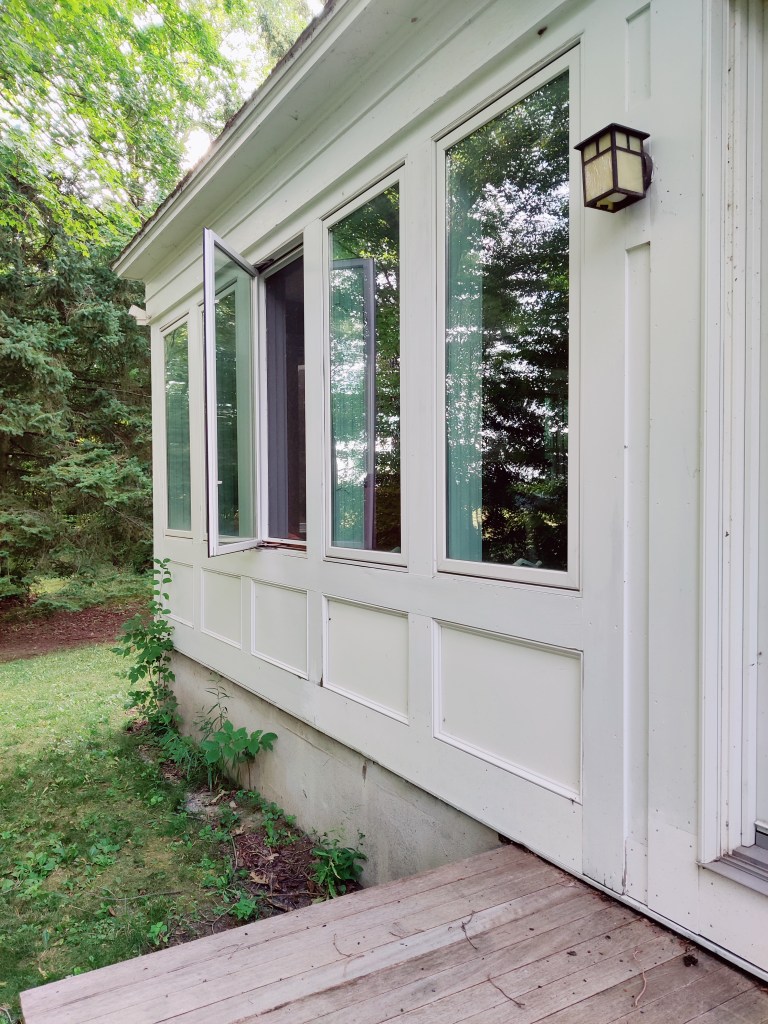
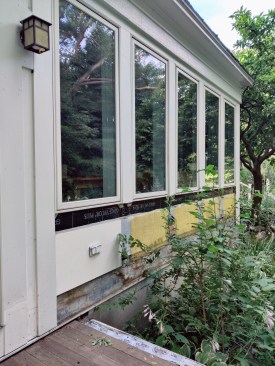
Back in 2004, I enclosed an open front porch to create the four-season sunroom shown in this article. At the time, I didn’t think the exterior wood trim would need replacing only 20 years later, as I had been careful about back-priming and double-priming end-grain cuts and diligent about maintaining the paint finish. I had also installed Benjamin Obdyke Slicker Classic rainscreen underlayment to create an air space for ventilation and drainage behind the flat plywood panels that make up the frame-and-panel trim detail underneath the 14 casement windows that enclose the porch.
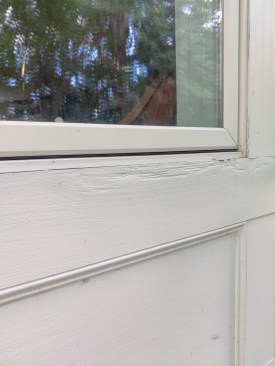
Over the past couple of years, however, hints of rot had appeared in the window trim, until finally there was too much to just paint over. As I pried off trim pieces, it became clear that the damage was more extensive than I thought. I wanted to replicate the frame-and-panel look when making repairs but needed to revise my approach to avoid repeating the problem.
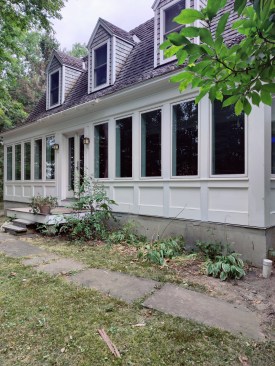
Andrew Wormer
The existing frame-and-panel trim under the clad casement window…
Sill
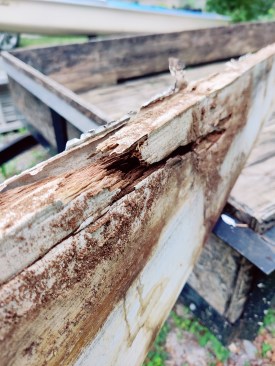
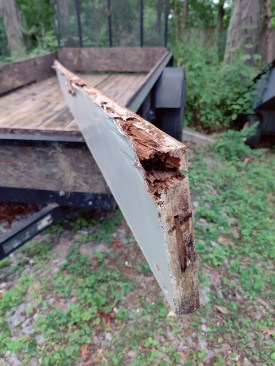
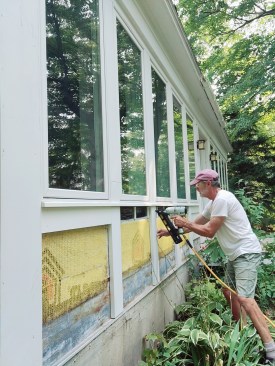
Most of the rot damage was in the horizontal ⁵⁄₄x6 trim that formed the top “rail” of the frame-and-panel detail directly beneath the windows. I found additional damage at the intersection of the vertical stiles and the bottom ⁵⁄₄x8 rails. While the clad casement windows had been well-flashed with self-adhering flashing tape and peel-and-stick membranes when they were originally installed, one key element was missing: a sloped sill that would shed water out and away from the trim underneath. In our location, the long, south-facing wall of the porch bears the brunt of wind-driven rain. Water running off the clad windows had worked its way into the trim rather than dripping off. Retrofitting a sill to the windows would help to solve this problem.
I fabricated the new sills from ⁵⁄₄x4 (nominal) Azek PVC, first cutting a 15-degree bevel along both edges of the stock and then ripping the boards in half to create 1-by-1 ¾-inch (actual) sill material. After ripping a ¼-inch-deep kerf underneath the tapered edge of each piece to form a drip edge, I used a sharp block plane, a belt sander, and 320-grit sandpaper in a sanding block to smooth away the saw marks on the tapered edges.
Andrew Wormer
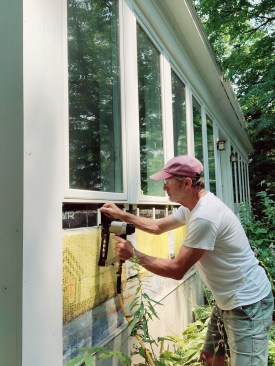
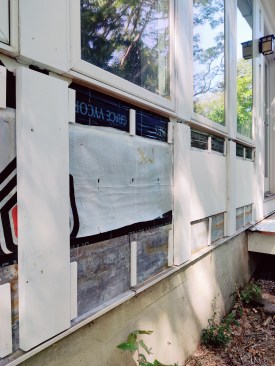
With the first group of windows by removing the trim exposed the…
My original plan was to simply let in the new sill by cutting away 1 inch from the top edge of the upper rails while leaving most of the trim intact. In fact, this is what I did on the short west- and east-facing walls of the porch, which had significantly less damage than the south-facing wall. I screwed a straightedge to the wall to guide my circular saw while making the cut, being careful to set the depth of cut so that I wouldn’t damage the membrane underneath. After priming the cut upper edge of the rail, I applied generous beads of Dap AMP adhesive sealant both to the underside of the window cladding and upper trim and to the top edge of the rail. The fit was snug when I slid the sill into place—enough so that no fasteners were needed—and required only a bit more sealant along the top and bottom of the sill to complete the bead.
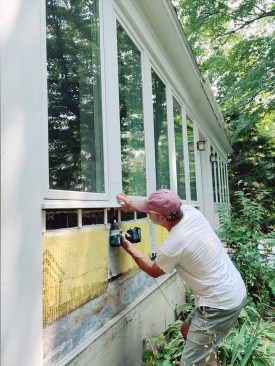
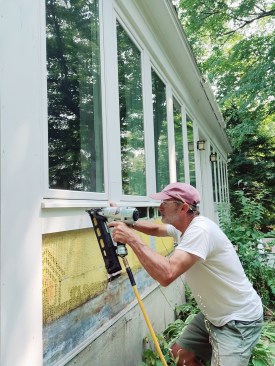
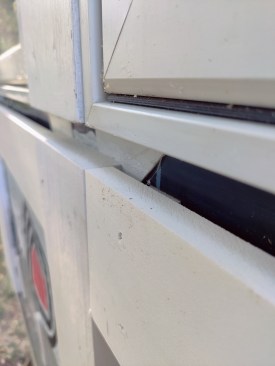
Along the long, south-facing wall, the trim below the 10 windows was so compromised that I removed it all. On the first group of five windows, I installed the new sill before the new trim, screwing up from below into the sealant-coated end grain of the ⁵⁄₄x6 trim separating the windows. This worked well enough but made it challenging to shim the rails into plane with the stiles, as I describe below. On the second group of five windows, I installed the new stiles and rails first, leaving a 1-inch gap between the trim and the bottom of the window flanges for the new sill. This approach proved much simpler and cleaner, given the rainscreen detail I needed.
Andrew Wormer
On the second group of windows, the author left a 1-inch space f…
Rainscreen Detail
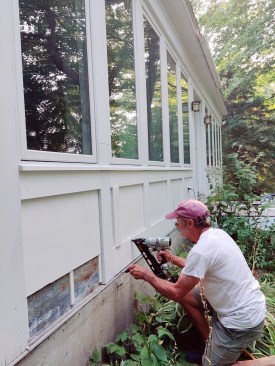
The existing detail provided a drainage space only behind the plywood panels. The original wood ⁵⁄₄x6 top rail and ⁵⁄₄x8 bottom rails had no drainage and suffered the most rot damage. This time, I ran the vertical stiles from directly underneath the new sill to the lead-coated copper L-flashing covering the concrete-slab porch floor. Between these ⁵⁄₄x6 stiles, I replaced the top and bottom rails with 1-by (¾-inch actual) PVC stock and, to allow drainage behind the new rails, I mounted them on 1-inch-wide pieces of ⅜-inch-thick PVC sheet stock. Any water not shed immediately by the sill or stopped by sealant between the sill and the rails can escape through the gap between the rails and the waterproofing membrane covering the walls.
Matching ⁵⁄₄ wood trim (typically, between 1 ¹⁄₁₆ and 1 ⅛ inches thick) with 1-by PVC trim (which is exactly ¾ inch thick) requires fussy shimming to get the surfaces in plane, especially when the water-resistive barrier covering the wall consists of different flashings and membranes of varying thickness. In addition to ⅜-inch-thick PVC strips, I used white-cedar shim shingles as needed to nudge the PVC rails flush to the wood stiles.
To enhance drainage behind the new ⅜-inch-thick PVC flat panels, I tried installing a few of them over the Slicker rainscreen underlayment that I had used under the original plywood panels. But the edges of the PVC panels were too flexible and inadequately supported by the Slicker fabric matrix. So, I removed the Slicker entirely and tacked the PVC panels directly to the membrane-covered wall. Gaps between the edges of the panels and the vertical stiles will let water flow around the panels and out of the assembly.
Finally, I trimmed each panel with 1 ⅛-by-¹¹⁄₁₆-inch PVC base cap molding, which covers the gaps between the panels and the stiles and rails. To finish up, I’ll fill in all the nail holes and paint everything so that all the wood and PVC surfaces will have the same color and sheen.
Keep the conversation going—sign up to our newsletter for exclusive content and updates. Sign up for free