When installing window sills, door trims or any architectural details, be certain all proper flashing has been installed before beginning mortar work. When finishing openings or penetration points such as light boxes, spigots, begin by installing window sills first.
To ensure proper spacing for the sill, and placement of the bracing you’ll need when mortaring and installing window sills, follow these simple guidelines:
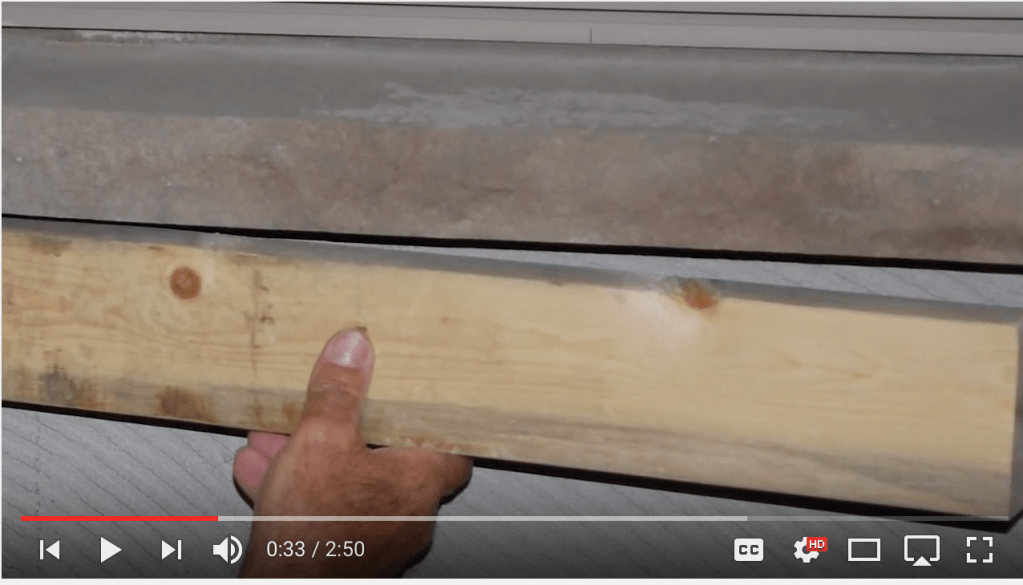
Sills Installation Tips: The 2×4
1. Position a 2×4 straight-edge bracing board just under the pre-positioned sill.
Check for level, and mark the location either at the top of the 2×4 or at the bottom of the sill. Then you’re ready to attach the bracing board to the wall. Once properly placed, screw the level 2×4 bracing board to studs—16 inches on-center.
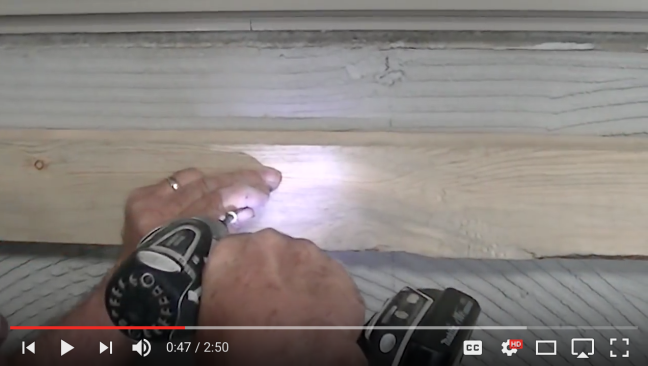
2. Continue by installing the sill, using the secure 2×4 bracing board as a rest for it, which will support it during the drying period.
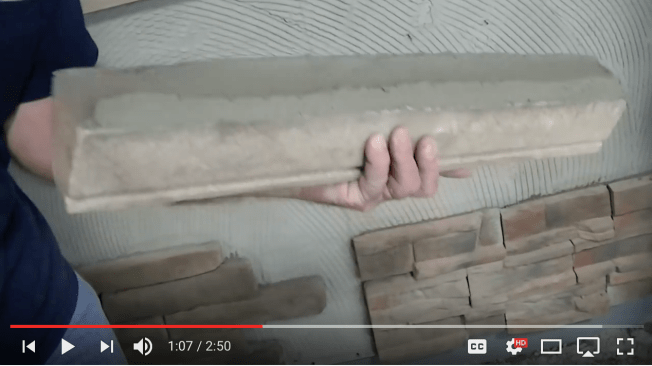
3. Next, apply mortar to the entire back of the sill, pressing it securely into the wall, and check for level.
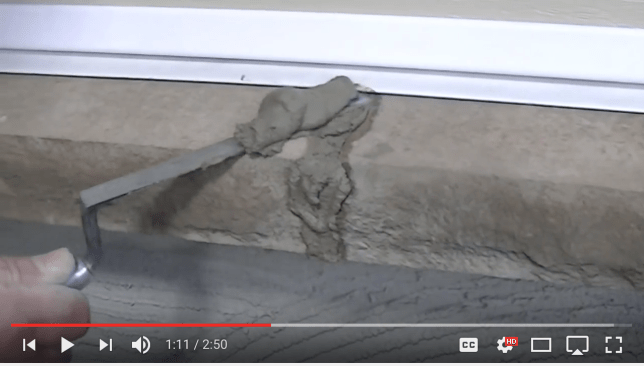
4. Once mortar has been applied, and the sill installed, gently scrape excess material from the joints.
5. Allow mortar to dry on the sill fully before removing the 2×4 brace.
Trim Stone Tips: Work from the Outer Edges to the Center
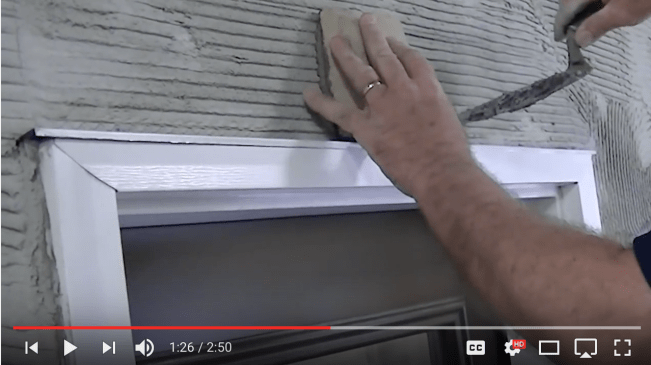
1. Begin with the top and center of the window or door frame using a keystone or center stone. After placing the keystone, work from the outer edges of the frame, inward toward the center, cutting pieces to fit as needed.

2. Working from the outer edges toward the center ensures an even number of stones will be installed on each side of the keystone. As with the sill, be sure that all proper flashing around door and window frames has been installed before beginning mortar work.
For more tips go here: www.provia.com/stone