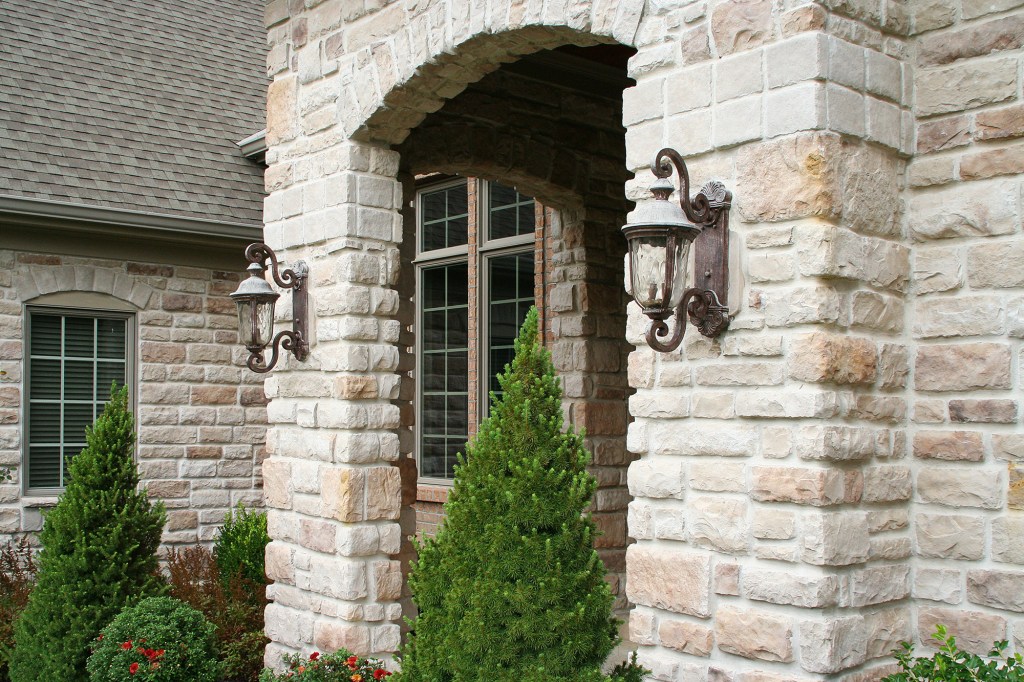
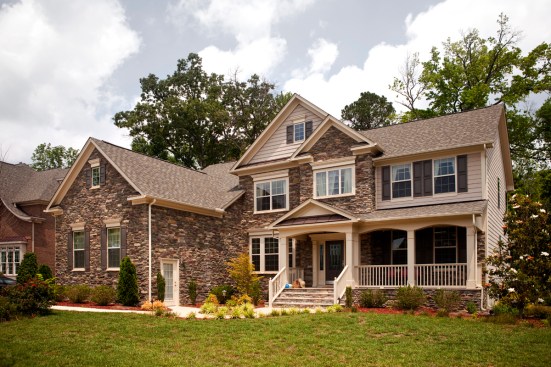
The Remodeling Magazine Cost vs Value Report for 2020 lists Manufactured Stone Veneer as the top-rated remodeling project for return on investment, with an average of 95.6% of the cost of the project retained in resale. The addition of manufactured stone to a home exterior lends texture, style and curb appeal; when installed properly, manufactured stone veneer is durable and virtually maintenance-free.
Here are five things to consider that will help with a smooth and efficient exterior installation:

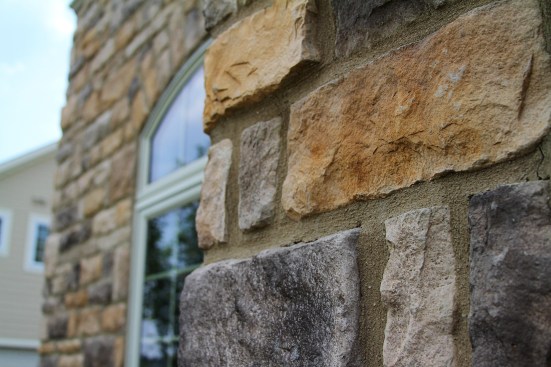
- Narrow Down a Style and Color for the Stone and Grout: Today’s manufactured stone veneer is available in a wide array of stone styles and colors. Some styles require grout and some do not, and many are manufactured to closely resemble the stone that is found naturally in specific geographic regions. You can get started with your stone and grout selections by trying ProVia’s Grout Color Visualizer.
- The Secret Is in the Prep: Manufactured stone products may be applied to any structurally sound load bearing wall surface if it has been properly prepared. Stone veneer may be applied directly to clean untreated porous concrete and masonry surfaces. Proper surface preparation is important for adhesion and for a long-lasting installation. Walls/surfaces must be clean and free from release agents, paints, stains, sealers or other bond-break materials that may reduce strength of mortar adhesion.
- Consider Best Method to Keep the Water Out: If your stone is being applied to exterior plywood, a moisture resistant barrier is always necessary. Almost every stone veneer installation starts with a layer or two of building paper, covered with dimpled and galvanized wire lath. Building codes in many areas require the installation of a drainage plane, much like the ones used when installing stucco. A scratch coat of mortar is then applied to the metal lath. Exterior applications will also require proper flashing to keep water from gathering behind the stone.
- Start with a Layout: Laying the stone pieces out on the ground before beginning to install them helps to make sure you have enough material to complete the job and allows you to arrange the stones in just the way they’ll look on the wall. It makes it easy to choose which stones are best suited for any cuts that need to be made and to place the stones in such a way that fewer cuts are needed.
- Check Installation Instructions for Specific Installation Technique: Corners are usually installed first, alternating the long and short legs of the corner pieces to set up a staggered effect. Stone styles which don’t require grouting, like dry-stack stone, are installed from bottom to top, but grouted styles are often installed from top to bottom. It’s important to remember that building codes can vary; check with your local building inspector before beginning your project. For complete detailed installation instructions, see the ProVia Stone Installation Guide.
Manufactured Stone Veneer can add style, curb appeal and value to your next remodeling project, as long as it is installed correctly. For more ideas, check out the Designer Collections Home Exterior Portfolio from ProVia.