


Sue Burnet
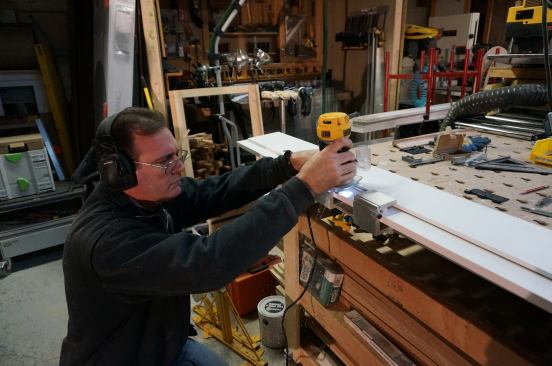
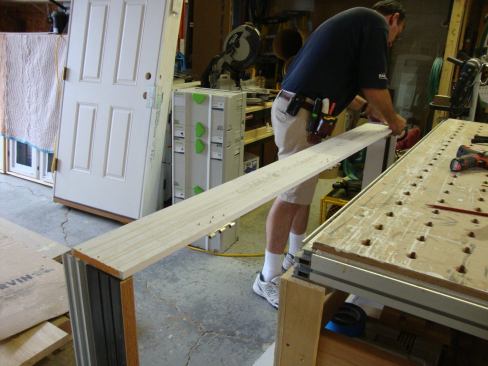
Greg Burnet prepares a door slab in his shop. The slab will be s… Greg Burnet prepares a door slab in his shop. The slab will be set into a frame all prepared and preassembled in his shop for maximum quality control.
Sue Burnet
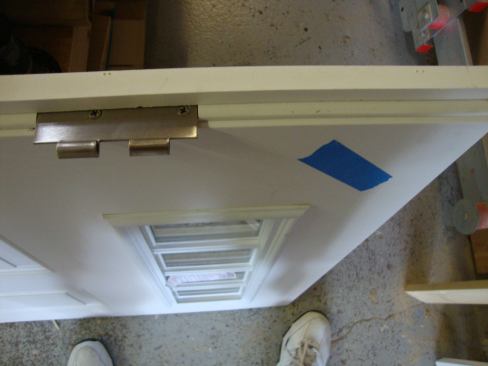
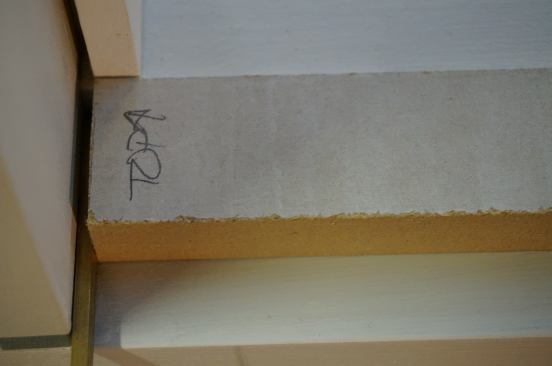
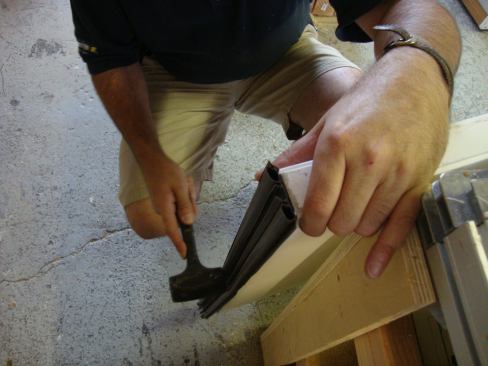
On a glazed door slab, the retainer molding has an interior side… On a glazed door slab, the retainer molding has an interior side. To maintain the proper orientation while working on the door, Greg puts a piece of painter’s tape on the upper inside corner of the slab.
Sue Burnet
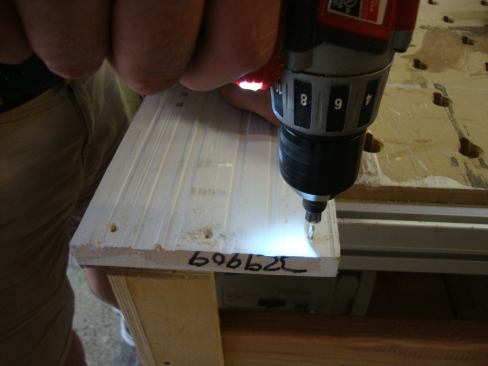
For some pre-hanging projects, rabbeted jambs are available cut … For some pre-hanging projects, rabbeted jambs are available cut to length to fit the door slab. If the jambs are weatherstripped, temporarily remove the weatherstripping while the jamb is prepared.
Sue Burnet
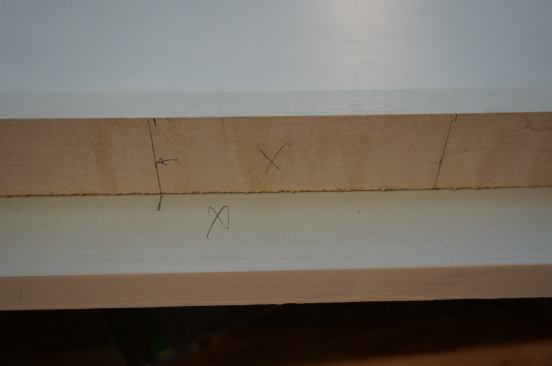
Using a story pole minimizes the number of times you need to gra… Using a story pole minimizes the number of times you need to grab a tape to take measurements, and reduces the chance you’ll make a mistake when taking those measurements. Greg marks the position of the hinges on a straight piece of wood. When he transfers those marks to the jamb, he uses a nickel spacer for clearance at the top.
Sue Burnet
A 1/8-inch-square rod can be used as an alternative spacer for t… A 1/8-inch-square rod can be used as an alternative spacer for the story pole. A 1/8-inch drill bit also works.
Sue Burnet
After positioning the story pole, transfer the hinge locations d… After positioning the story pole, transfer the hinge locations directly to the jamb.
Sue Burnet
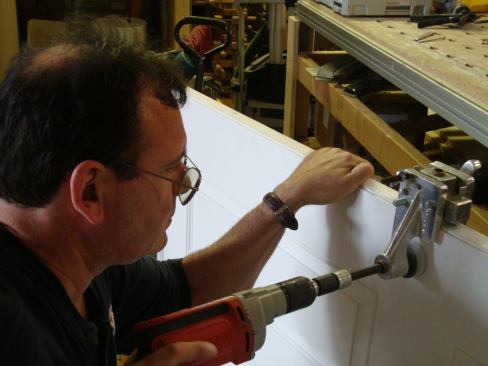
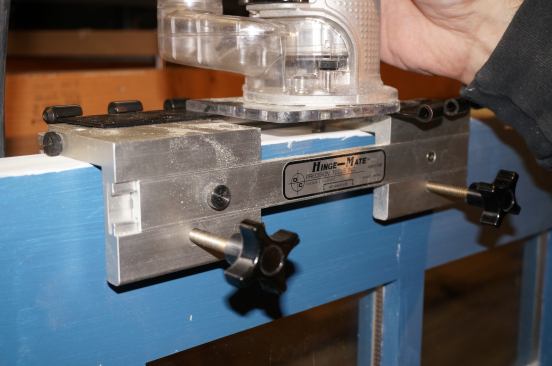
To save time and effort Greg uses a router and a Hinge Mate jig … To save time and effort Greg uses a router and a Hinge Mate jig for the hinge mortises. He sets the bit to the correct depth by placing two hinge leaves on the jig and extending the bit down to either the door or the jamb.
Sue Burnet
A small combination square registered against the jig lines up w… A small combination square registered against the jig lines up with the mark from the story pole. This allows Greg to position the mortises accurately.
Sue Burnet
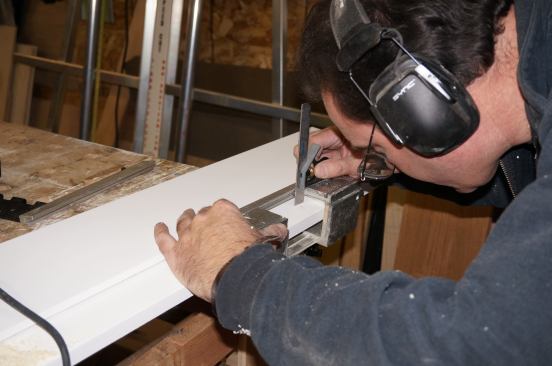
Once the layout is done, setting up the jig and routing a hinge … Once the layout is done, setting up the jig and routing a hinge mortise takes less than a minute.
Sue Burnet
Using a 1/2-inch diameter bit in the router leaves a 1/4-inch ra… Using a 1/2-inch diameter bit in the router leaves a 1/4-inch radius in the corners.
Sue Burnet
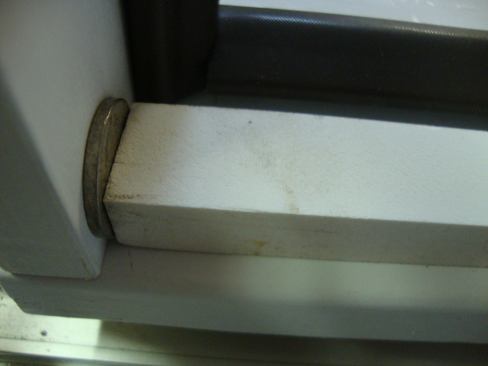
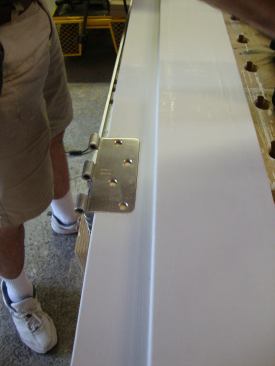
For some projects Greg uses heavy duty hinges with round corners… For some projects Greg uses heavy duty hinges with round corners that fit into place without modifying the mortise.
Sue Burnet
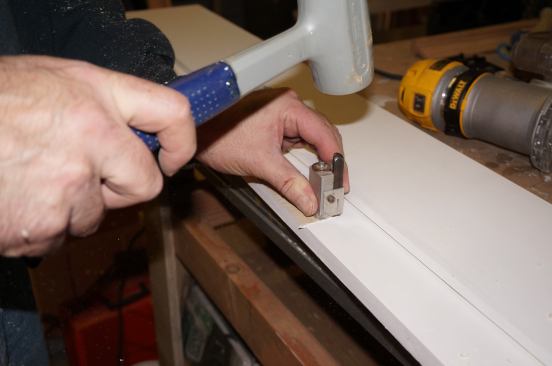
When matching existing hardware in a home, Greg often uses hinge… When matching existing hardware in a home, Greg often uses hinges with square corners. A spring-loaded corner chisel makes quick work of squaring the corners of the mortise.
Sue Burnet
The corner chisel leaves small triangular bits of wood in the co… The corner chisel leaves small triangular bits of wood in the corners of the mortise.
Sue Burnet
A sharp chisel or knife removes the bits of wood left from the c… A sharp chisel or knife removes the bits of wood left from the corner chisel, making the mortise ready for a square-corner hinge.
Sue Burnet
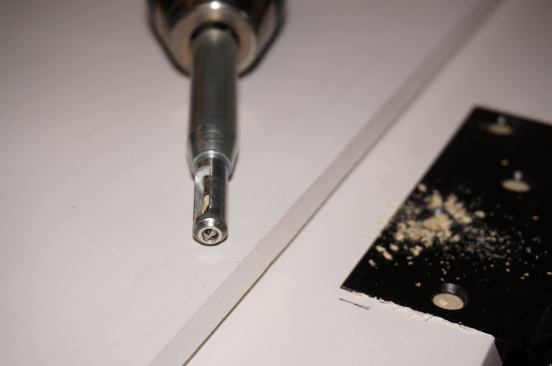
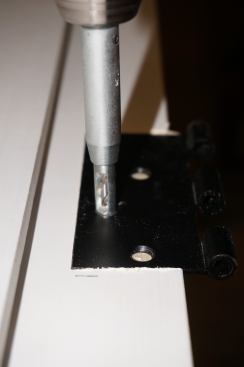
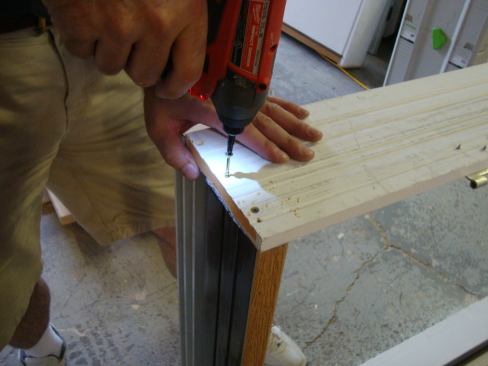
A spring-loaded, self-centering Vix bit has a tapered guide that… A spring-loaded, self-centering Vix bit has a tapered guide that fits into the countersunk screw holes on the hinges.
Sue Burnet
Predrilling in the exact center eliminates the problems caused b… Predrilling in the exact center eliminates the problems caused by the misaligned screws that factory pre-hung doors often have.
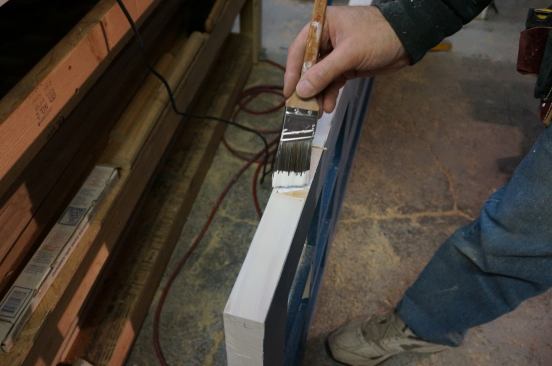
Sue Burnet
Mortising exposes raw wood. Applying a coat of fast-drying prime… Mortising exposes raw wood. Applying a coat of fast-drying primer to the exposed areas helps prevent problems from moisture in the future.
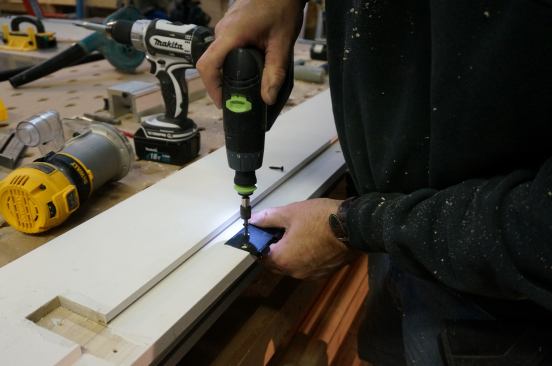
Sue Burnet
Because the story pole was used to layout the hinges on the door… Because the story pole was used to layout the hinges on the door slab as well as on the jamb, the hinge leaves can be screwed in place without worry of alignment problems later.
Sue Burnet
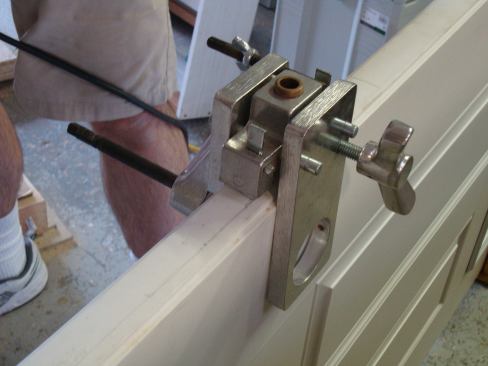
This jig made by Classic Engineering lets you cut the holes for … This jig made by Classic Engineering lets you cut the holes for the lockset and deadbolt, keeping them perfectly aligned with the edge bore holes. Guides in the jig ensure that the bits stay perfectly in line.
Sue Burnet
To lay out the position for the jig, Greg first marks the back s… To lay out the position for the jig, Greg first marks the back set for both the lockset and deadbolt. Then he measures from the bottom of the door to the center of the lockset (typically 36 inches) and to the center of the deadbolt (typically 41 inches).
Sue Burnet
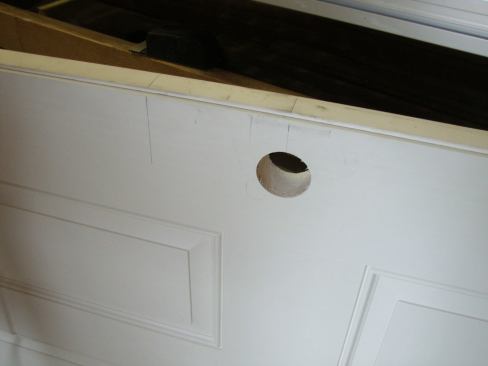
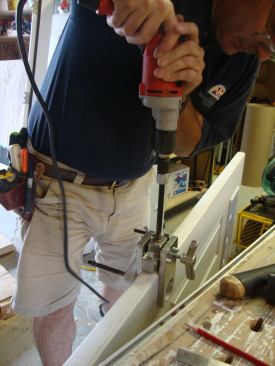
After clamping the jig in position, Greg drills the hole for the… After clamping the jig in position, Greg drills the hole for the lockset using a heavy-duty 1/2-inch drill. The 2 1/8-inch drill bit is part of the jig.
Sue Burnet
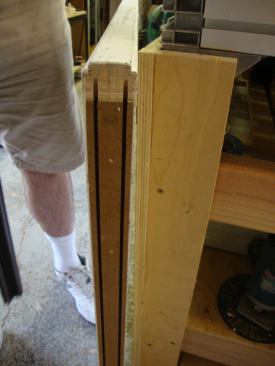
A 1-inch spade bit follows the guide in the jig for the edge bor… A 1-inch spade bit follows the guide in the jig for the edge bore hole. A quick-release bit holder that’s included with the jig kit makes bit changes quick and easy. For many projects, the lockset and deadbolt assemblies are installed at this point.
Sue Burnet
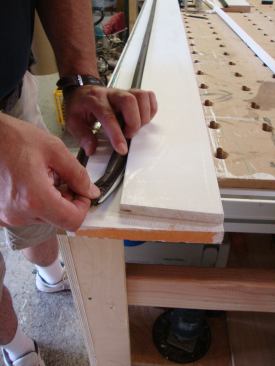
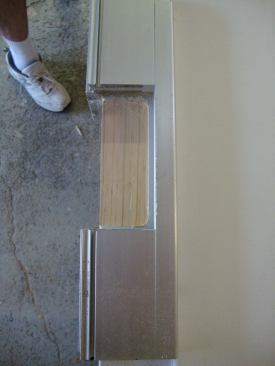
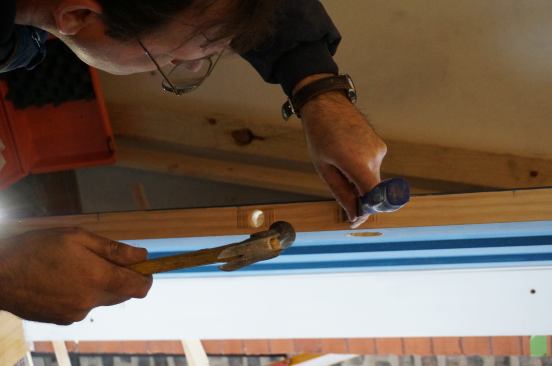
This particular door slab came from the supplier with grooves cu… This particular door slab came from the supplier with grooves cut on the bottom edge for the door-sweep weatherstripping.
Sue Burnet
Greg gently taps the door sweep into the machined grooves.
Sue Burnet
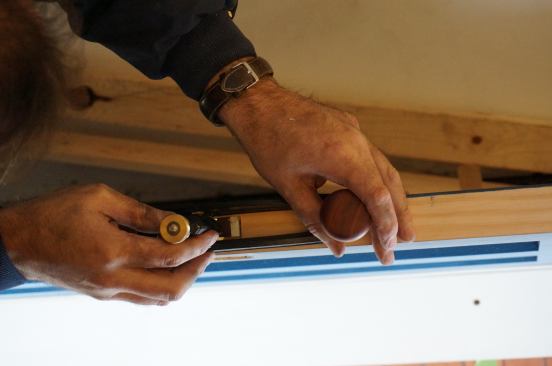
With all the prep work completed on the door slab and the jamb, … With all the prep work completed on the door slab and the jamb, Greg predrills the jamb legs for the screws that will attach them to the head and sill.
Sue Burnet
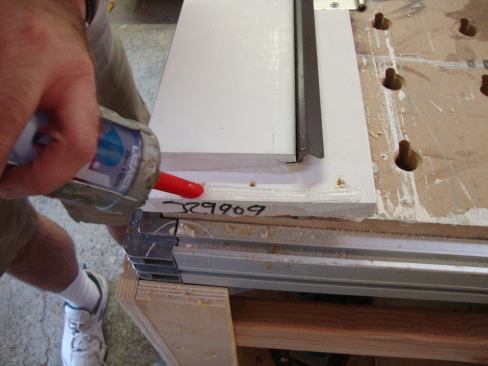
Before the frame is put together, Greg reinserts the weatherstri… Before the frame is put together, Greg reinserts the weatherstripping and applies a generous bead of caulk to the jamb to seal the joints at all four corners of the frame.
Sue Burnet
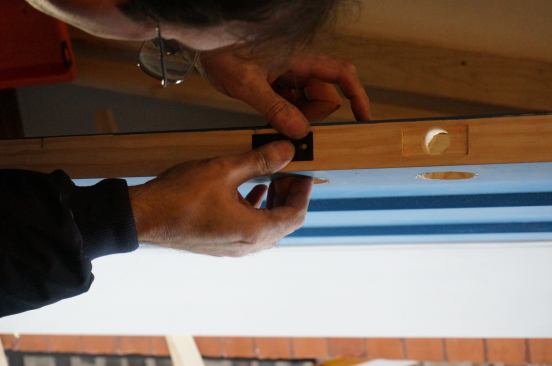
Greg places the rabbets in the side jamb over the top and bottom… Greg places the rabbets in the side jamb over the top and bottom jambs and makes sure they are aligned before driving the screws.
Sue Burnet
Greg drives 2-inch coated screws to secure the four corners of t… Greg drives 2-inch coated screws to secure the four corners of the frame.
Sue Burnet
For this door the lockset and deadbolt were installed on site, s… For this door the lockset and deadbolt were installed on site, so the latch faces were mortised after the door was installed. To cut the mortises for the latch faces, Greg scores around the face with a utility knife. He then chisels out most of the waste.
Sue Burnet
To minimize the dust and debris on site, Greg finishes cleaning … To minimize the dust and debris on site, Greg finishes cleaning out the latch mortises with a butt mortise plane.
Sue Burnet
Greg Burnet owns Chicago Window and Door Solutions, a professional window and door installation company. Frustrated by poor quality and lack of choices when ordering pre-hung doors from a supplier, Greg’s company started pre-hanging many of their own doors in house. This slide show takes you through the various steps for two different projects. With each job he was able to match the wall thickness of a particular project, and he was to use hinges and hardware that matched the rest of the house. Greg’s full article on the subject can be found in the March 2015 edition of JLC (in PDF link above).