


Ted Cushman
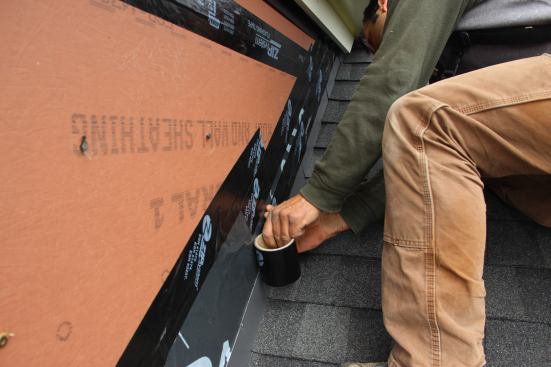
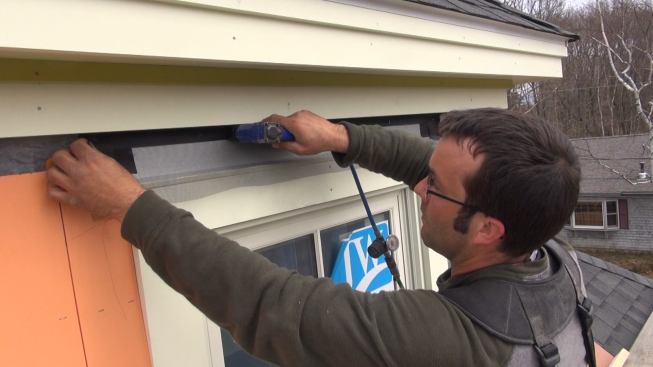
Project lead Mark Pollard seals the top edge of the aluminum ste… Project lead Mark Pollard seals the top edge of the aluminum step flashing to the ZIP sheathing using ZIP tape. to ensure that bulk water will not find its way behind the flashing and under the roofing. Thompson Johnson uses heavy-gauge acrylic-painted aluminum for step and head flashings.
Ted Cushman
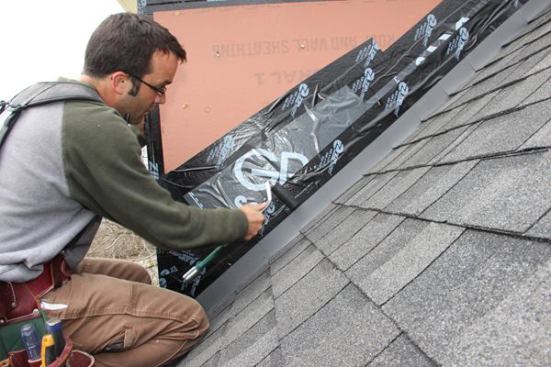
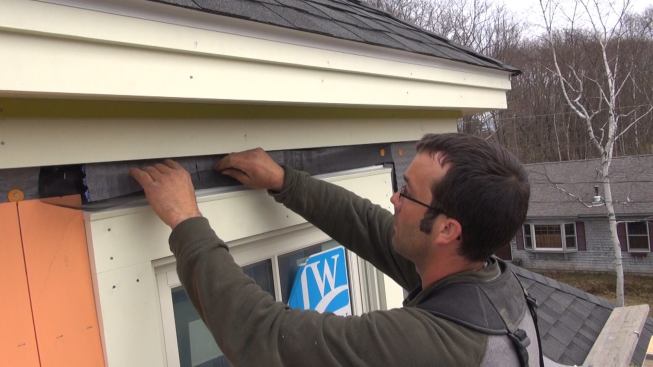
Pollard presses the ZIP tape onto the flashing with a hard rubbe… Pollard presses the ZIP tape onto the flashing with a hard rubber J-roller to improve adhesion.
Ted Cushman
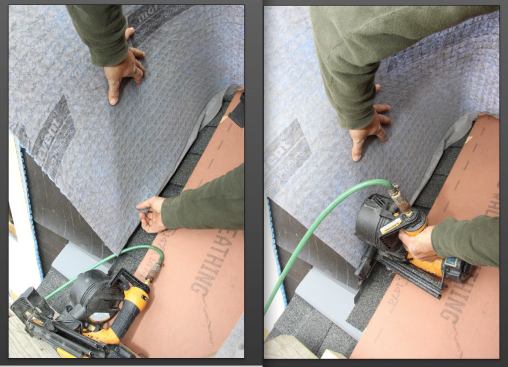
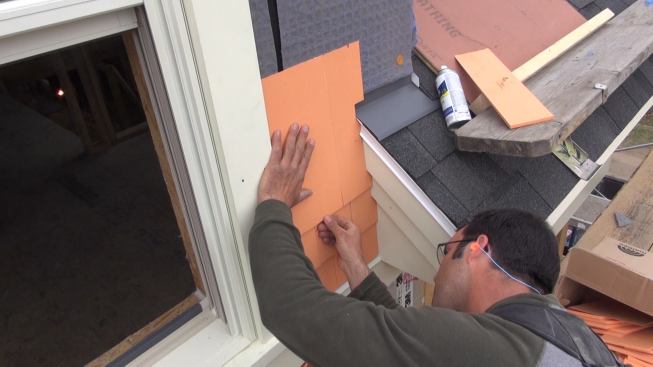
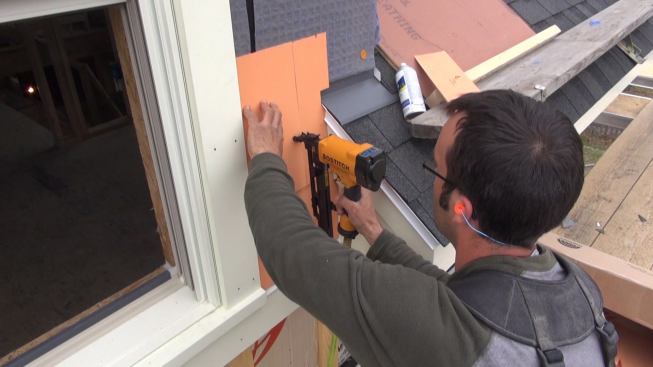
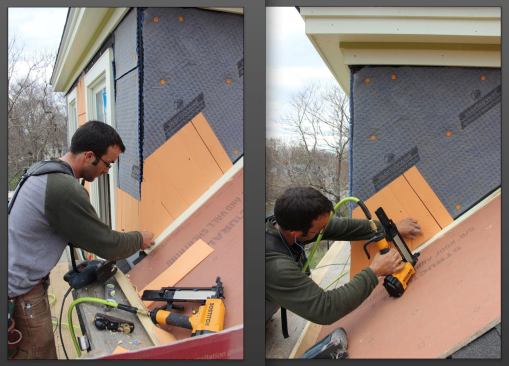
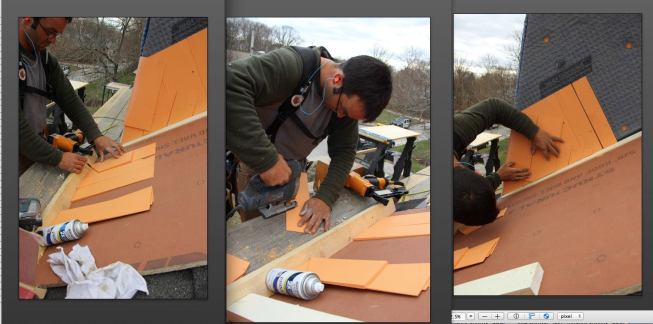
Pollard trims asphalt felt paper to fit (left) and staples it in… Pollard trims asphalt felt paper to fit (left) and staples it in place (right), using stainless steel staples and a pressure-regulator-equipped staplegun, adjusted to prevent staple crowns from punching through the paper. ZIP sheathing is rated as a weather-resistive drainage plane material, but Thompson Johnson like to add an extra layer of protection.
Ted Cushman
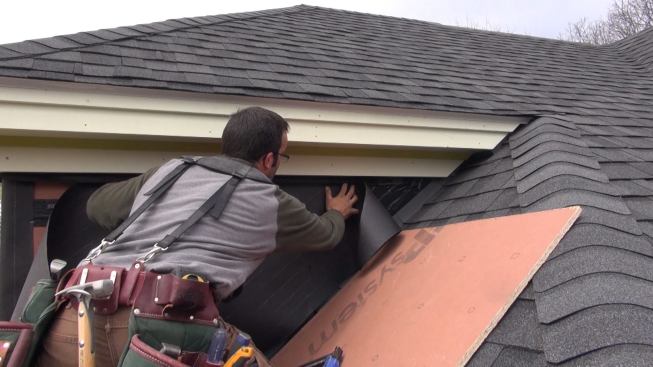
Pollard applies asphalt felt paper over the ZIP sheathing, slidi… Pollard applies asphalt felt paper over the ZIP sheathing, sliding the top edge of the paper up underneath the unstapled lower edge of a strip of paper already applied to the eave under the trim board. To his left, Pollard tucks the paper under Mortairvent rainscreen fabric already installed under the window trim.
Ted Cushman
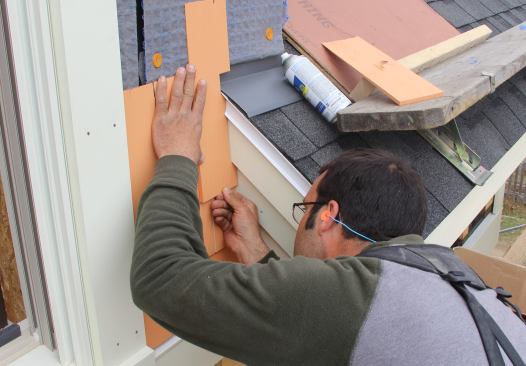
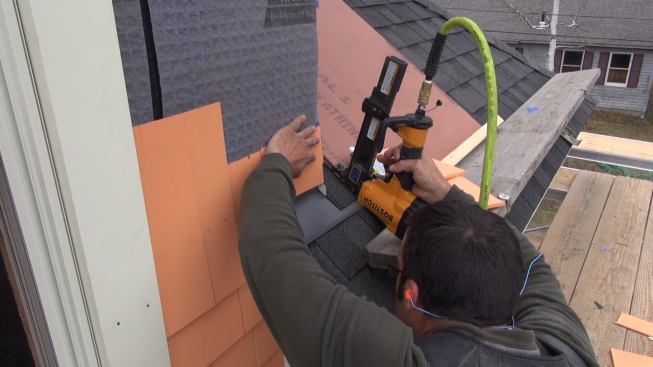
Pollard attaches asphalt felt paper to the sheathing with stainl… Pollard attaches asphalt felt paper to the sheathing with stainless steel staples. The staplegun has an adjustable air pressure regulator so that staples won't get over-driven through the paper.
Ted Cushman
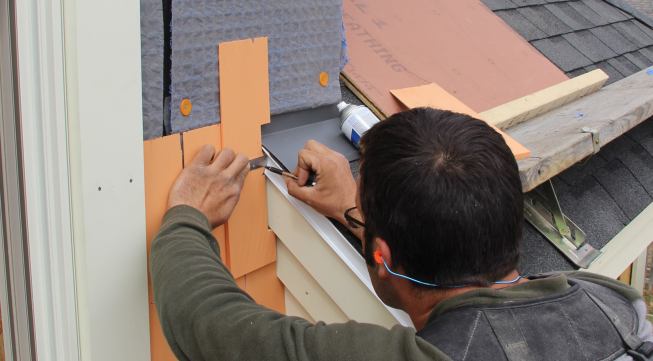
Pollard fastens the bottom edge of the asphalt felt paper over t… Pollard fastens the bottom edge of the asphalt felt paper over the previously applied self-adhering bituminous membrane flashing that covers the top edge of the aluminum step flashing.
Ted Cushman
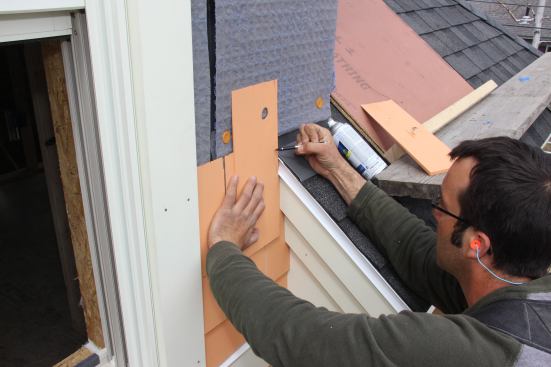
Pollard works the top edge of the asphalt felt paper under the o… Pollard works the top edge of the asphalt felt paper under the overlapping strip previously applied underneath the frieze board.
Ted Cushman
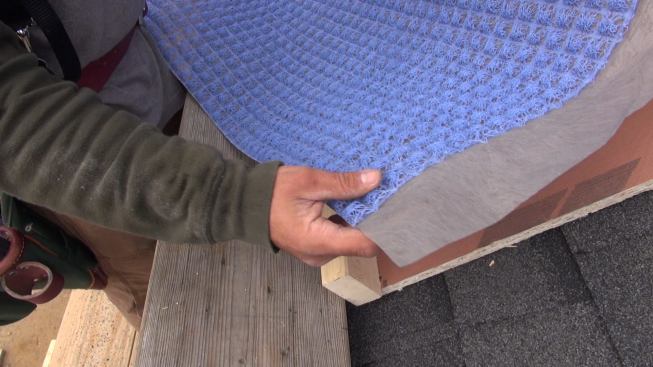
A close-up look at the Mortairvent rainscreen fabric, with its i… A close-up look at the Mortairvent rainscreen fabric, with its integral fine mesh face.
Ted Cushman
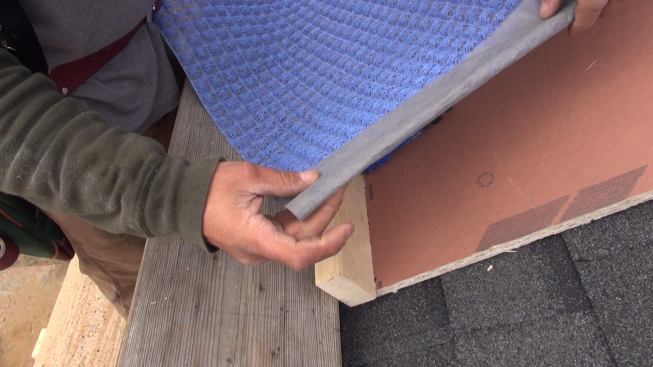
The extra four inches of fine filter fabric extending past the M… The extra four inches of fine filter fabric extending past the Mortairvent open-weave mesh can be folded up at the lower edge to provide a built-in insect screen.
Ted Cushman
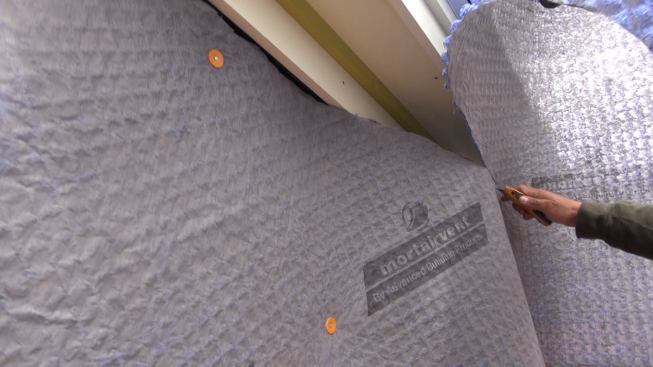
Pollard slices the Mortairvent fabric to fit with a utility knif… Pollard slices the Mortairvent fabric to fit with a utility knife. Thompson Johnson likes Mortairvent because it lies flat on the wall and is manufactured by a local Maine company (Advanced Building Products, Inc., of Springvale, Maine).
Ted Cushman
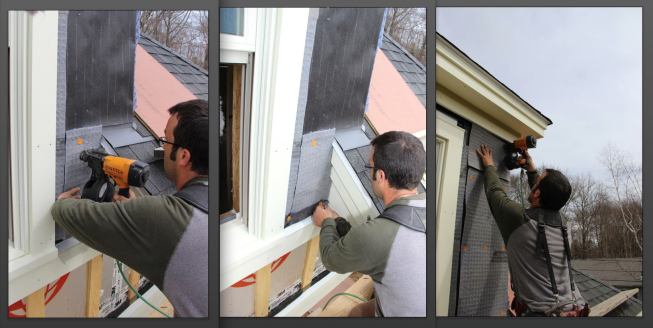
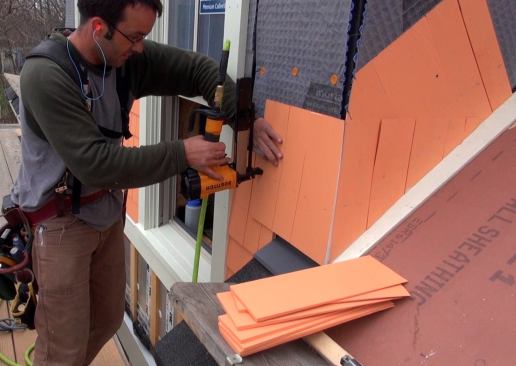
Pollard tucks the fabric face of the Mortairvent rainscreen fabr… Pollard tucks the fabric face of the Mortairvent rainscreen fabric under the sheet to serve as an insect screen (left), then fastens the fabric in place using cap nails (right).
Ted Cushman
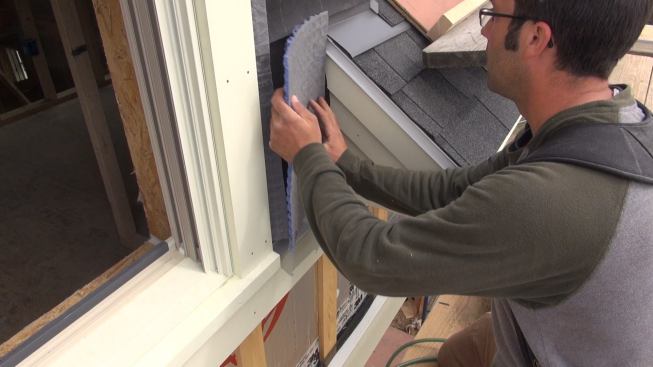
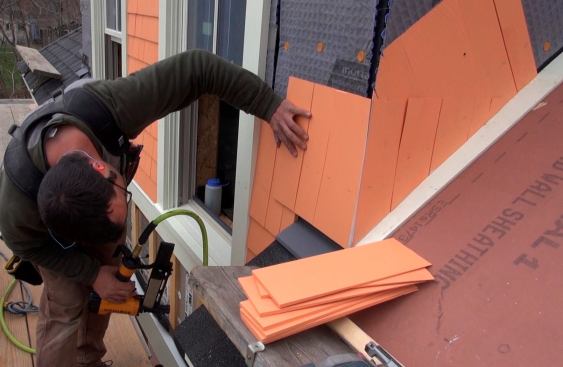
Pollard fits a small scrap of Mortairvent into place on the fron… Pollard fits a small scrap of Mortairvent into place on the front wall of the dormer.
Ted Cushman
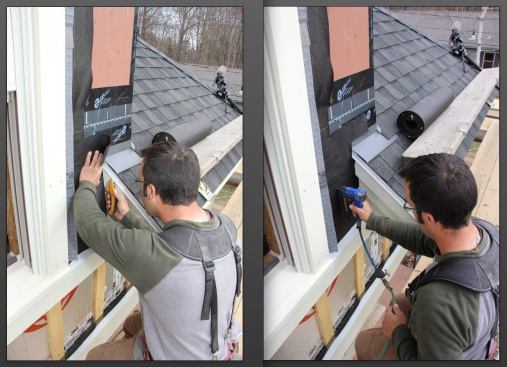
Pollard applies Mortairvent rain screen fabric at the bottom of … Pollard applies Mortairvent rain screen fabric at the bottom of the wall (left), folds up and fastens an insect screen at the bottom (middle), then applies Mortairvent to the upper wall (right). The Mortairvent on the wall face butts to existing Mortairvent already in place under window and eave trim, so that both the trim and the siding on the wall will have an air space behind them to limit moisture intrusion into the underlying wall assembly and promote drying of the painted wood materials as well as the structural wall.
Ted Cushman
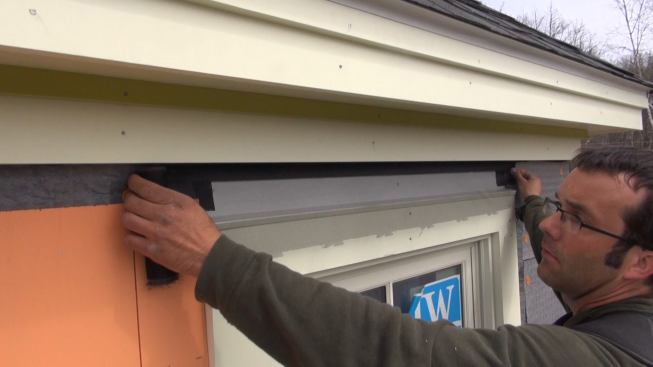
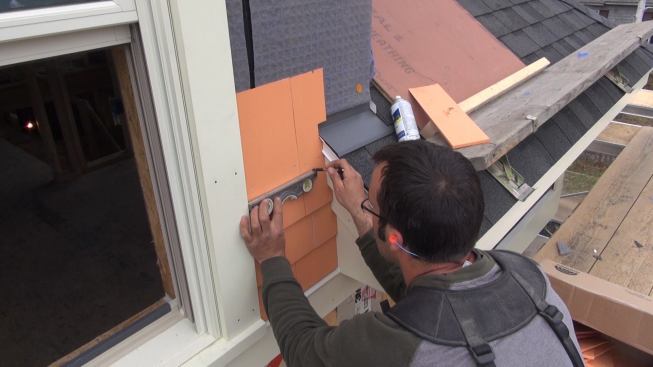
Insect screen is installed over the window cap flashing to allow… Insect screen is installed over the window cap flashing to allow for a gap between the flashing and siding for airflow and drainage.
Ted Cushman
Tacking the window screen into place with a stapler.
Ted Cushman
Again, the screen is folder up and over the Mortairvent mesh.
Ted Cushman
Pollard fastens the screen and Mortairvent into place with cap n… Pollard fastens the screen and Mortairvent into place with cap nails.
Ted Cushman
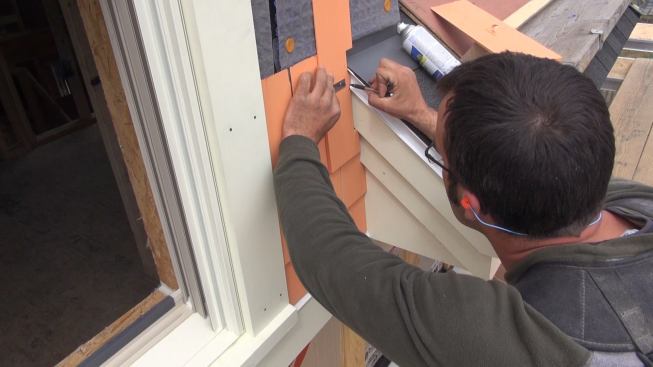
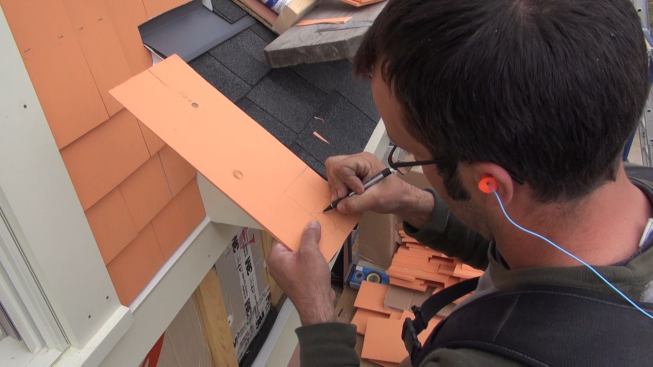
Pollard scribes a wood shingle to fit the profile of the roof tr… Pollard scribes a wood shingle to fit the profile of the roof trim and metal drip edge. The shingles are factory-dipped with a three-coat finish (one primer coat and two topcoats).
Ted Cushman
Pollard compares shingle widths to the existing shingle gap as h… Pollard compares shingle widths to the existing shingle gap as he selects pieces to fill out the course.
Ted Cushman
Pollard aligns the shingle butt to his level layout line.
Ted Cushman
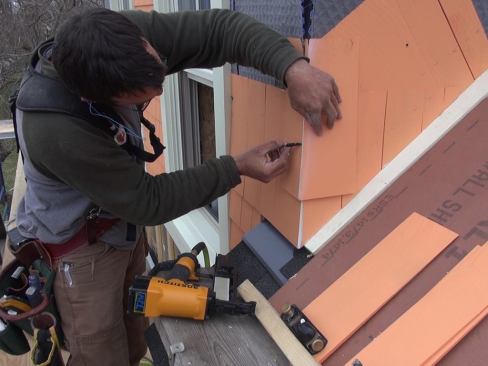
Pollard holds a shingle in place and freehand-scribes the profil… Pollard holds a shingle in place and freehand-scribes the profile of the adjacent roof edge onto the shingle.
Ted Cushman
Pollard uses a small steel rule to accurately adjust his scribe … Pollard uses a small steel rule to accurately adjust his scribe line.
Ted Cushman
Pollard checks the fit of a scribed cut. The shingles are spaced… Pollard checks the fit of a scribed cut. The shingles are spaced off the roof head flashing and roofing by 1 inch to provide an air inlet and to keep the wood siding away from roof runoff.
Ted Cushman
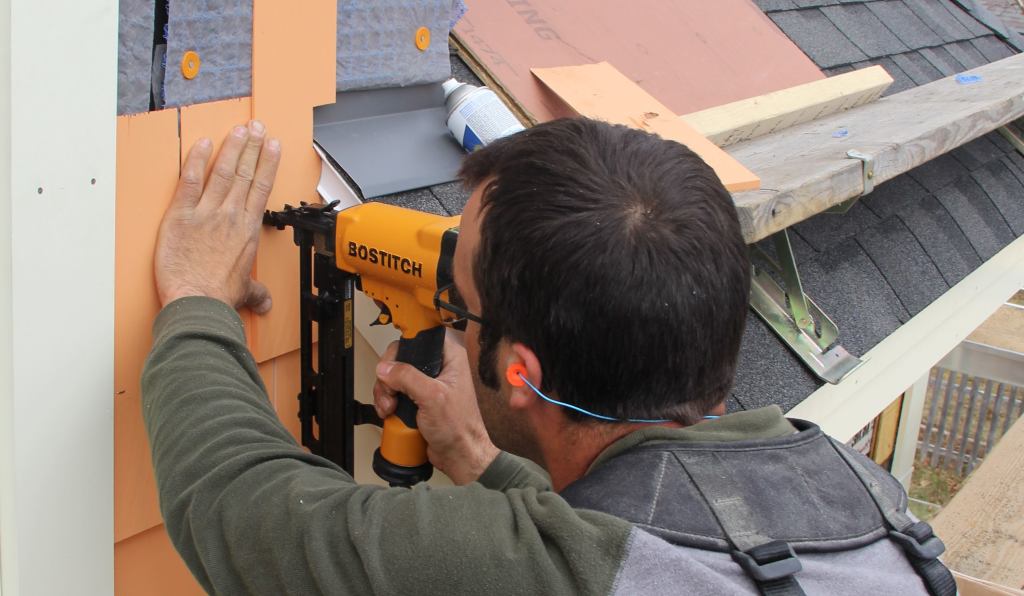
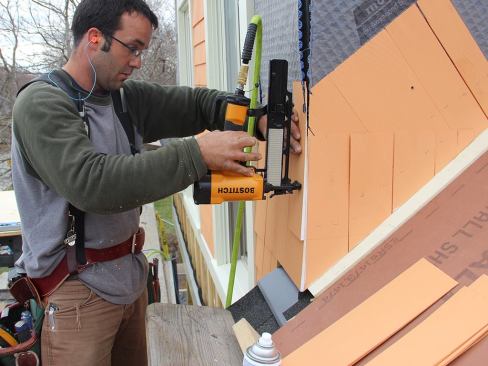
Thompson Johnson uses a combination of stainless steel medium cr… Thompson Johnson uses a combination of stainless steel medium crown staples and stainless steel ring shank nails to fasten cedar shingles. Galvanized staples will void the manufacturers warrantee, says Pollard, and galvanized nails tend to leave rust stains over time.
Ted Cushman
In tight quarters, Pollard uses a torpedo level to draw layout l… In tight quarters, Pollard uses a torpedo level to draw layout lines. The lowest five courses here are being laid out so as to have full course go over the roof head flashing.
Ted Cushman
Pollard tacks up pieces of the thin ends of shingles for triple … Pollard tacks up pieces of the thin ends of shingles for triple coverage above the roof.
Ted Cushman
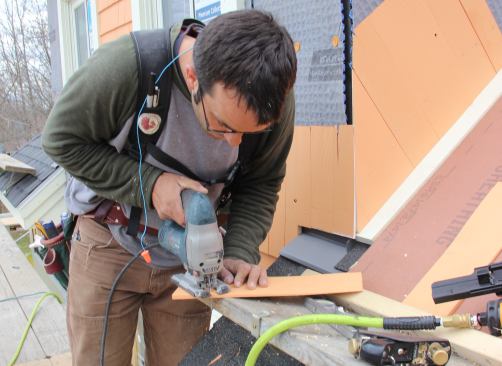
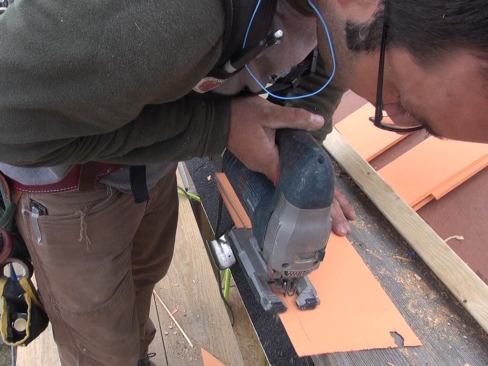
Pollard darkens his scribed line so as to be able to see clearly… Pollard darkens his scribed line so as to be able to see clearly as he cuts the line with a jigsaw.
Ted Cushman
Pollard nails on the next course of cut shingle ends above the r… Pollard nails on the next course of cut shingle ends above the roof.
Ted Cushman
Pollard uses a jigsaw to cut a matching roof angle onto a shingl… Pollard uses a jigsaw to cut a matching roof angle onto a shingle.
Ted Cushman
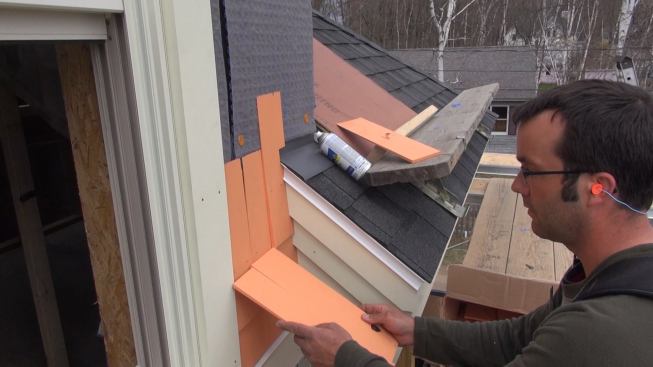
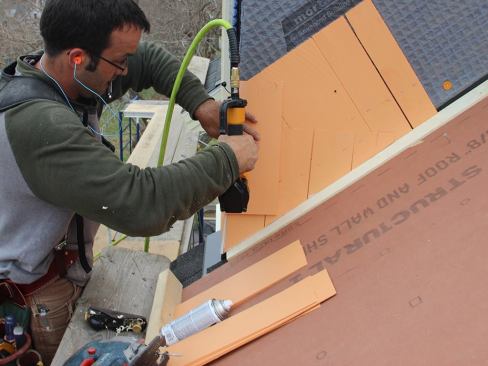
Pollard builds up triple shingle coverage at the base of the che… Pollard builds up triple shingle coverage at the base of the cheek wall, first attaching a course of full shingles with the base set parallel to the roof (on a temporary one-inch spacer block), then attaching a course of partial shingles cut on an angle to match the roof.
Ted Cushman
Pollard sets the first full course of shingles above the roof li… Pollard sets the first full course of shingles above the roof line, leaving a one-inch gap above the heavy-duty metal flashing.
Ted Cushman
Pollard fastens shingles with stainless steel gun-driven staples… Pollard fastens shingles with stainless steel gun-driven staples.
Ted Cushman
Pollard traces a level line on the face of the dormer (left), th… Pollard traces a level line on the face of the dormer (left), then carries the line around to the cheek wall (right) using a torpedo level.
Ted Cushman
Pollard fastens a shingle after cutting the edge flush to match … Pollard fastens a shingle after cutting the edge flush to match the corner. Note the with edge of the freshly cut shingle, where he primed the exposed wood with rattle-can spray primer.
Ted Cushman
Pollard marks the back side of a corner shingle for a matching w… Pollard marks the back side of a corner shingle for a matching weave cut.
Ted Cushman
Pollard trims a shingle to his scribe line for a corner weave fi… Pollard trims a shingle to his scribe line for a corner weave fit.
Ted Cushman
Ted Cushman
To complete the triple coverage at the corner, Pollard traces th… To complete the triple coverage at the corner, Pollard traces the roof angle onto a full shngle (left), cuts the angle using a jigsaw (middle), and nails the cut shingle onto the roof (right).