Installation


The original worn-out red meranti decking on this three-level de…
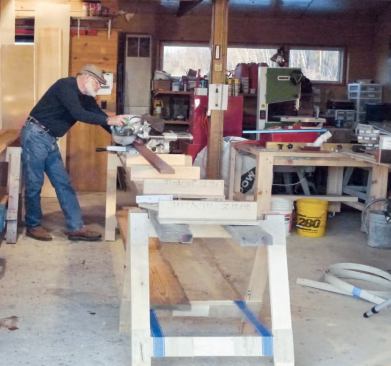
On site, I set up a cut station and a bench for my grinder, jigsaw, and trim router (see slideshow). I used a 1/8-inch roundover bit to create an eased edge on square cut ends, and used the grinder and jigsaw for the intensive scribing I had to do around the rocks. I also made several jigs to speed installation, mainly using 1/8-inch flat aluminum bar stock, which was ideal for establishing equal spacing between deck boards.
Since I had been doing so much of the prep work offsite, where I couldn’t walk over and check the fit from time to time, I wasn’t totally convinced that my story-pole brainstorm would work. So to be safe, I did the largest and easiest landing first. Fortunately, the planning paid off and it worked out well. In fact, because I accomplished so much of the work in the shop, where the decking stayed dry, I was able to move the job forward much more quickly than I had estimated. I watched the weather and installed the prepared courses when it wasn’t extremely windy or pouring; on days when it was impossible to work outside, I prepped the next set of decking.
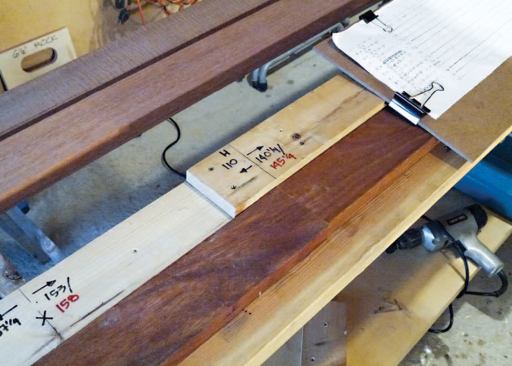
To be cautious, I didn’t drill the pilot holes at the cut ends of the deck boards in the shop. Instead, I used a jig that aligned over the joint and spaced the holes 1/2 inch back from the end.
Fastening was straightforward. I used 3-inch-long #7 stainless steel trim screws from Manasquan (manasquanfasteners.com). The company’s website has a calculator for determining the number of screws needed; it was right on. Of the 3,000 screws I purchased, less than a dozen snapped while I was driving them, mostly from hitting a hidden joist-hanger nail. When a screw snapped off, I drilled a 1/8-inch pilot hole on an angle next to the derelict, then drove in a 1 5/8-inch stainless steel trim screw.
The five-sided upper landing presented a challenge, since its width shrinks – from 14 feet down to a sharp point – over a distance of 12 feet. Here, as the courses became shorter, I shortened the story pole progressively, but kept registration to the same joist throughout to preserve the layout.
Where the decks had open ends and I had room to maneuver a circular saw, I let the ends run wild, then trimmed them all at once using a temporary cleat screwed to the decking as a guide.
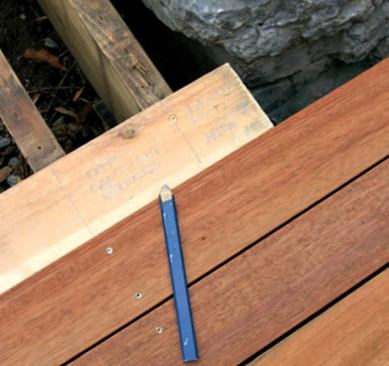
Where the courses butted against a rock, I ran the ends wild, leaving enough material to trim to the shape of the rock. In some cases, given the irregular shape of the outcropping, I didn’t want to press my luck, so I waited until the boards were scribed before drilling any of the pilot holes. I used pieces of cardboard snagged from a local glass company as templates for shaping the deck ends, which I cut first with a jigsaw and finished with a grinder fitted with 40-grit paper.
Bottom Line
Precutting and predrilling shaved almost four days from the original labor estimate, even when counting the extra hours needed for planning and creating jigs.
Next time I’ll estimate based on my original square-foot price, but I should still see an improved labor margin. Some of the other advantages I had hoped for panned out well: There was substantially less material handling, the screws lined up handsomely, and with less moving around on the job site I didn’t need a helper. Besides not banging up my knees, I was able to do a lot of the prep work standing up, not hunched over. Finally, when I measured for course creep at the end of the job, I found there was less than 1/8-inch variation across the width of each level, which I attribute to accurate framing and the aluminum spacers.
Lee McGinley owns McGinley & Company Fine Building in Addison, Vt.