Repairing a Bulging Foundation, continued
Making a Deadman
Once all the reinforcing steel was in place, I ordered concrete for the footing. We used a stiff mix; although I didn’t do a slump test, I estimated it at around 2 or 3 inches. A stiff mix is tough to work around rebar, but I wanted the concrete as strong as possible. Fortunately, we could get the chute all the way around the pour, so at least we didn’t have to drag the concrete through the rebar. We used a vibrator to prevent voids, plunging and removing it about every 12 inches. While the footings set up, we went to work on the other damaged section of the foundation, where we had to form and pour a new reinforcing wall on the inside.
A New Wall Inside
The second section of foundation in need of repair was bowing worse than the section behind the porch. We didn’t have anything as massive as the porch to act as a deadman on this section of basement. My engineer and I decided that stabilizing the basement wall on the inside with a new poured reinforced wall would work well. We would also tie the existing bowed wall to two concrete deadmen outside.
Just as in the area behind the porch, we drilled through the wall and inserted 3/4-inch threaded rod about halfway up the wall, then welded it to rebar placed in two 8-foot-long trenches. The two concrete-filled trenches would ultimately be hidden below grade. We poured the trenches, then tightened up the nuts on the steel channel.
For the new wall, we placed 1/2-inch rebar placed on 1-foot centers horizontally and vertically. We secured the reinforcing grid by tying it to 1/2-inch rebar pins drilled into the adjacent walls and floor. After the rebar was tied off, we could really see how much the wall had bowed — about 4 inches in the center.
One-Sided Form
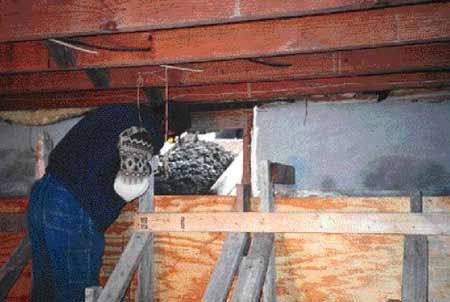
While I’ve never had a blowout, pouring one-sided forms always makes me a little nervous. Adequate bracing is essential. My customer had maintained her good humor throughout the earlier process, but I thought two yards of slumping concrete sitting in the basement might be too much for her to take. To keep the concrete behind the form, we fastened six horizontal kickers to the floor about 18 inches on-center, using 6-inch pieces of rebar drilled into the floor.
Pouring Inside the House
When the day of the pour came, I double-checked the forms and waited for the truck. The day before, we had built a small chute to help get the concrete inside. Once the truck was on site, I checked the mix. I wanted a stiff mix to minimize the strain on our one-sided form. What we got was perfect; we literally had to drag it down the chute. We originally planned to make the pour all at once, but when we got about two-thirds of the way up, I heard a little creak coming from the formwork. It was probably nothing to worry about, but rather than risk disaster, I decided to finish the pour the next day. Once the forms were stripped, we drove the pins securing the formwork below the floor and patched the holes.
Both repairs turned out well, and my customer was happy with the results. While we couldn’t straighten the foundation entirely, the inside is straight and true, and I’m pretty sure it’s stronger than the original foundation ever was.
Gene Lorson is the owner of Lorson Builder near Hope, Kan.