Framing

Around the perimeter of the building, a specialty subcontractor …
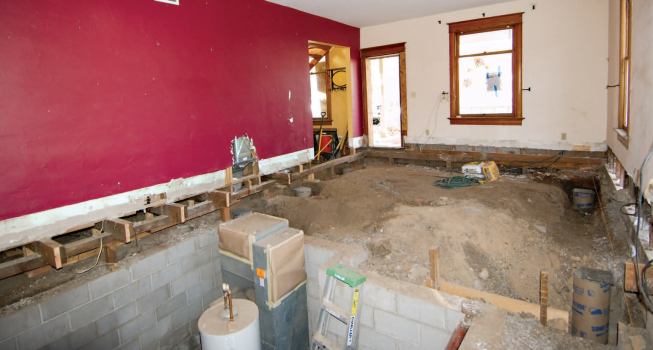
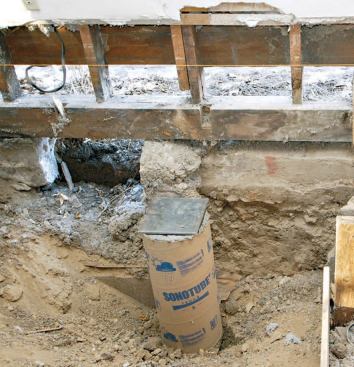
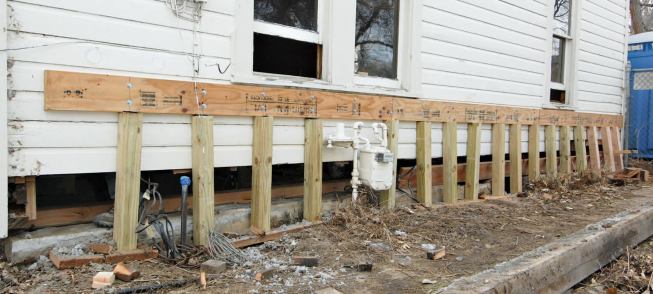
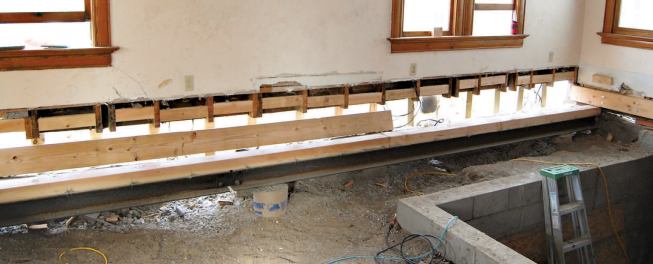
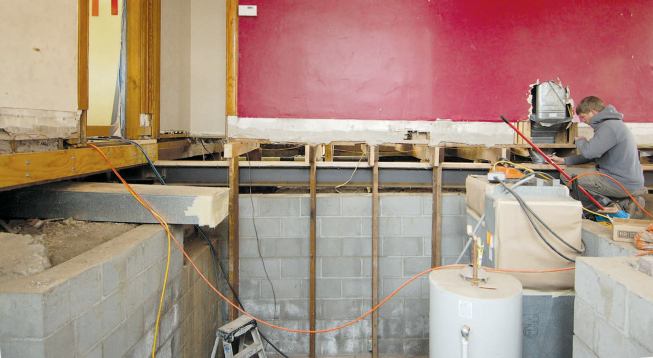
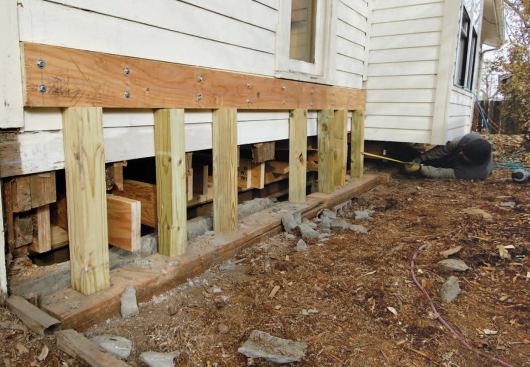
Before we could remove the old sills and start reframing the floor, we had to support the exterior walls. To do this, we bolted LVL ledgers around the perimeter of the building using structurally rated hex-head screws, two screws to a stud (see slideshow). We then laid doubled 2-by plates on the ground and cut 4×4 posts to fit snugly between the plates and the ledgers on 12-inch centers. With the building thus supported, we removed the old sills a section at a time and began cutting off the bottoms of the studs to a level line that we had marked with a laser.
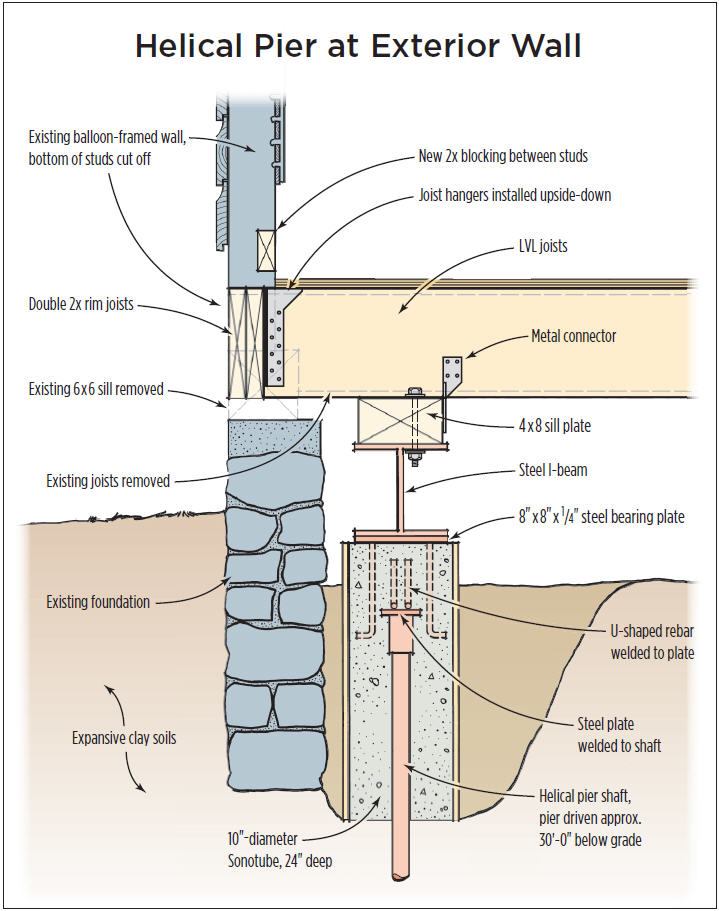
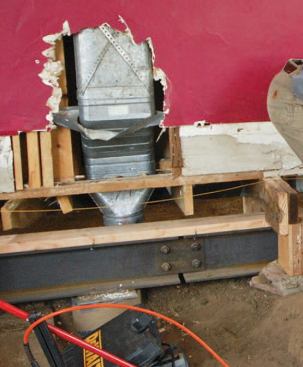
Steel girders. We installed three steel girders, capped with wood plates, to support the new floor framing. The I-beams were fabricated in sections designed to be bolted together, since getting a full-length beam would have been impossible, given the constraints of the site. Even so, this was one of the most difficult parts of the job. Sliding the steel underneath the center bearing wall was particularly tricky, because we had to do so without disturbing the temporary supports under those short joist remnants. After the steel beams were in place, we had them welded to the cap plates on the helical piers.
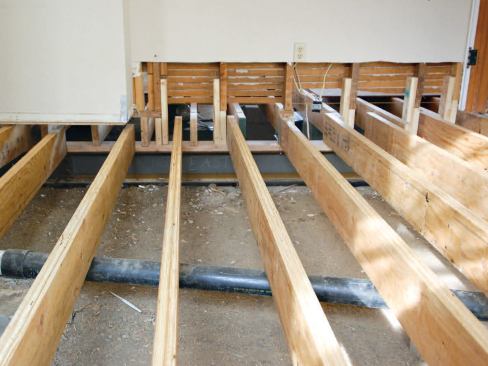
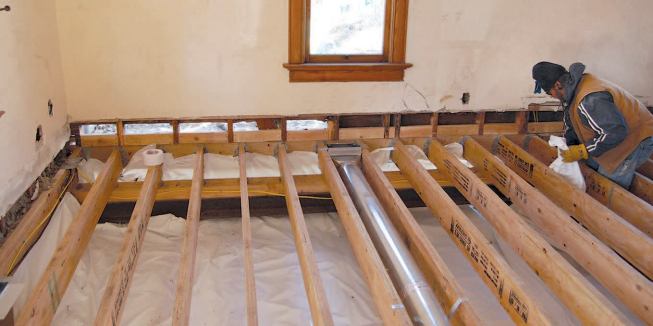
LVL joists. Next, we removed enough plaster and lath from the bases of the bearing walls to expose about 18 inches of framing. We then carefully extended the studs down to the girders, a stud at a time, pulling the temporary supports as we went and sliding the new LVL joists into position, 12-inches on-center. We used metal shims to bring each joist up to our benchmark elevation, then toenailed them to the plates. Later, we reinforced the connections with metal connectors. Finally, we fastened doubled pressure-treated 2-by rims to the floor joists, reinforcing the connection with upside-down joist hangers, per the engineer’s instructions.
Moisture Control and Air-Sealing
Before sheathing the floor, we installed a 6-mil plastic vapor barrier across the ground and up onto the rim joists, overlapping and taping the seams. Our insulation sub sealed the rims with open-cell spray foam. After installing new ductwork, we laid new floor sheathing and continued with what, at that point, became a standard renovation. Total project cost was about $90,000, which included all of the structural work, new finishes, and a new high-efficiency direct-vent water heater.
Clay Dusel is a builder in Boulder, Colo.