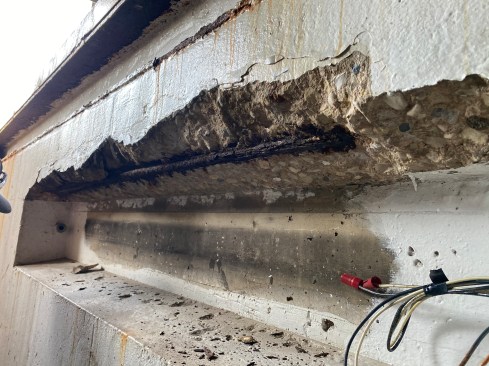
Repair work began by chipping out the unstable concrete around corroded reinforcing steel. They needed to remove enough material so that new mortar could fully encase the existing rebar.
On a recent job, we needed to restore a section of structural concrete. This particular job was a repair to an overhead section in a lighting niche in the mechanic’s well at a garage that services school buses. Though it’s not the most usual example, it provided a textbook case on concrete restoration.
Surface Prep
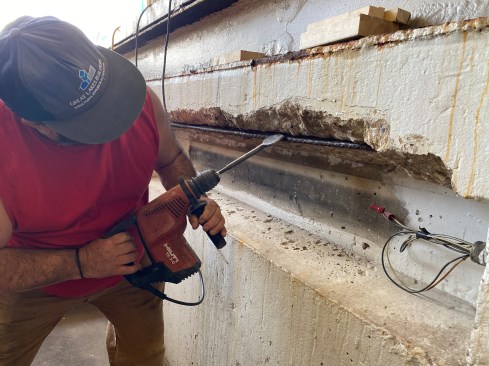
The first step was to remove the damaged concrete, using a rotary hammer to chip away the bulk of the loose material and a grinder to take the concrete down to solid material. The goal was to work back to a solid base and to fully expose the existing rebar so we could fully encase it in repair mortar. In addition, we used a grinder to remove the old paint around the repair area. This would help blend in the repair so when the final work is painted, you won’t see where the new concrete meets the existing surface.
Some surface corrosion of the rebar had occurred but not enough to decrease the dimension of the steel to any significant extent. We used a wire brush to clean up the rebar and then painted it with Rust-oleum Green Rebar epoxy paint. It’s important not to get any paint on the surrounding concrete; otherwise, it can interrupt the bond of the new concrete with the old material.
1
of 6
Repair work began by chipping out the unstable concrete around c…
Repair work began by chipping out the unstable concrete around corroded reinforcing steel. They needed to remove enough material so that new mortar could fully encase the existing rebar.
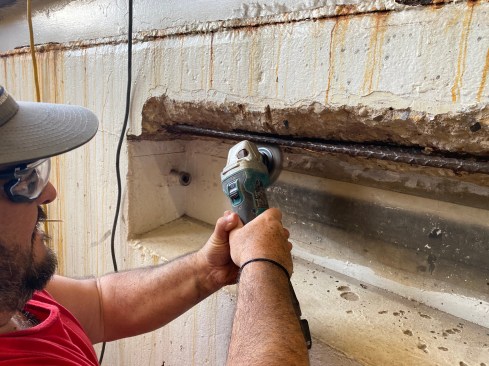
The crew used a grinder with a flapwheel to remove loose rust fr…
The crew used a grinder with a flapwheel to remove loose rust from the rebar and burnish the surface in preparation for paint.
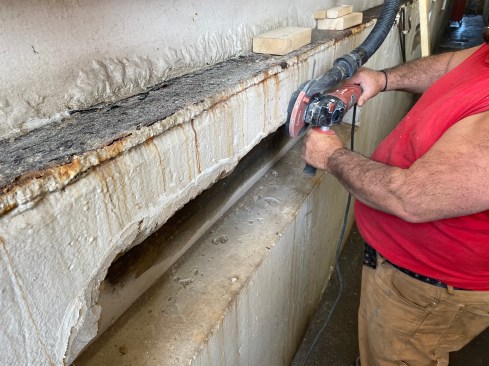
The crew also used a grinder to remove the old paint in the area…
The crew also used a grinder to remove the old paint in the area where the new concrete meets the existing surface.
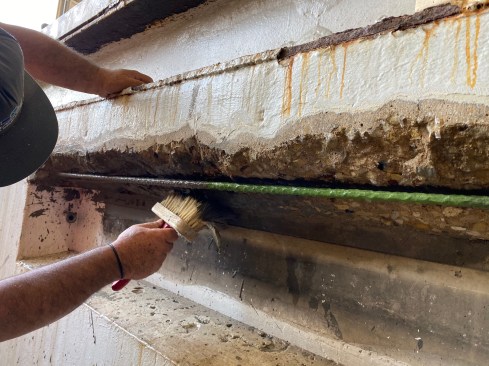
After masking off the concrete and wire brushing the steel, the …
After masking off the concrete and wire brushing the steel, the author painted the rebar with an epoxy paint.
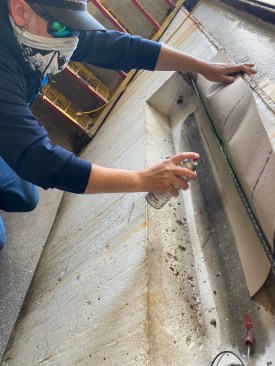
The next day after the rebar had been painted, a crew member wet…
The next day after the rebar had been painted, a crew member wet down all the surfaces to achieve what is described in the engineer’s spec as “SSD,” or saturated surface dry.
After wetting down the concrete, a crew member brushed on a slur…
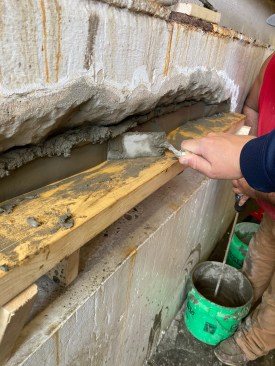
After wetting down the concrete, a crew member brushed on a slurry mix, working it into the rough surface of the concrete and rebar with a mason’s brush.
Repair Mortar
For the mortar, we used Sika’s VOH (which stands for “vertical and overhead”)—a fast-setting repair mortar. We first mixed up a loose “slurry mix,” which we painted on with a mason’s brush after spraying the surfaces with water to achieve what is described in the engineer’s spec as “SSD,” or saturated surface dry.
As the slurry mix cured, we set the form. For a small form like this, we simply use WD-40 as a release agent, being careful to spray down the form away from the repair area. We then mixed up a new batch of VOH to a stiffer spec and packed this material in small lifts, working it in to make sure we wouldn’t have any voids when we stripped the form. There was also one small overhead section at the back of the niche, outside of the form area, that we would need to fill by hand after the form was stripped.
1
of 7
Before setting the form, a crew member sprays the form board wit…
Before setting the form, a crew member sprays the form board with WD-40, which, on a small job like this one, works well as release oil.
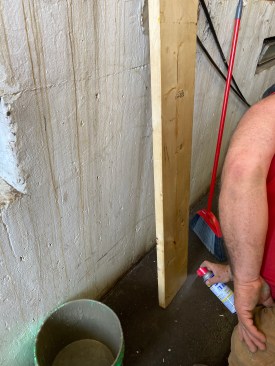
The form in this case is simple—a single 2×8 braced against th…
The form in this case is simple—a single 2×8 braced against the top edge of the concrete lighting niche.
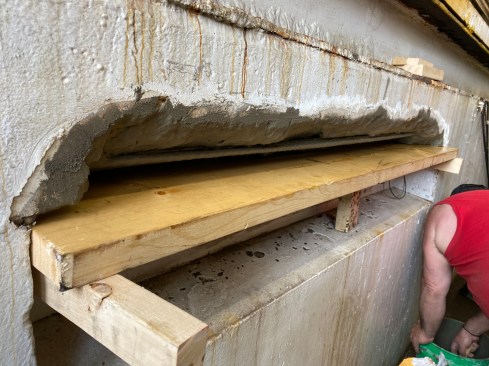
A closeup shows the fully prepped repair surface and form, ready…
A closeup shows the fully prepped repair surface and form, ready for packing in the repair mortar.
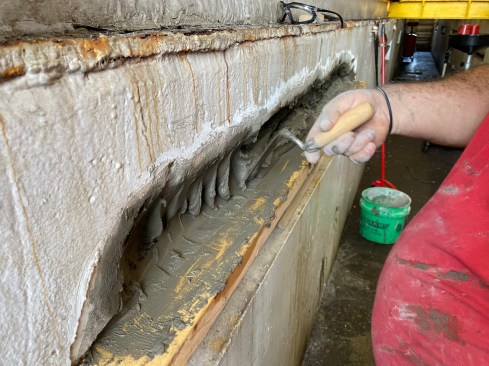
A crew member packs the repair mortar in short lifts.
The goal is to work the mortar behind the rebar to eliminate any…
The goal is to work the mortar behind the rebar to eliminate any voids.
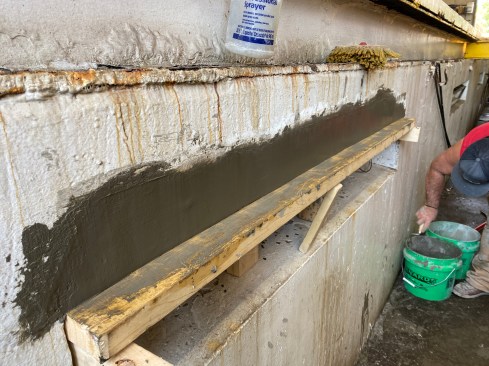
The repair mortar sets up to a strength of 1,500 psi within thre…
The repair mortar sets up to a strength of 1,500 psi within three hours, allowing the crew to strip the form by the afternoon.
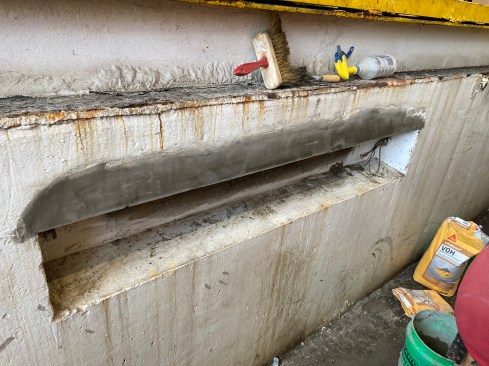
Within one day, the mortar sets to a compressive strength of 3,0…
Within one day, the mortar sets to a compressive strength of 3,000 psi, and in 28 days, to 5,500 psi.
JLC contributing editor Jake Lewandowski is a construction manager with his family’s business, Great Lakes Builders (greatlakesbuildersinc.com), which specializes in structural repairs in Greater Chicago. Follow him on Instagram: @jakemlewandowski