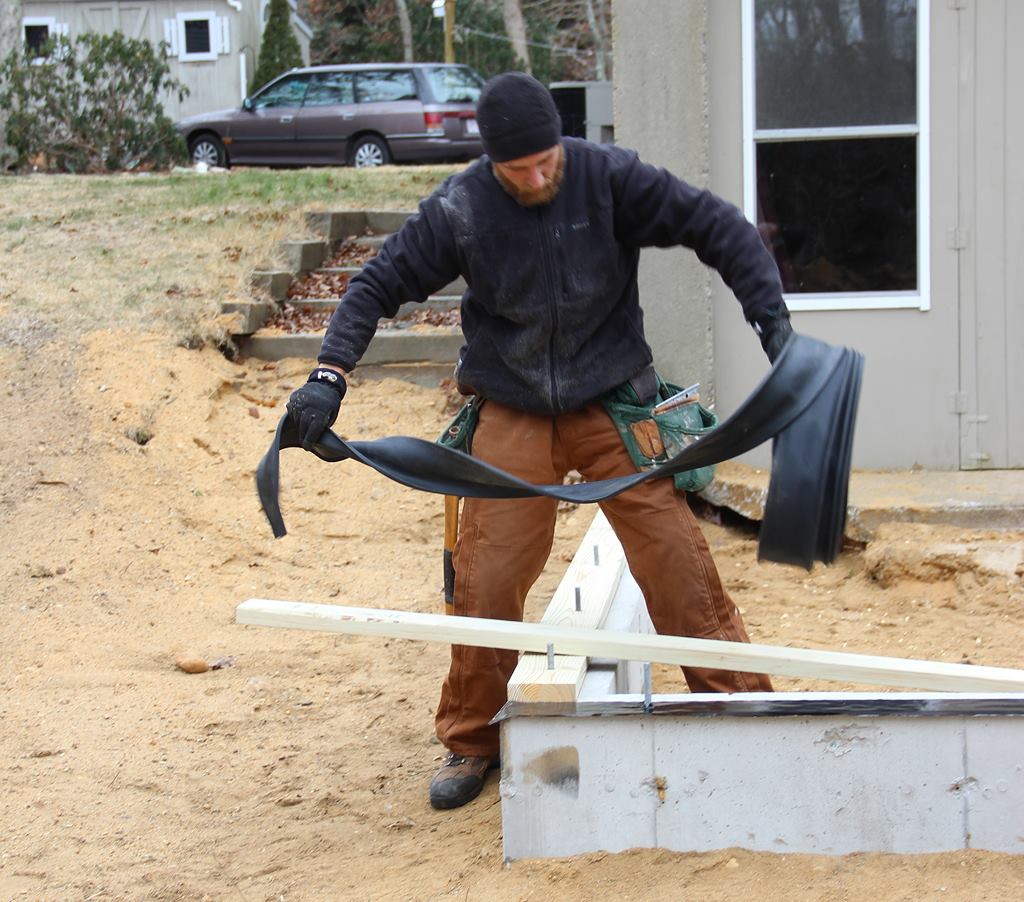
Contractor Mike Horgan installs a PVC vapor barrier onto the con…
Contractor Mike Horgan installs a PVC vapor barrier onto the concrete wall footing for the new addition. To Horgan’s left we see the underside of the sill plate, with the flexible gasket already stapled onto the 2×6.
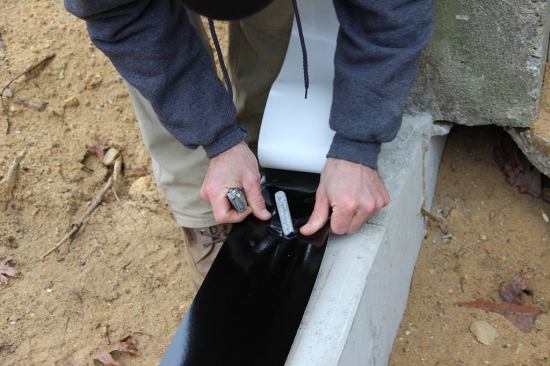
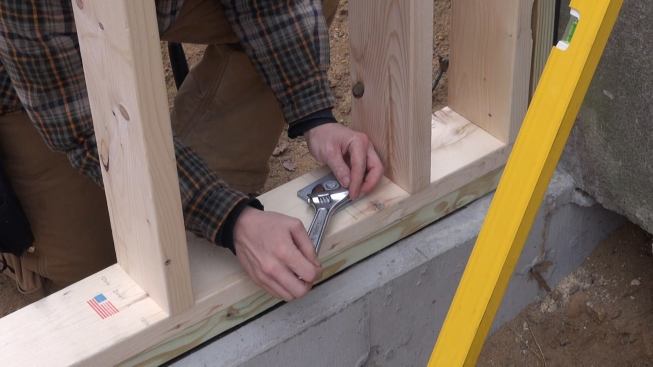
After cutting the plastic vapor barrier with a knife, Horgan sli…
After cutting the plastic vapor barrier with a knife, Horgan slips the membrane over the foundation bolt.
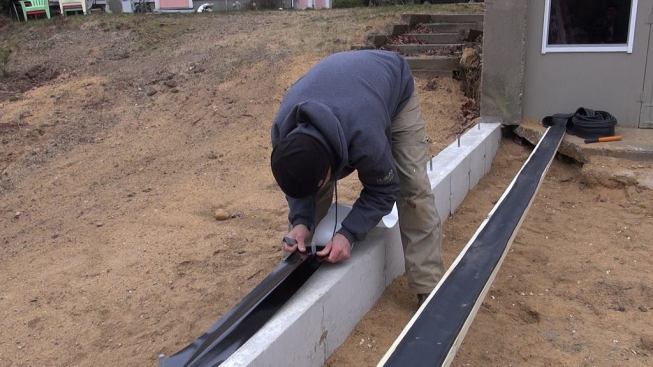
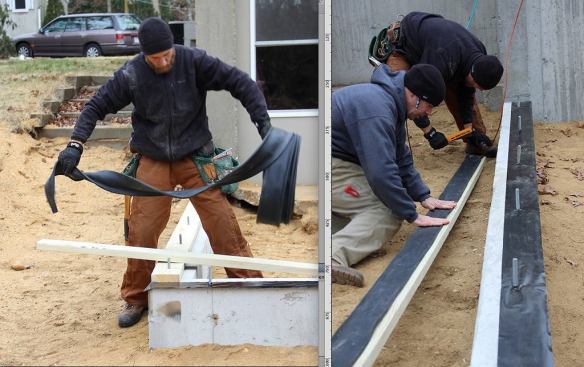
Left, framing subcontractor Mike Hill unrolls the EPDM gasket, s…
Left, framing subcontractor Mike Hill unrolls the EPDM gasket, supplied by Conservation Technology. Right, Hill and Horgan apply gasketing to the underside of a sill plate.
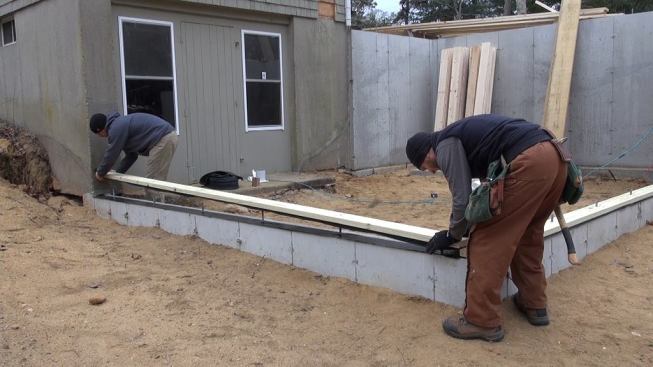
Hill and Horgan set the sill plate into place onto the foundatio…
Hill and Horgan set the sill plate into place onto the foundation sill.
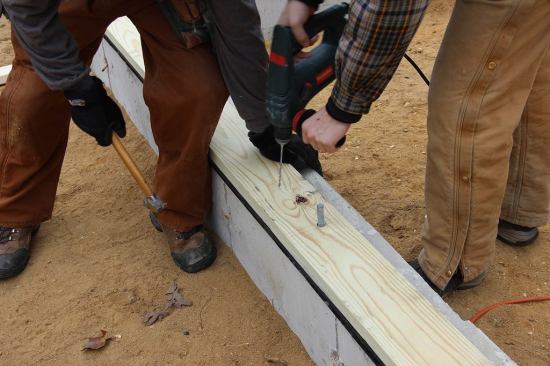
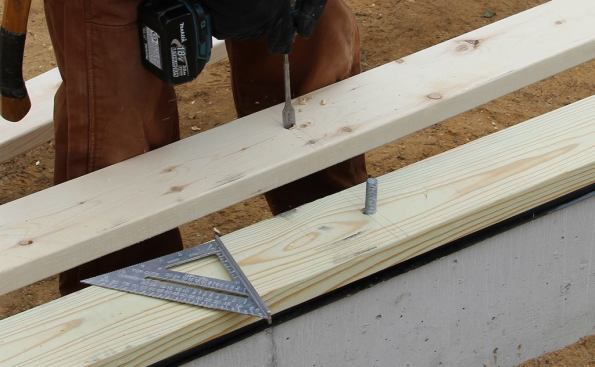
Mike Hill holds the sill plate in position while carpenter Russ …
Mike Hill holds the sill plate in position while carpenter Russ Laffin drills a pilot hole for a hand-driven split shank fastener.
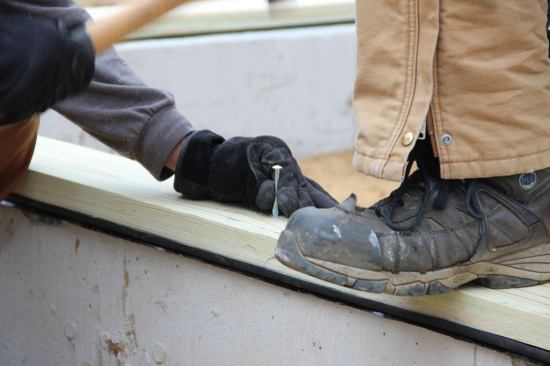
Hill drives the split-shank fastener to hold the sill plate tigh…
Hill drives the split-shank fastener to hold the sill plate tight to the foundation and compress the air-sealing gasket. The wall assembly will later be bolted down, but Hill wants to make sure the sill is already tight to the concrete before he lays out the wall. Hill swears by the hand-driven split-shank fasteners, saying, “They’re great as long as you never want to pull them out. Once it’s in there, forget it.”
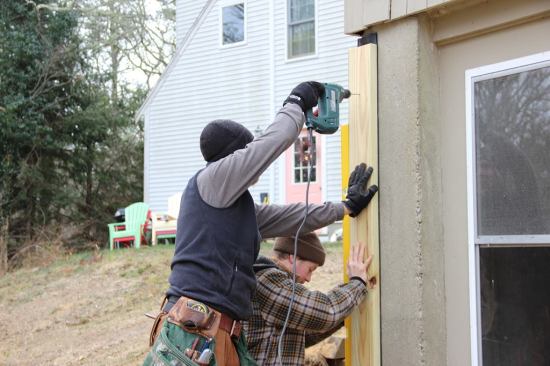
Russ Laffin holds a 2×6 in plumb position while Mike Hill drills…
Russ Laffin holds a 2×6 in plumb position while Mike Hill drills a pilot hole for another split-shank fastener. This member is also gasketed to the existing concrete foundation using A BG65 flexible EPDM gasket supplied by Conservation Technologies. The EPDM gaskets offer several advantages: They conform readily to irregular surfaces, are flexible enough to install in sub-zero temperatures, and stay flexible indefinitely in service.
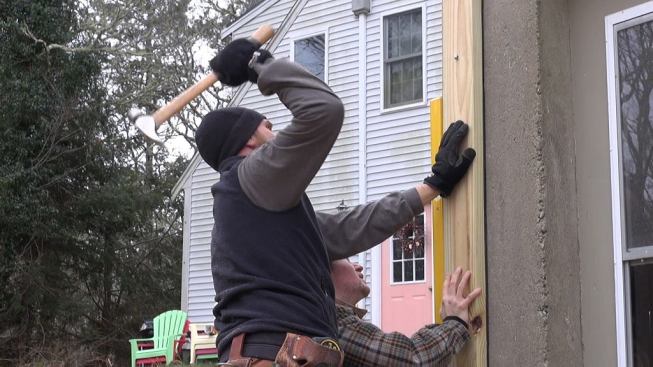
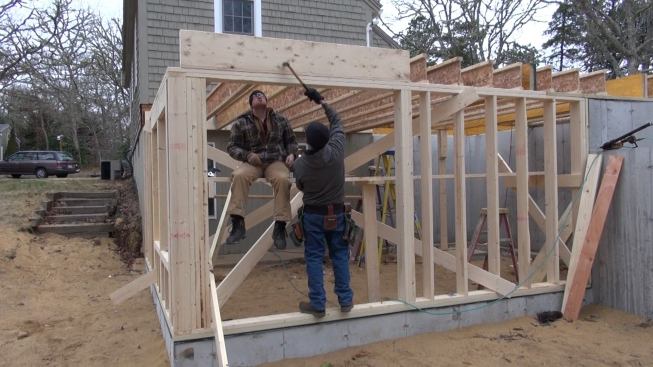
Hill drives a split-shank concrete anchor into the existing home…
Hill drives a split-shank concrete anchor into the existing home’s concrete basement wall. With a correctly sized pilot hole, the split-shank fasteners are hard to drive into concrete, requiring a full swing with a framing hammer. Once driven, the fasteners are essentially impossible to remove, says Hill.
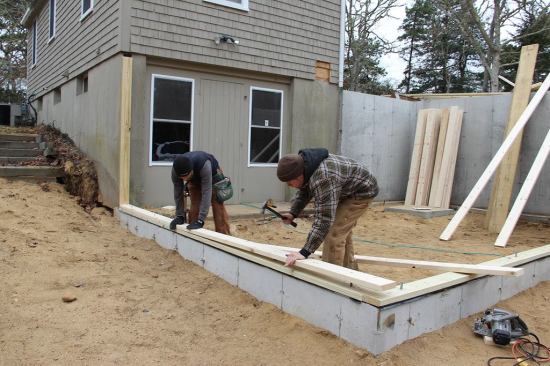
Hill and Laffin test-fit the bottom plate for the new wall.
After marking the position, Hill drills bolt holes for the walk-…
After marking the position, Hill drills bolt holes for the walk-out basement wall’s bottom plate.
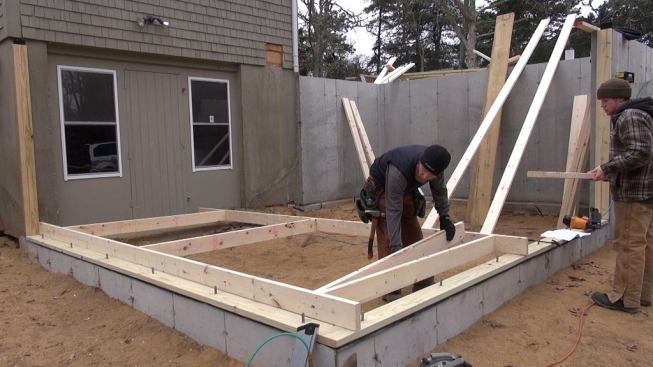
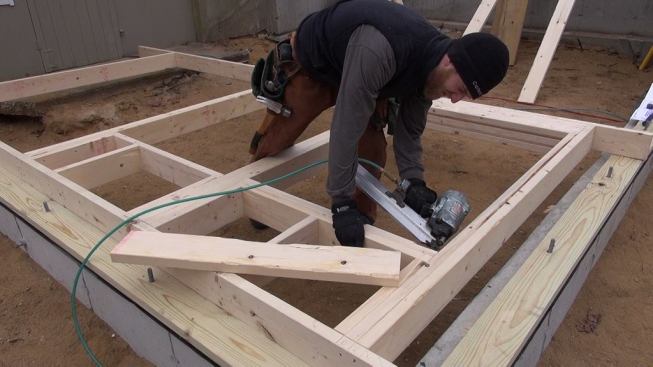
Hill begins to frame the new wall, starting with the window open…
Hill begins to frame the new wall, starting with the window opening.
Hill sets a triple 2×10 header for the window opening in the new…
Hill sets a triple 2×10 header for the window opening in the new wall.
Hill completes the framing of the ground-level window’s rough …
Hill completes the framing of the ground-level window’s rough opening.
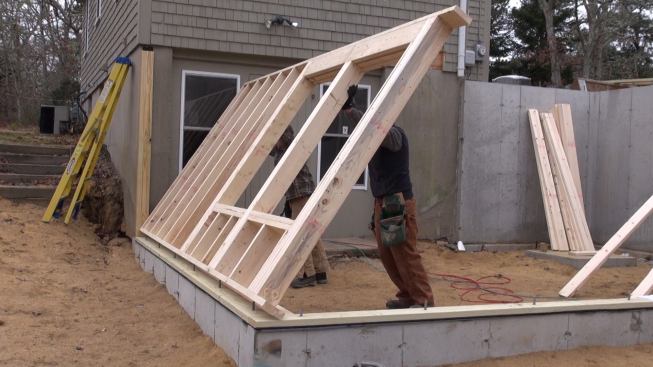
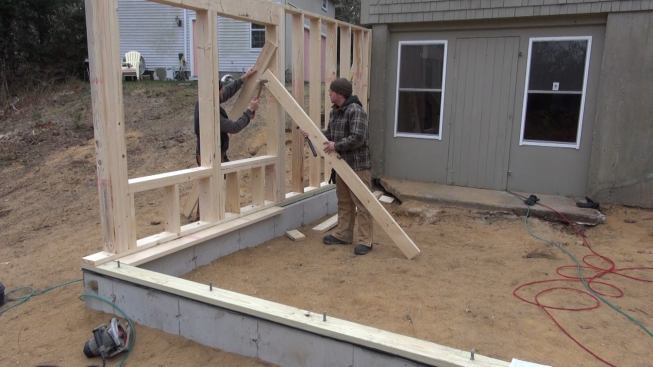
Hill and Laffin stand the new wall.
The carpenters set temporary bracing before anchoring the new wa…
The carpenters set temporary bracing before anchoring the new wall to its foundation sill.
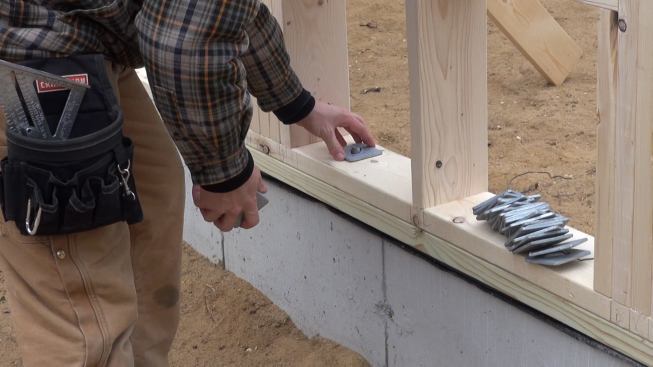
Russ Laffin sets three-inch square foundation bolt washers in pl…
Russ Laffin sets three-inch square foundation bolt washers in place on the new wall, as required by recent versions of the building code for walls in coastal locations that may be subject to high wind forces.
Laffin tightens down a foundation anchor bolt.
Hill and Laffin frame the first main floor system of the new add…
Hill and Laffin frame the first main floor system of the new addition. Here, they work on a header set at the level of the floor frame in the band joist area.
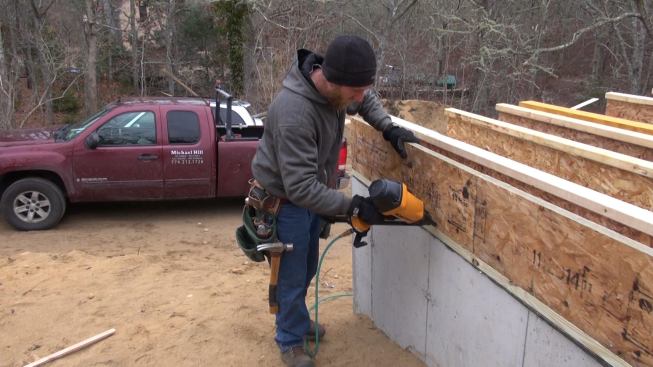
Hill installs an engineered lumber rim joist into the new floor …
Hill installs an engineered lumber rim joist into the new floor system.
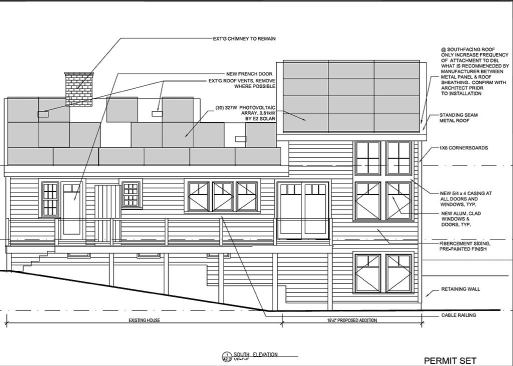
Plans for the new addition make the high-performance energy pack…
Plans for the new addition make the high-performance energy package clear: An extensive array of rooftop photovoltaic solar panels will cover the south-facing side of the existing house, as well as the new addition, powering air-source heat pumps as well as plug loads for the entire building. Given the owner’s plans to occupy only the new air-tight addition during the coldest part of the year, Horgan hopes that summertime production will balance out winter power consumption, and that the owner may avoid paying any power bill on a net annual basis.
In the world of high-performance home construction, there’s an ongoing discussion of how best to achieve ultra-low energy costs for homeowners. Airtight building shells, with heavily insulated foundations, walls, and roofs, are usually the starting formula. But on-site power production can also play an important role. And these days, there’s a debate about how to strike the balance: When budgets are limited, at what point do you call a halt to the insulation, and shift the focus to the rooftop photovoltaics?
In the town of Harwich, Massachusetts, Cape Cod builder and remodeler Mike Horgan is placing his chips on PV. He’s building a new addition onto a small house. The shell will be airtight (using advanced membranes, tapes, and gaskets), but it won’t be superinsulated. Even so, Horgan is shooting for net annual zero energy cost for the owner — because the roof of the new addition, as well as the existing house roof, will be almost covered with photovoltaic panels.
If the house hits the net-zero goal, it will be partly the result of the occupant’s lifestyle, says Horgan. In winter, most of the existing house will be shut down, and the owner plans to live mainly in the new high-performance addition. In summer, when there’s no heating cost (and most Cape Cod residents don’t air-condition), the owner will open up the rest of the house.
The addition will be conventionally framed with 2×6 stud walls. But the air-tight envelope details will be unusual, with a continuous vapor-permeable air barrier membrane extending up the walls and onto the roof plane, allowing both the walls and the cathedralized roof to dry to the exterior. JLC’s Coastal Connection is following the job. This week, we take a look as framing contractor Mike Hill frames the addition’s lowest level, a walk-out basement room. This phase of the work is relatively conventional and straightforward. But there are a few new twists — for example, the flexible EPDM gasket, supplied by Conservation Technology, that Horgan is using instead of conventional sill sealer. For a closer look, see the slideshow.