

Ted Cushman
Window Bucks
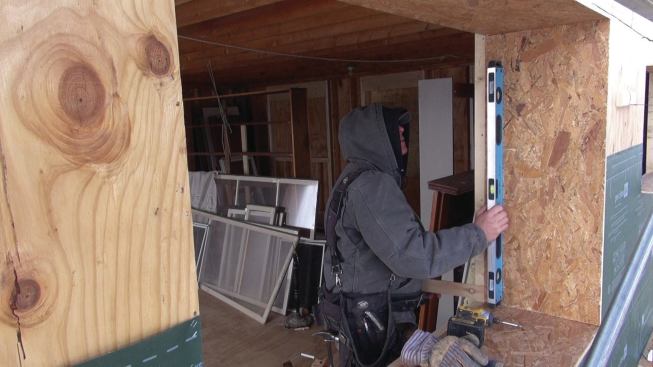
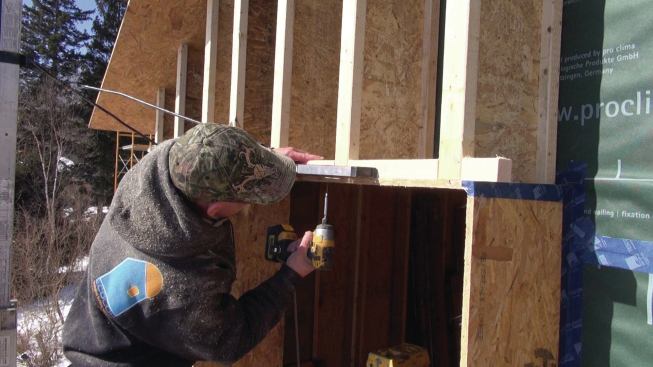
Our outer I-joist frame was going to add 12 inches to the wall thickness, so we needed to frame openings for the windows that would extend out just as far. Our solution was to build window bucks into the existing openings using Huber Engineered Woods’ AdvanTech OSB sheathing. Because we were installing new windows into an old wall that was badly out of plumb in some spots, our first day on the job I had a carpenter measure each existing opening and check it for plumb and square. I’m glad I did, because when we found out how out of whack some of the openings were, I immediately canceled my lumberyard order for 3/4-inch AdvanTech for the window bucks, and changed it to 5/8-inch material. The inch we saved overall gave us just a little more leeway when the windows arrived.
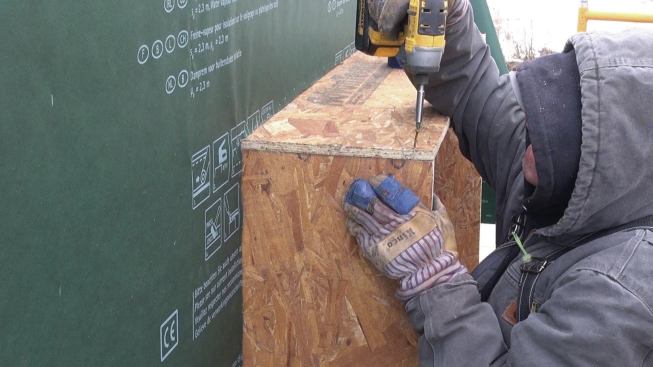
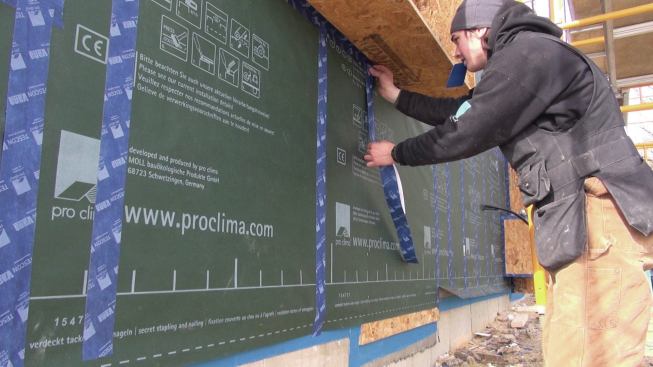
Because the window openings varied so much, the easiest way to sequence this part of the work was to cut the DA membrane out of the window openings and build the window bucks in place. Each one had to be carefully measured, shimmed, plumbed, and squared as the pieces were assembled and attached to the studs using structural screws.
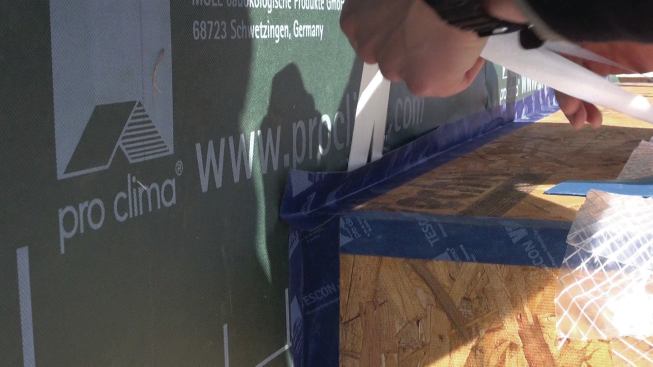
To ensure that the window bucks didn’t interrupt the air barrier for the building, we carefully taped the corner joints on the window bucks themselves, then taped all the joints where the window bucks met the membrane on the walls. The continuous tape seal perfects the air barrier in the wall center, and brings the air barrier to the outer wall plane around the window openings.
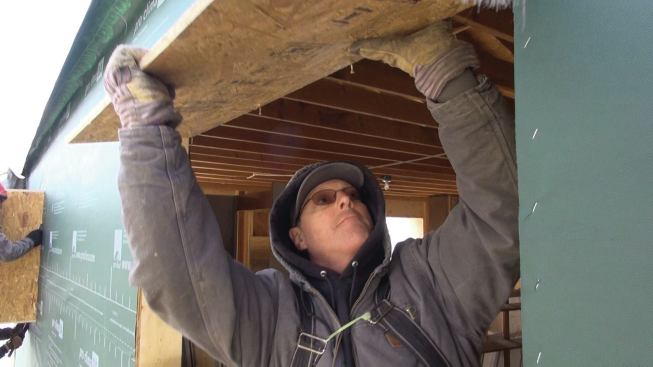
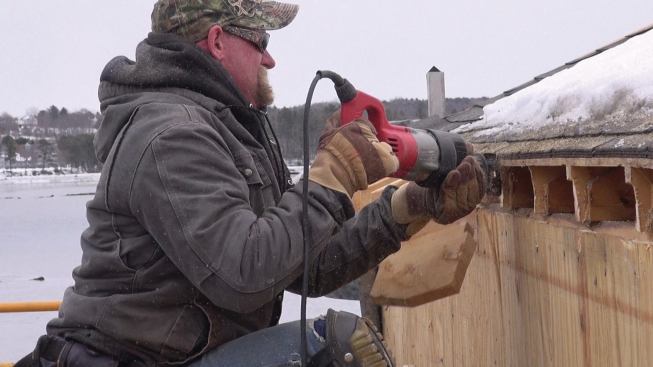
Wall-to-Roof Joint
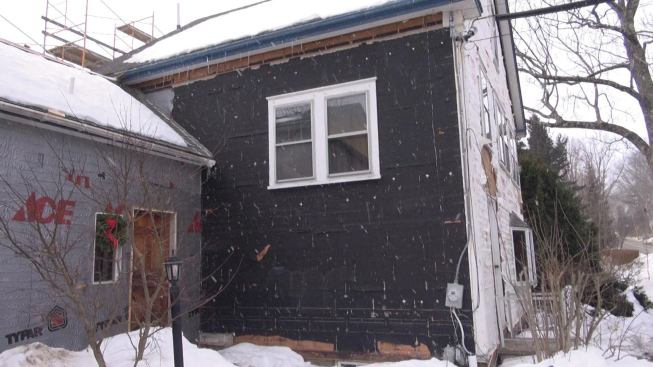
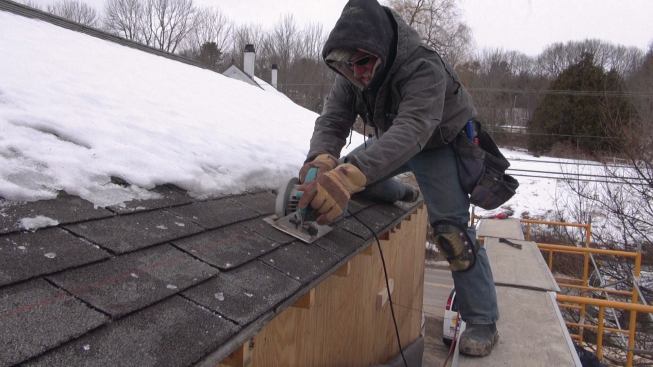
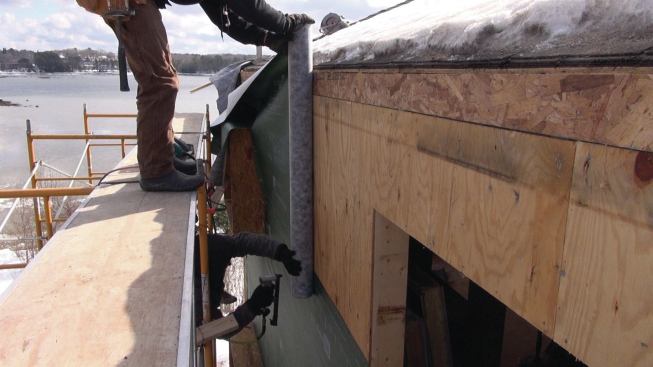
To meet the EnerPHit standard, the whole house has to be airtight. That means the wall and roof systems can’t just be airtight on their own; any joints where the wall and roof meet must also be air-sealed. That’s impossibly complicated if you have to work around existing eaves details, so we cut the eaves off the building using a circular saw and a Sawzall. (I like to use a chain saw, but my crew prefers to stick with carpentry tools.)
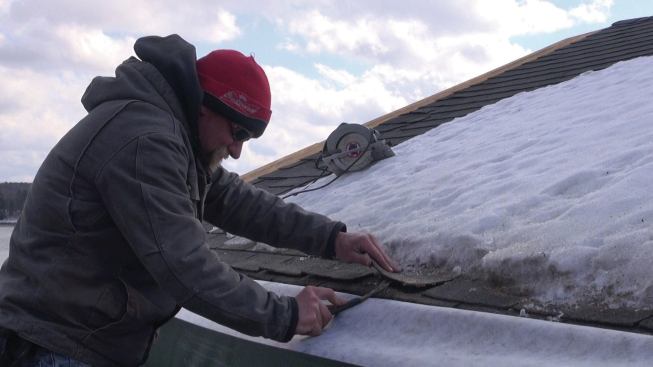
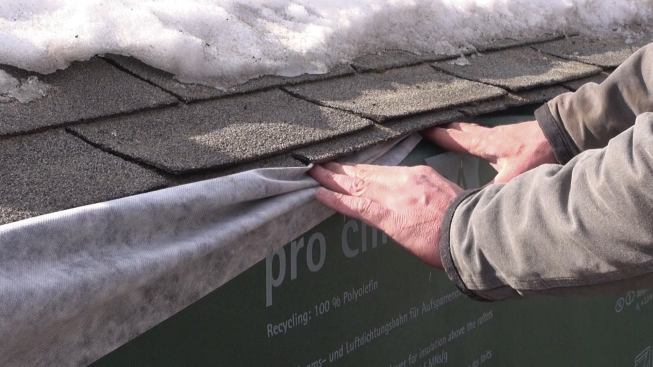
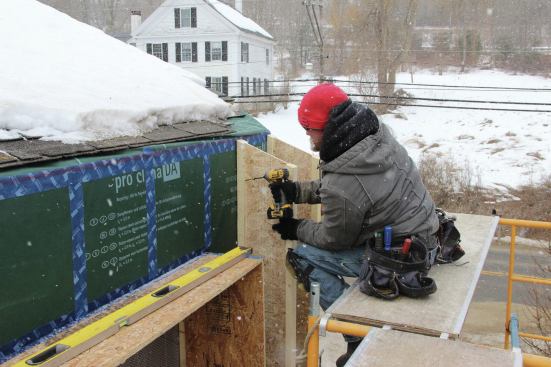
Once the eaves were cut flush to the wall edge, we installed sheathing over the openings between the rafters, then ran the DA membrane up to the level of the roof sheathing. We loosened the existing asphalt shingles and removed enough nails so that we could tuck the DA up underneath and tack it in place. Later, the roofing crew would strip the shingles and apply peel-and-stick membrane over the whole roof, lapping it over the DA membrane at the eaves. At that point, the wall air barrier and the roof air barrier became connected into one continuous airtight control layer.
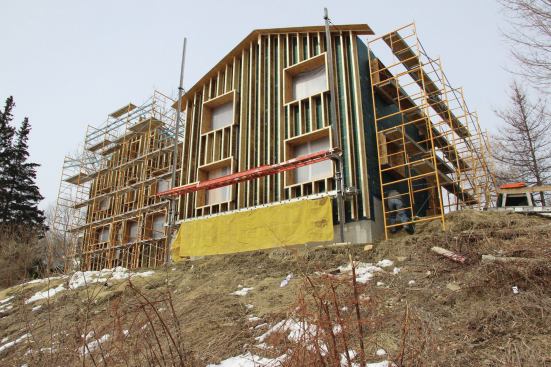
Installing Wood I-joists
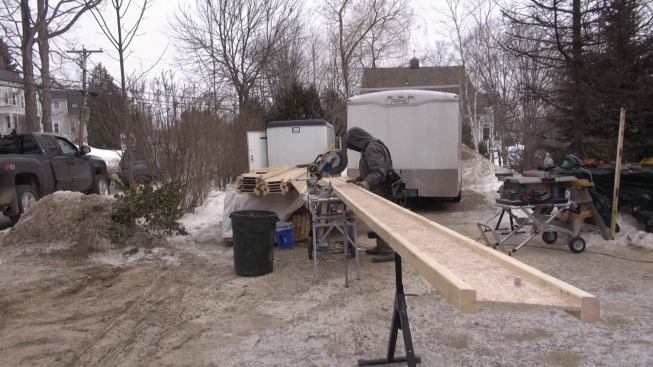
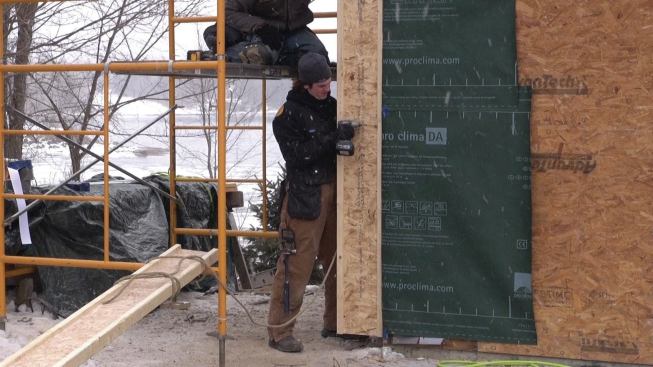
With the air barrier complete, we built a framework of I-joists run vertically over the entire wall. One man on the ground cut the roof angle into the top end of each I-joist, then passed the piece up to the crew on the scaffolding. The I-joists were screwed through the Pro Clima tape into the main wall framing using structural screws.
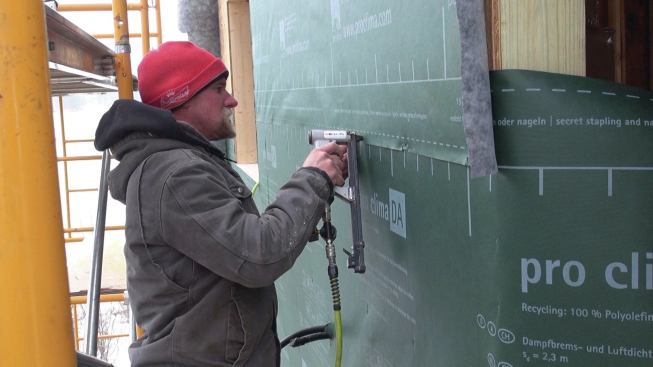
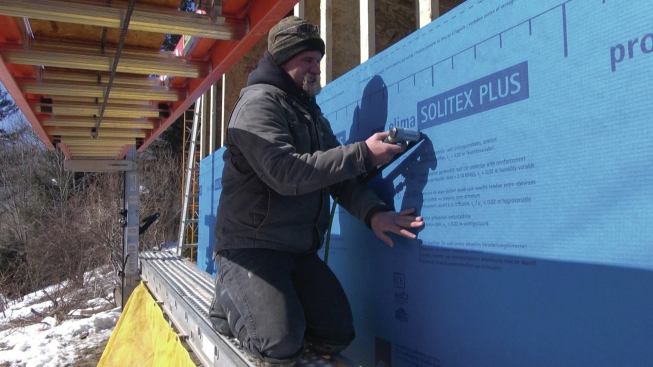
Vapor-Open Membrane
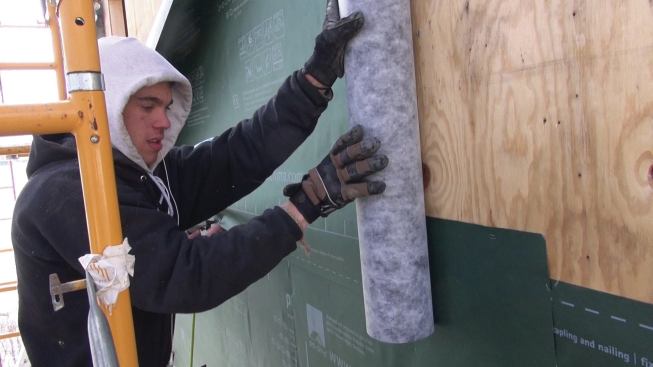
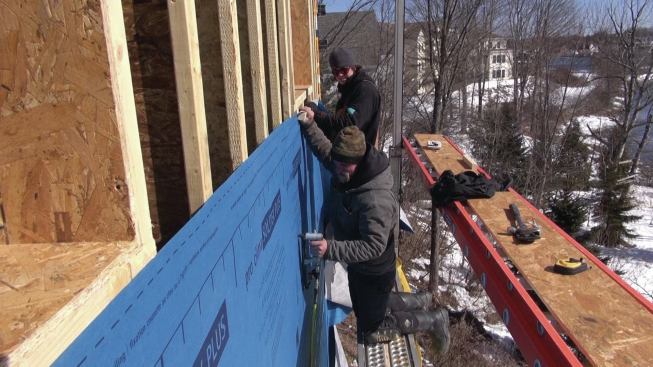
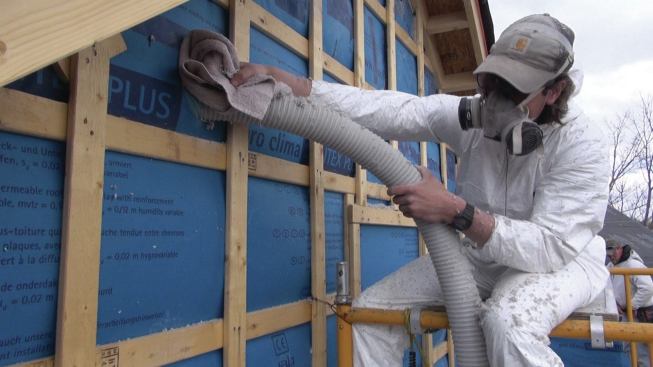
Once the I-joists were attached, the crew ran an outer membrane layer of Pro Clima Solitex Mento Plus, which serves as a drainage plane, or weather-resistive barrier, under the wood siding (there is no OSB or other wood sheathing on the outboard edge of the I-joists). We rolled the membrane out, pulled it as tight as possible, and attached it with pneumatic staples.
As we have learned, it’s best to use a lot of staples when fastening the Solitex. When we started to insulate the building, the crew sometimes found that where we had not used enough staples, the air pressure from the powerful insulation blower would blow the membrane off the joists and let insulation leak into the next bay.
Although Solitex is non-porous and is completely watertight and airtight, it has a very high perm rating of 38, which enables the insulated cavity to dry freely to the outdoors.
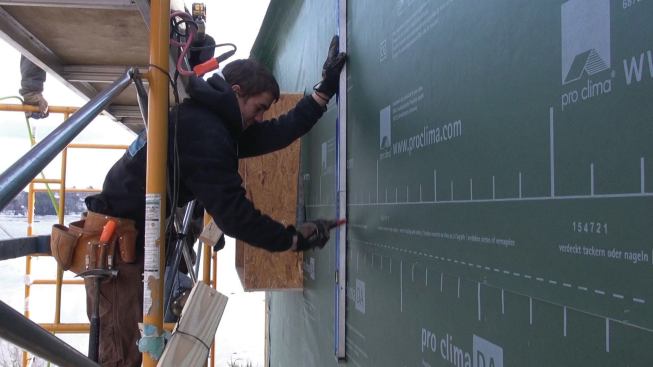
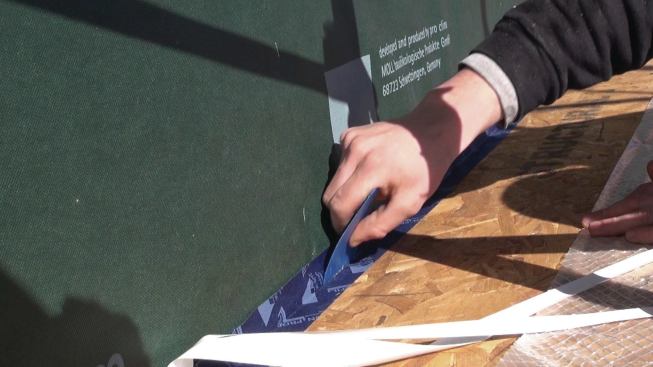
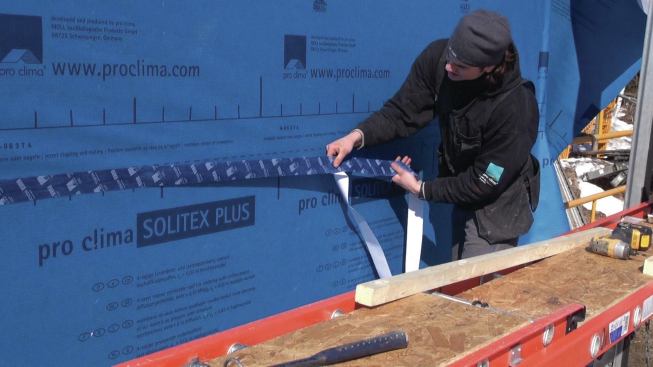
We taped the Solitex seams using Tescon Vana tape, which is vapor-open and uses a VOC-free adhesive. The adhesive is pressure-sensitive and time-sensitive: You must apply pressure to it to activate the bond. Once activated, the bond grows stronger over time.
As we applied the tape, we pressed down on it with a plastic tool called a Pressfix, supplied by Pro Clima. Over the years, we’ve used everything from $250 rollers to cheap plastic knives from The Home Depot for pressing down tape, but the Pressfix is our favorite tool for taping. It slides easily, and it’s firm enough to stick the tape down but flexible enough not to hurt your fingers. You can tape all day long without getting fatigued.
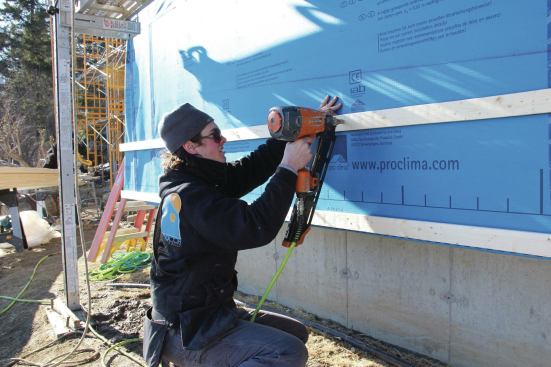
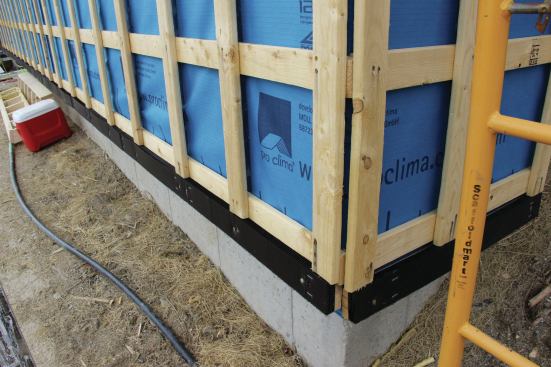
Strapping & Insulating
The Solitex Mento formed the drainage plane behind the building’s wood siding. We created an air space for the rainscreen wall by attaching strapping through the fabric into the I-joists. For horizontal siding such as the wood clapboards on this house, we apply horizontal strapping first, then a layer of vertical strapping; for vertical board siding, we attach the vertical strapping before the horizontal cross-strapping.
Finally, we blew insulation into the cavities, cutting a hole in the Solitex for the blower hose, then repairing the hole again with Tescon Vana tape when the cavity was filled. It’s a lot of insulation, and it can literally take days to blow it all.
Installing Windows
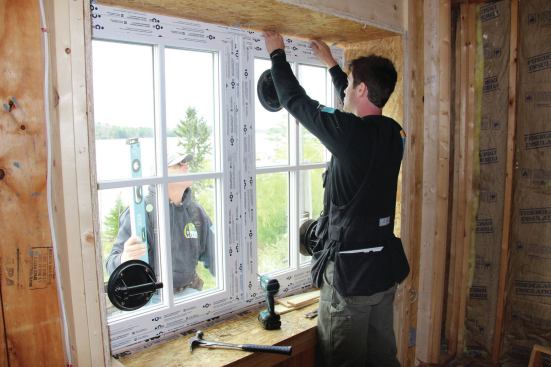
The final step in building the envelope was to install the windows, which were supplied by Intus Windows. The units were set in the opening using Intus’ system of mounting brackets. I always recommend installing the windows in the center of the wall depth because that minimizes heat flow through the window opening framing. But in this case, the owner insisted on setting the windows all the way to the outside to create a deep bench windowsill on the inside.
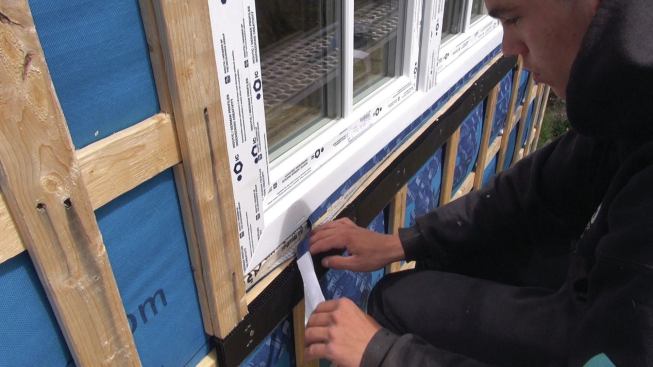
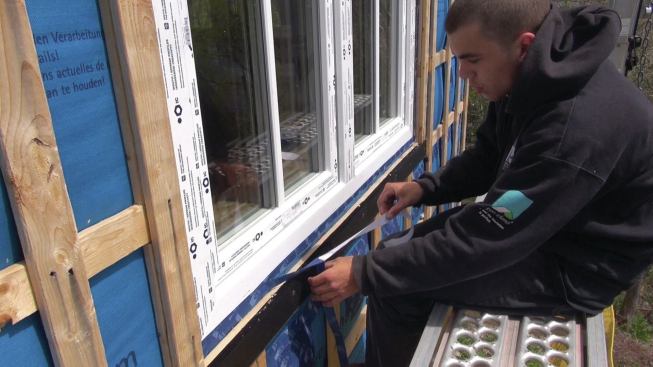
To integrate these “outie” windows into the home’s drainage plane, we started by placing a 1/2-inch by 3-inch sill dam on the rough sill. We flashed the dam with 3M All Weather Flashing Tape 8067, then installed the windows, setting the face of each window flush with the Solitex Mento Plus fabric that forms the wall’s drainage plane. Next we created a dual seal between the windows and the walls: First, we sealed each window to the sill dam with Tescon Vana tape; then we applied a second layer of tape to seal the drainage-plane fabric to the window.
The idea is that if for some reason the window itself springs a leak, the incidental water will puddle on the protected sill inboard of the window, where it can dry to the inside by evaporation. But if water penetrates the exterior trim surround at the base of the window, the water will be directed into the drainage plane air space behind the siding and make its way down and out of the drain-and-dry exterior rainscreen.
What’s Next?
Early in the project, the owner had decided to leave the basement out of the conditioned envelope, restricting the deep energy retrofit work to the occupied floors above the cellar. But near the end of the project—after the house was wrapped, the windows were in, and the general contractor’s crew was working on exterior and interior finishes—she changed her mind and asked us to dry out and insulate the basement space as well.
I would have done some things differently if this decision had been made in advance. For example, we would not have insulated and air-sealed the floor above the basement as we did.
However, the change in plans has an upside: When it comes to Passive House certification under the EnerPHit protocol, this will change the math because we can now include the basement volume in the calculations. Improving the basement as part of this project puts EnerPHit certification within reach, at least potentially. So after we carry out the basement phase of the job, I’m considering submitting this house for official EnerPHit certification. If we pass, that can only help the house serve as an example, the way the owner intended. But even if we miss the threshold by a little bit, I’m sure that we will have drastically lowered this home’s energy consumption and its carbon footprint. And that’s a big step in the right direction.
Designer, builder, and certified Passive House consultant Chris Corson owns and managesEcoCor, based in Belfast, Maine.