Shear Panels
Because foam sheathing doesn’t provide racking resistance, we applied vertical 4-by-10-foot sheets of 1/2-inch CDX plywood at intervals specified by code. Nailed every 6 inches around the edges and in the field, the plywood spans from the first- to the second-floor rim joists; on gable walls it’s continued up to the second-floor ceiling rim. According to the IRC, intermittent shear panels must be installed at no more than 25 feet on-center, and a 40-foot-long wall must have a minimum of three shear panels over its run. Here in the Boston area, wind-speed provisions are moderate, so these are fairly basic standards. In high-wind and seismic zones, these specs are unlikely to be adequate.
We installed the shear panels after completing the framing, when everything was straightened, plumbed, and braced. It was a lot easier to make the necessary final adjustments to the frame without the panels providing resistance. There was a total of 16 panels, most of which required no cutting or fitting; it took two workers about three hours to install them all. In addition to the shear panels, the plans called for continuous 5/8-inch hold-down rods from the foundation up through the uppermost top plates, at all corners and most shear-panel locations. These rods resist building uplift and overturning. They required accurate placement when pouring the foundation, which was a bit of a pain, but running the 10-foot links up through the walls was easy. To install and tension 16 rods required six man-hours.
Foam Sheathing
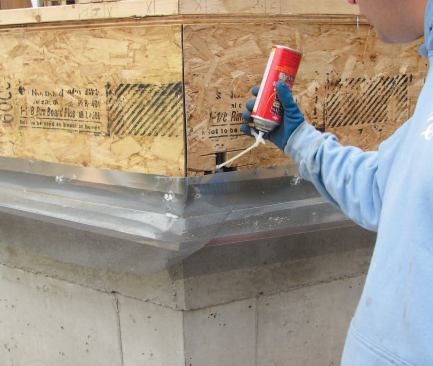


A galvanized metal flashing, air-sealed to the rim and foundatio…
We started the first layer of sheathing on top of a galvanized metal flashing strip set an inch lower than the top of the foundation. To help with air-sealing and to keep out bugs, we set the strip in GreenSeries high-performance adhesive (800/624-7767, osipro.com) applied to the pressure-treated sill and foundation. The flashing projects out 4 1/2 inches, then bends down in a drip edge. It protects the bottom of the foam from insects, rodents, and flying sparks. We nailed a 10-inch-wide strip of insect screen over the flashing, to be folded up later over the sheathing.
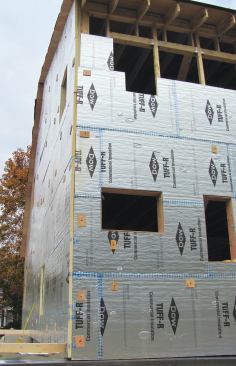
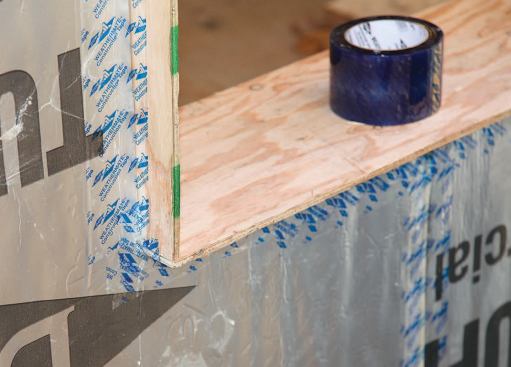
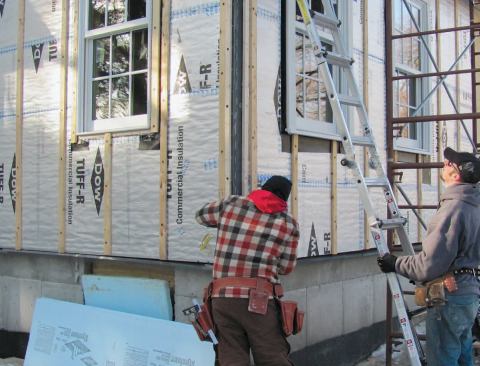
We installed the first layer of 2-inch-thick 4-by-8-foot sheets vertically, with their long edges centered on the studs. To aid in air-sealing, we bedded all edges in a heavy bead of GreenSeries adhesive against the framing. The adhesive bonds and seals the sheathing to the framing; we used only a single screw and a 3-inch washer — the kind used to fasten rubber membrane roof underlayment — near the center of the sheet to hold it until the glue set. To match up with adjacent 2-inch-thick material, we applied a 1 1/2-inch layer of foam board over the shear panels. We taped every seam in both layers of foam with Dow Weathermate tape, which sticks well in both wet and cold conditions. Around window openings, we taped the first layer of foam to the plywood bucks.
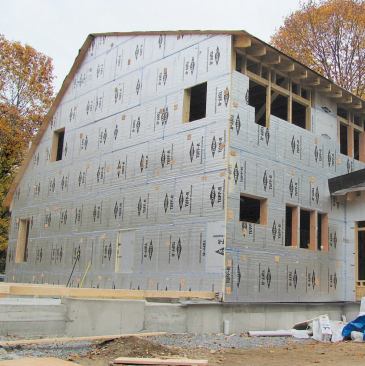
We installed the second layer of 2-inch foam horizontally, starting with a 2-foot-wide panel to ensure that few if any seams would align between layers. At building corners, we also made sure to overlap the edges. There’s no adhesive between the layers; instead, we temporarily held the outer layer in place with FastenMaster HeadLok screws driven through plywood scraps. Ultimately, the vertical strapping for the siding would secure it.
The project included an attached two-car garage that isn’t conditioned or insulated. Before framing it, we applied the foam sheathing to the common gable wall. Later, we tied the two structures together using 8-inch HeadLok screws through the foam. We used the same approach when framing the roofs over an ell and a walk-out bay window, first sheathing the main structure and then overlaying the rafters.
Strapping for siding. To provide an attachment point for the fiber-cement siding, we applied vertical 1×3 strapping, screwed through the foam into the framing with 6 1/2-inch HeadLok screws. The strapping creates a drainage cavity for any water that may penetrate the siding and allows drying air to circulate behind it. At the base, we cut strips of Cougar (800/346-7655, benjaminobdyke.com) nylon-matrix ridge-vent material to fit between the strapping, to help pin the insect screen against the back of the siding. Around window openings, we installed strapping to back the exterior trim, and adjacent pieces to catch the siding. To provide attachment points for some of these screws, we had to add 2×4 blocking to the framing around the rough openings.
David Joyce owns Synergy Companies Construction in Lancaster, Mass.