What to Look For

Ideally, every completed SPF installation should be inspected, by a manufacturer’s representative, an owner’s representative, or a third-party inspection company. (For a list of inspectors accredited by the Spray Polyurethane Foam Alliance, call 800/523-6154 or go to sprayfoam.org.) With the cost of a third-party inspection on most residential projects ranging from $1,000 to $2,500, the most realistic option for a GC with an already-stretched insulation budget is to request an inspection by the SPF manufacturer’s or supplier’s rep — especially if there are any concerns about the quality of the insulation sub’s work.
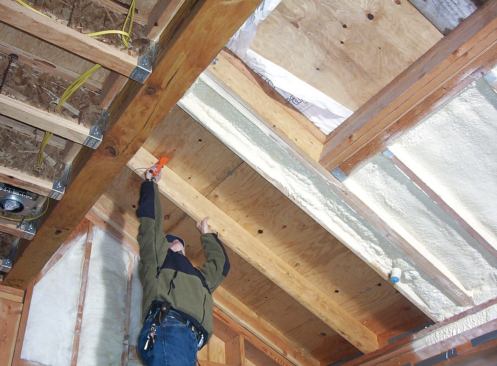
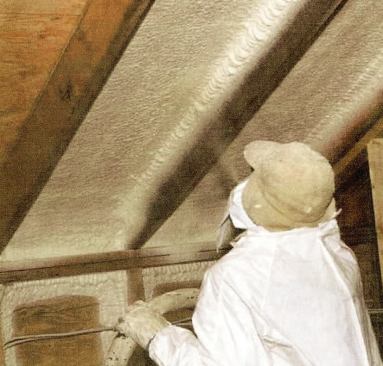
When I inspect an SPF installation, my inspection report includes the name of the material supplier, the type and product number of the foam, the lot number, the specified thickness, photos, and a sketch of the sprayed areas. I measure and record foam depths at a minimum of 15 locations to verify that the contractor met thickness requirements and to evaluate his ability to uniformly install the foam. I also examine the foam quality and look for problems like poor adhesion, density irregularities, and voids, cracks, or gaps in the foam. Cell structure and quality. Foam should have a consistent cell structure without significant color changes, cell deformation, or other anomalies. Dark or scorched areas in the middle of the foam indicate high exothermic heat, which can result in cracks and shrinkage.
Density. I’ve inspected enough foam to be able to tell whether it’s approximately the right density simply by pressing it with my thumb. But when I’m in doubt, I take a sample and test it. For 2-pound foam, the density should be between 15 and 25 psi; for 1/2-pound foam it should be between 2 and 5 psi. Anything softer or harder is an indication of an off-ratio or poor mix.
Adhesion. Adhesion problems on closed-cell foam can usually be found by randomly pounding the foam. Delaminated foam will have a hollow sound and compress slightly.
When I find a suspicious area, I use a coring tool, a saw, or a knife to take a sample. If the sample is hard to remove and leaves little bits of foam on the substrate (the industry term is “cohesive foam failure”) there is no adhesion problem. Another acceptable result is when the sample comes away from the substrate with some force but is clean; this is called a mechanical bond. But if the sample is easily removed from the substrate, I know that the adhesion is poor and the affected area must be removed, since poorly adhered foam can lead to blisters, delamination, and shrinkage of the foam — all of which will affect the foam’s insulating, air-sealing, and condensation-control qualities.
Repairs
Usually, cracking and other problems in a foam installation affect only small areas, and repairs can be made without a total tearout of the existing insulation. Unless the whole application is off-ratio, most repairs require the removal of 5 percent to 15 percent of the existing foam.
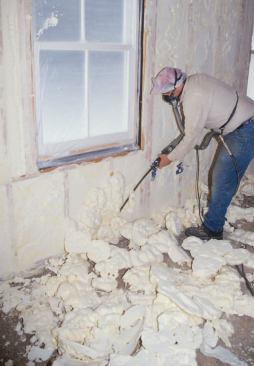
After the off-spec foam has been identified, it should be cut back at a 45-degree angle to where it exhibits good adhesion and good physical properties. After the substrate has been cleaned and — if necessary — reprimed, the area can be resprayed.
Mason Knowles, formerly executive director of the Spray Polyurethane Foam Alliance, an industry trade group, is a building envelope and roofing inspector in Savannah, Ga.