I have told more than a few clients that a window seat is a great way to gain function and dress up an underused area of their house. Generally, there are two options: window seats with a fixed top and doors or drawers for storage underneath and window seats with a fixed front panel and a lift-up door in the lid. Both have their advantages, but most people prefer one or the other.
Planning
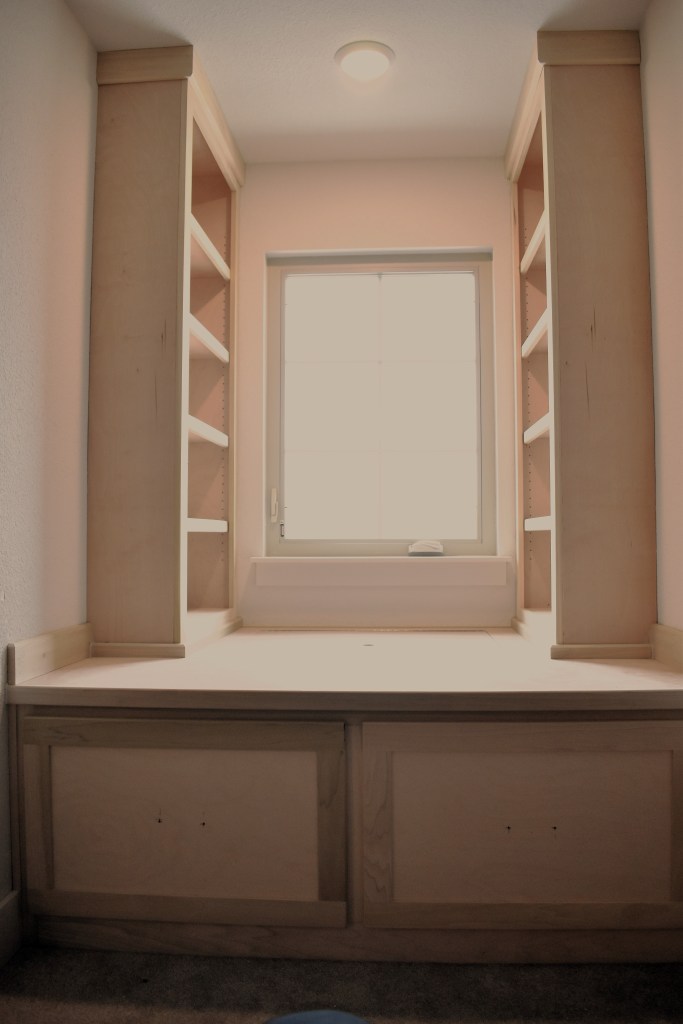
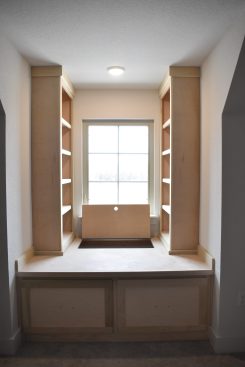
Recently, a new client who wanted to add some custom details to her production home contacted me. A window seat was at the top of her list. When we talked, I realized she wanted the best of both styles: a lift-up lid and two drawers underneath. She had a large dormer that was 5 feet wide by over 4 feet deep (many shed dormers have similar dimensions). Though I usually aim for a seat height of about 18 inches, she requested that it be 25 inches.
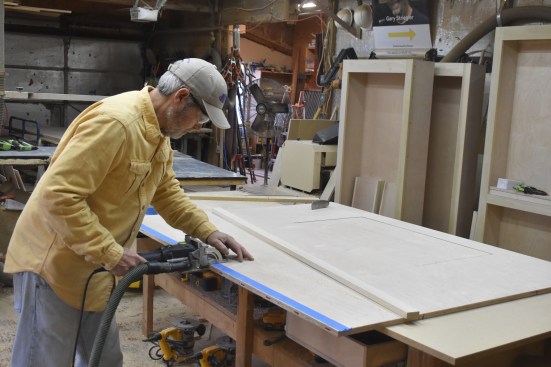
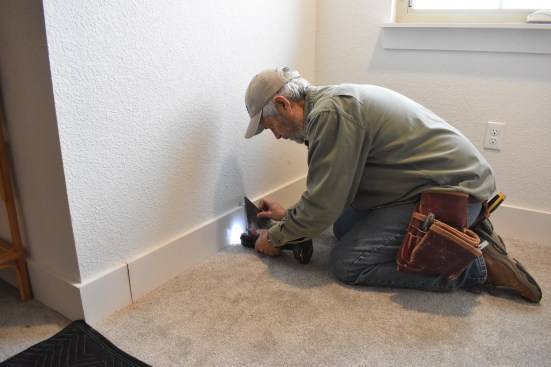
The good news was that I could make one large lid out of ¾-inch birch plywood. I planned to build a two-drawer cabinet and set it 2 feet off the back wall. Since the space was carpeted and drywalled, all I needed to do to prep it was cut out some baseboard and add support for the lid to the back and side walls.
For additional storage, the client asked for an adjustable shelf unit on each side wall. Everyone envisions sitting on the window seat resting their back on the side wall and looking out the window, so I planned to make the shelf units 30 inches wide, leaving about 18 inches of clear area for back support. The project was paint-grade, but I decided to build everything out of ¾-inch birch plywood.
Gary Striegler
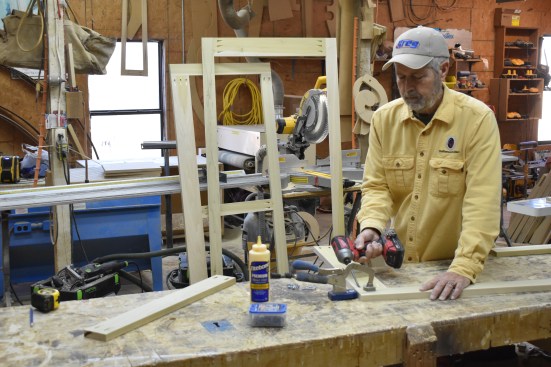
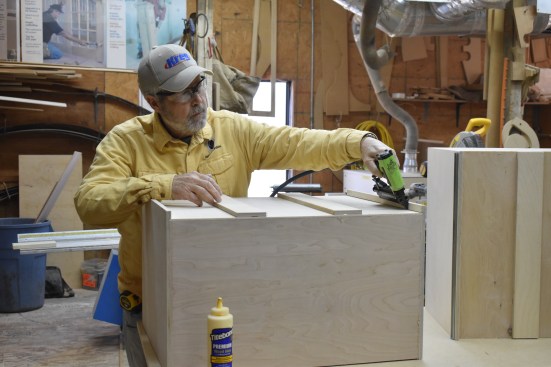
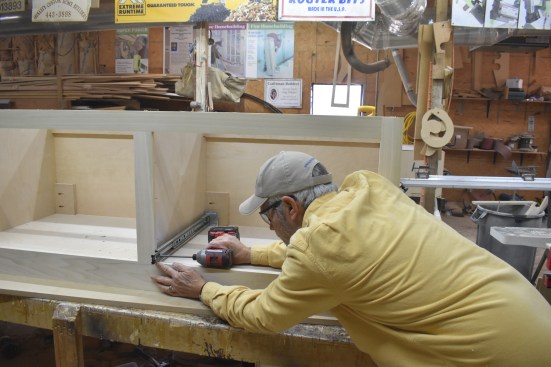
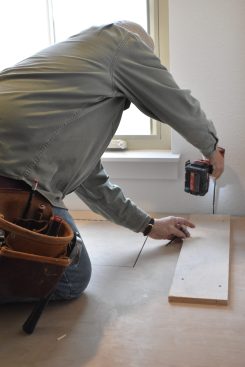
The author pocket-screws the face frames after pre cutting all o…
Shop Build
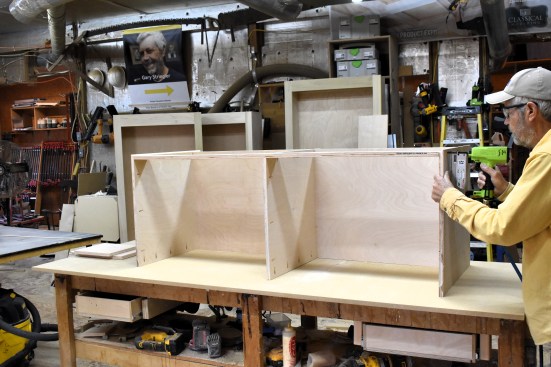
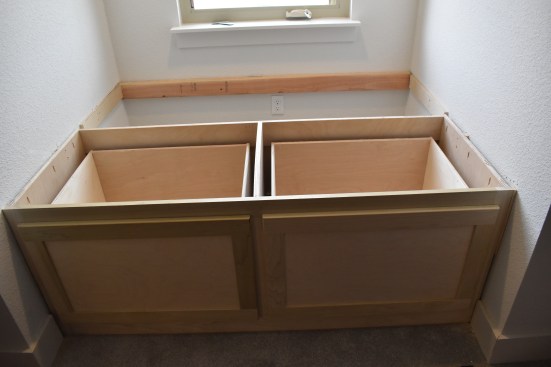
The base cabinet with two drawers was the biggest part of the project so I started with that. With the 25-inch height and the width of the dormer, the drawers were going to be huge. I opted to use 22-inch, full-extension, ball-bearing drawer slides for strength.
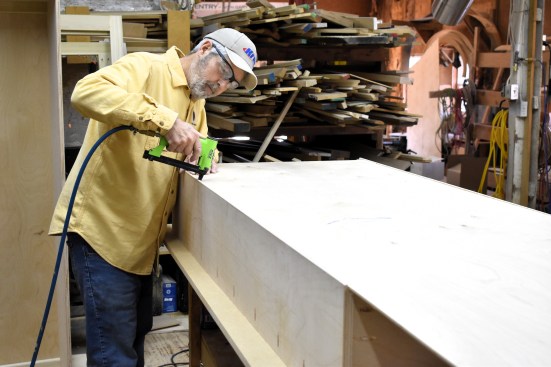
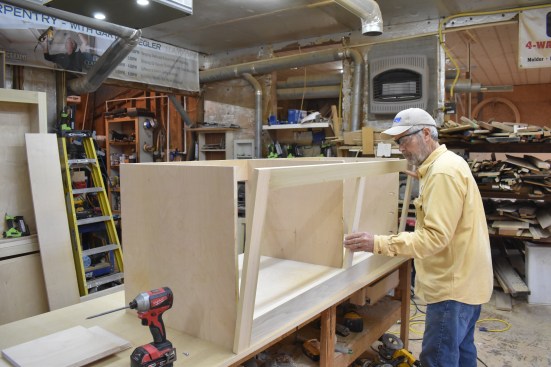
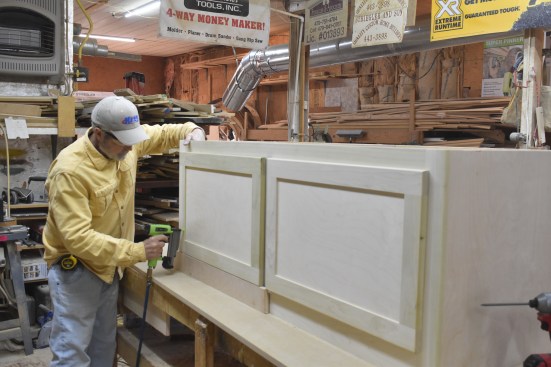
I build drawers using ½-inch Baltic birch for the sides and front. I am usually able to make the back out of scrap ¾-inch plywood and, from ¼-inch plywood, a bottom that slides into dadoes in each side and staples up into the front and back. For these large drawers, I moved the bottom up enough to add a ¾-inch support in the middle for extra rigidity.
My joinery is simple. I nail through the drawer sides into the front and back using 18- or 21-gauge brads. It probably sounds too simple, but I have built hundreds of drawers over the last 40 years, and none have ever failed.
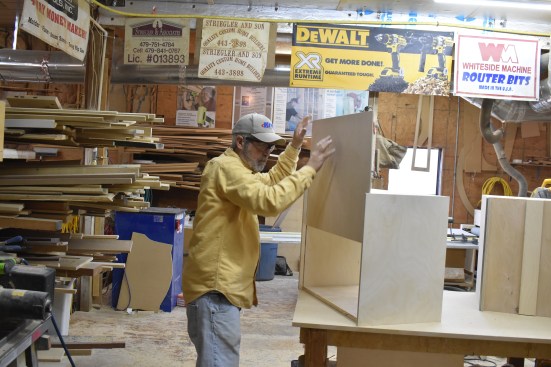
I use shallow dados and pocket screws to build a cabinet box with a stretcher rail and ¼-inch plywood back. I always build the box on a flat table, but it is a good idea to use a long level as a straightedge to double-check as I build. Since the box would fit between two walls, I made it an inch under 5 feet and let the face frame overhang each side. The tightest spot in the dormer was at the outside corners. With the metal corner bead, it was 1/4 inch narrower, so I needed to build everything to slide in past the tight spot and then trim it out after.

Gary Striegler
Because the drawers are so large, the author adds extra supports…
Installation
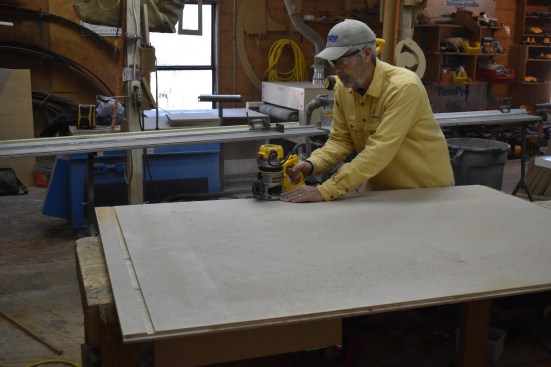
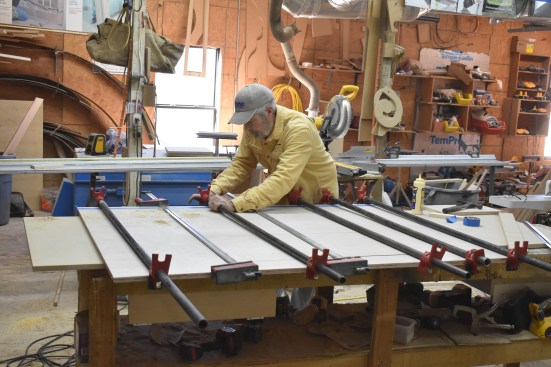
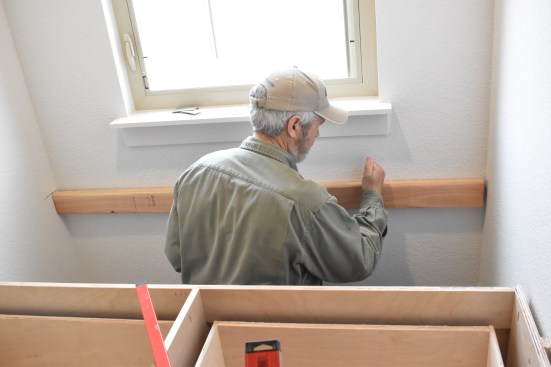
I started installation by cutting out enough baseboard to set the drawer base cabinet in place. Once I set and screwed the base cabinet, I leveled off it to locate a cleat for the back and side walls. Getting the plywood top in place was my greatest challenge. I trimmed the front edge band just enough to clear the metal corner beads, then centered the top, leaving about a 1/8-inch gap on each side. I could have waited to add the front band, but it is almost impossible to get a tight joint between the plywood and edge band without clamps and pocket screws, so I chose to prefabricate the top in the shop using dominoes for alignment.
Next, I set the adjustable shelf units on each side, plumbing them up and fastening them to the walls with large trim screws. I then placed the adjustable shelves. Since the installation was upstairs, I had made a lot of the mitered cuts on the trim in the shop. That way, I just had to cut them to final length with a small, cordless miter saw set up in the yard. Everything was going to be painted, so I used a little bit of caulk at the front band and to touch up the baseboard joints.
While we were cleaning up, the client looked up the hardware she planned to use on the drawers so I could predrill them. She shared with me that her daughter was so excited about the window seat that she wanted to stay home from school to see it. I enjoyed building the project, especially since I had never done one quite like it before, but I have to say that my favorite part of the job was being a part of making a child’s dream come true.

Gary Striegler
On site, the author cuts out the baseboard to fit the base cabin…
Keep the conversation going—sign up to our newsletter for exclusive content and updates. Sign up for free