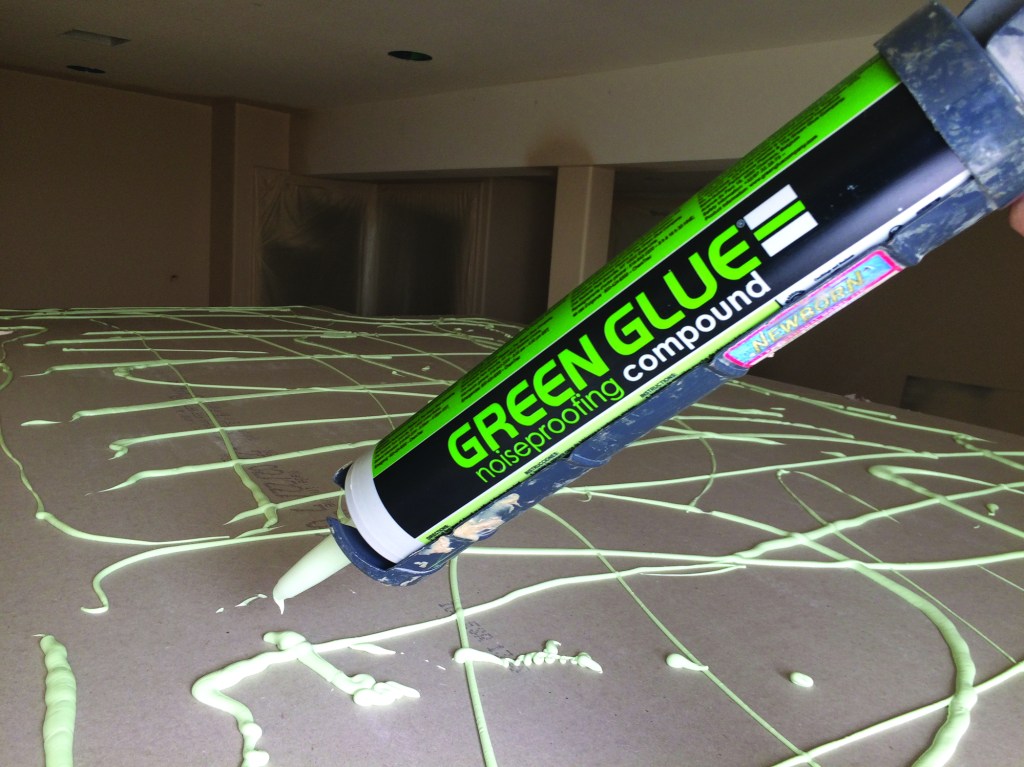

He hung a second layer of ceiling drywall, using two quartsize tubes of Green Glue per sheet. The product is not an adhesive but a sound-absorbing layer that evens out to a 1/8-inch-thick layer when the second sheet of drywall is pressed into place with a drywall lift.
I was recently in the final phase of remodeling a basement apartment, painting the kitchen and living-room ceilings, when I heard someone talking on the phone in the room directly above. I was surprised, and extremely disheartened, to hear this sound because I thought I had addressed a lot of the noise issues by filling the floor-joist cavities with netted and blown cellulose insulation. That had been my go-to method for mitigating sound transfer on other projects, and I had gotten positive feedback from past clients who convinced me it worked. My current client had a limited budget, and while we were discussing what could be done about sound, he said his chief concern was reducing the noise of tenant conversations. I didn’t expect the insulation to stop sound from foot traffic above, but if I could hear a phone conversation above me, clearly what I had promised wasn’t working.
Thinking through my options, I remembered talking with a past client who had a basement home theater. He had explained that the contractor who built the house used a second layer of drywall on the ceiling with a special sound-absorbing glue between the drywall layers. According to that client, that method had worked well, and he could barely hear the sound from that room when it was in use.
I did some online research and came across several different products, settling on Green Glue (greengluecompany.com) after watching YouTube videos of various product tests. The method using Green Glue seemed simple enough, and while adding a second layer of drywall to the ceiling was the “least effective” of the methods using this product, doing so wouldn’t significantly alter my project and in that way would be a good test. While not a big disruption, this additional step would throw my completion schedule off. I figured the best thing to do was just to admit to the client I had been mistaken about my sound-muffling strategy.
In a basement ceiling, if you can get all the wires, pipes, and ductwork above the bottom edge of the joists, two layers of drywall is an easy retrofit for sound control.
The client understood and gave me the go-ahead for the extra step. I ordered a case of 12 large (quart-size) caulk tubes from an online source that offered free shipping (buyinsulationproductstore.com), and it arrived in a couple of days. The case cost around $200, or about $17 per tube. With just the cost of glue, some sheets of drywall, and my labor, I felt the project was inching forward. I decided to hang the extra drywall in the living room and kitchen area first, and if it was successful at reducing noise there, I would continue into the bedroom and bathroom.
According to the manufacturer’s instructions, Green Glue should be applied in a random, squiggly pattern on each sheet of drywall. It takes approximately two tubes of glue per 4×8 sheet of drywall. The glue is sticky, and following the instructions, I tried to keep it back from the perimeter of the board to minimize the amount that oozed out around the edges when the sheet was hung. The glue did not run much and stayed where I placed it. When I cranked the sheet up against the ceiling with the lift, I used twice as many screws as I usually do, following the manufacturer’s instructions to fasten every 12 inches on-center for ceilings. The glue is not really functioning as an adhesive, but as a vibration-absorbing substance.
As each sheet was hung, a bit of glue squeezed through the outer edges. According to the manufacturer, the compressed glue results in a layer a little thicker than 1/8 inch, or 0.5mm, between the sheets. The manufacturer recommends using a product called Green Glue Sealant to fill gaps. I hadn’t ordered any, so I used the same Green Glue to fill in the gaps around the perimeter and any gaps in the field. Here, the glue kept wanting to ooze out, and I used my putty knife to trowel it up tight until it set up and stayed. (I imagine the sealant designed for this purpose would have oozed less.)
Gaps can be filled with a thick bead of Green Glue.
It gets messy and you want to scrape it off the face so it won’t affect drywall finishing.
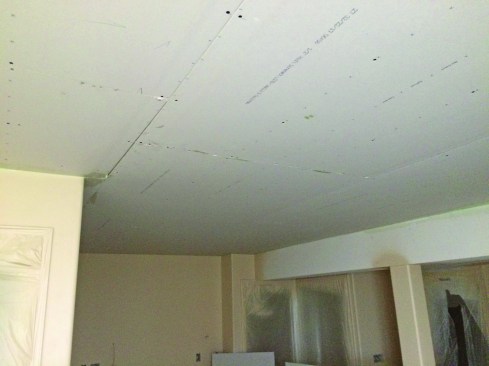
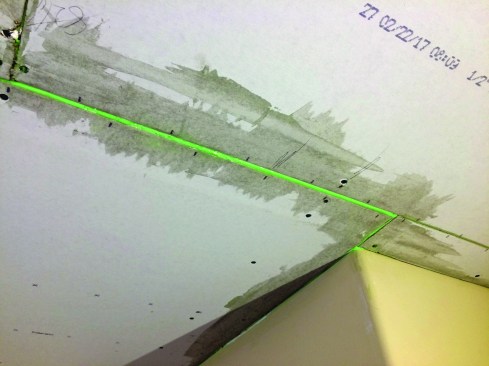
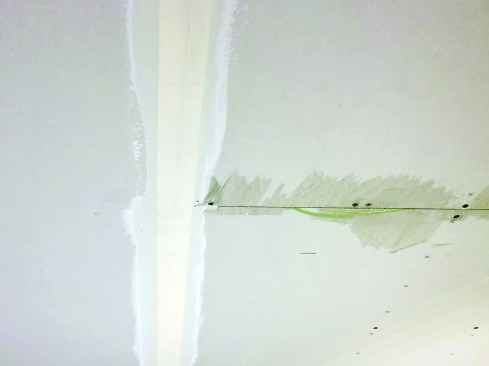
I also had to make sure any extra glue that had oozed between the joints was scraped off so that the drywall mud could bond. The next day, when I went to place the first coat of mud, some of the glue had started to sag around the edges, so I pushed it back into place and quickly taped and mudded the joints. Because of adding a second layer of drywall, I couldn’t use products like Rock Splicers to help create recessed butt joints. Instead, I coated the butt joints with a wider swath of mud to create as flat a finish as possible.
When we painted the ceiling, we found a couple of spots of Green Glue that had been accidentally left on the surface. I had to rub and sand all these areas as thoroughly as possible; otherwise, paint would not adhere on them.
After all was done, I was relieved it seemed to work effectively. When someone was talking or walking upstairs, I could still hear sound and voices, but I couldn’t make out what they were saying. In retrospect, I realized some of the sound was coming through the ventilation ductwork. Having the basement on a separate heating and cooling zone with no shared ductwork would have also helped to prevent sound travel between floors.
If a project looks beautiful, but doesn’t perform well acoustically, you risk having a less-than-satisfied client. To stop sound, there are many other things that can be done—hanging the initial ceiling drywall on hat-channel with isolation clips, using thicker layers of ceiling drywall, and separating the floor structure from the ceiling structure are all effective ways to stop sound vibration that I will continue to explore on other projects when the budgets allow. But it’s reassuring to know that something as simple as separating two layers of drywall with squishy layer using a product like Green Glue can be effective at reducing noise transfer.