Thin-set mortar is the glue that literally holds a tile job together. Here we’ll have a look at some tips on mixing, getting the right consistency and coverage, and other important things to keep in mind.
Mixin’ mortar
Step one with mixing thin-set, is one that is often skipped: that is, read and follow the instructions! Thin-set mortars do differ from type to type so you will definitely want to start there.
The mortar should always be mixed to a fluid consistency and be able to hold a notch. The maximum water recommendation will typically produce a mixture that is suitable for membrane installation. The midrange water ratio is a good place to start for tile installation, and the minimum water recommendation is ideal for large and heavy tile.
- With the water-to-mortar ratio in mind (see thin-set bag), pour the thin-set powder into a bucket of clean water.
- Follow the 5-10-3 rule:
a. Mix for 5 minutesb. Slake for 10 minutes
c. Mix for 3 minutes
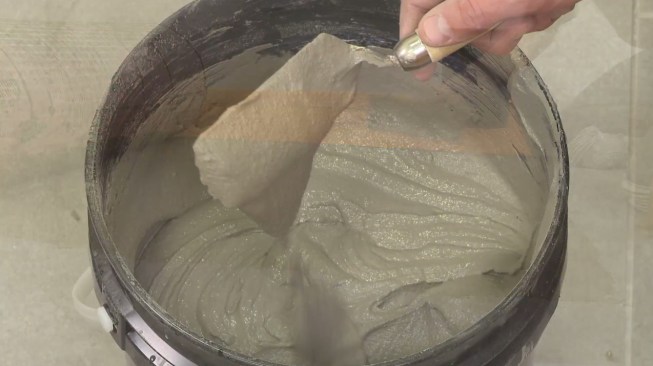
Consistency
While thin-set mortar should always be smooth and creamy, kind of like pancake batter, it is important to note that different consistencies are needed, depending on the application:
- For membrane applications, the thin-set will need to be a little wetter or runnier.
- For tile applications, the thin-set should be somewhat stiffer to better adhere the tile.
Consider pot life
Pot life refers to the period of time in which two mutually reactive chemicals (water and thin-set) remain usable when mixed. You can always remix the mortar, but never add more water.
- Schluter SET™ and ALL-SET™ have a pot life of 2-4 hours.
- As Schluter FAST-SET™ is designed for fast-track projects, the pot life is limited to 30 minutes.
Observe open time
Open time refers to how long the mortar can remain exposed once it has been spread onto the substrate before skinning over. If it skins over, remove and reapply before installing the membrane.
- The open time for SET and ALL-SET is 20 minutes.
- FAST-SET has an open time of 10 minutes.
The key to keying in
Follow these simple steps to burn or key-in the thin-set and help ensure a successful installation:
- Make sure the substrate is clean, even, and load bearing.
- For dry and porous substrates, wet the substrate with a damp sponge to prevent premature drying or skinning of the thin-set.
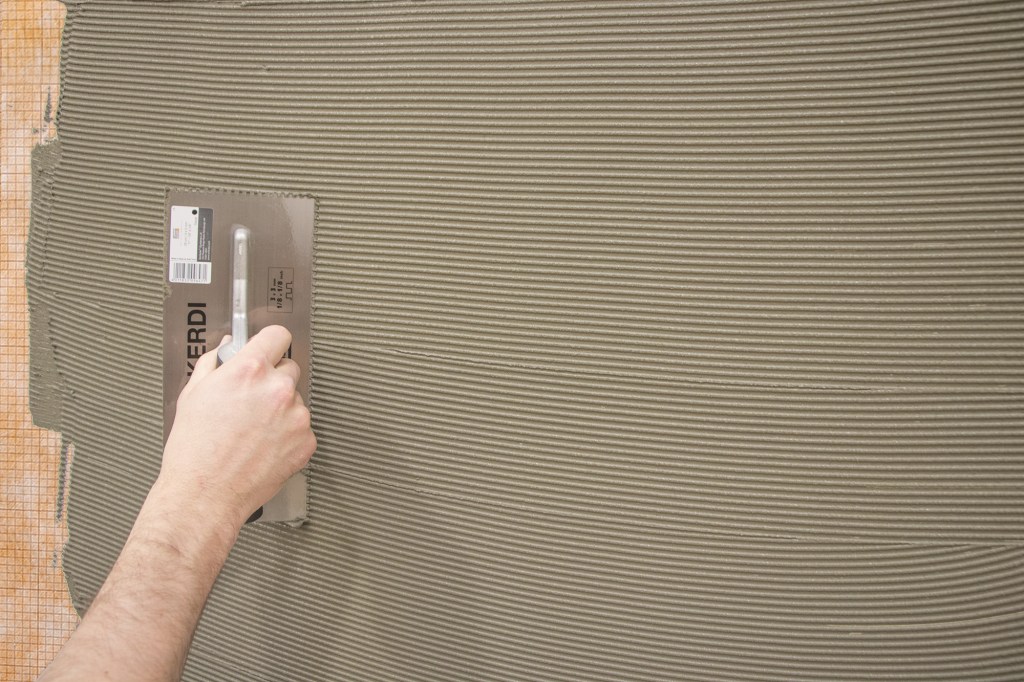
- Using the flat side of the trowel, apply a thin layer of thin-set mortar to ensure solid contact with the substrate.
- Comb additional mortar using the notched side of the appropriate size trowel.
- Ensure that the ridges all move in the same direction—no curves or squiggles; tame your inner Picasso!
Check for coverage
It is important to always make sure that you’re getting full contact between the membrane and substrate, as well as the tile and membrane.
For Schluter®-DITRA, KERDI, and KERDI-BOARD applications:
- Embed the membrane using a float for DITRA, the flat side of the trowel for KERDI, and your strong hands for KERDI-BOARD.
- Peel back the membrane to make sure full contact was made. If the KERDI-BOARD bond is questionable, use additional Schluter mechanical attachments such as KERDI-BOARD-ZSD anchors, or KERDI-BOARD-SZ/-ZT screws and washers.
- Add more thin-set as needed and re-embed the membrane.
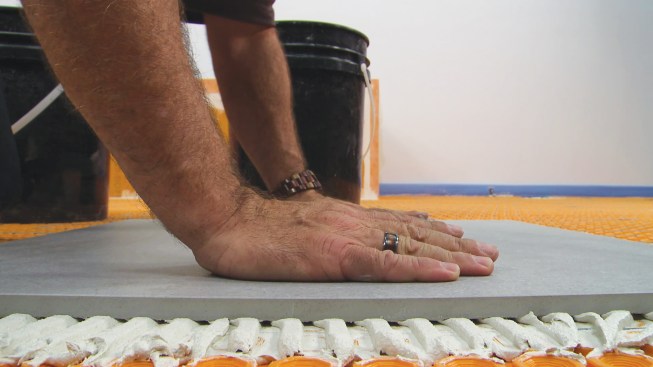
For tile applications:
- Push the tile into the substrate using a back and forth motion across ridges.
- Periodically remove the tile and check for coverage. Re-apply thin-set as needed.
- Clean excess mortar from tile and tools while still wet.
For more information on Schluter thin-set mortars, check out our video series here.