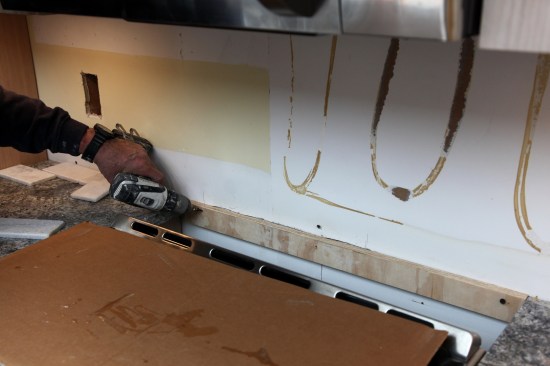
The first step is adding a ledger behind the stove where the til…
The first step is adding a ledger behind the stove where the tile doesn't have the countertop for support. The ledger comes out after the installation.
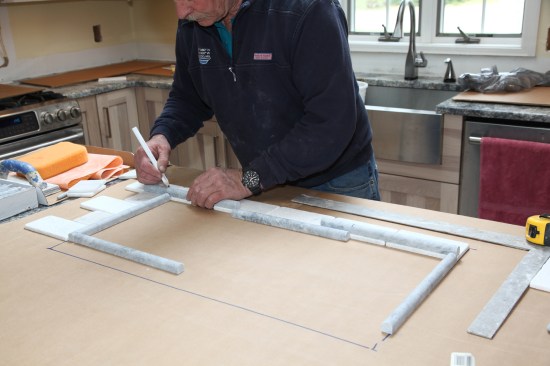
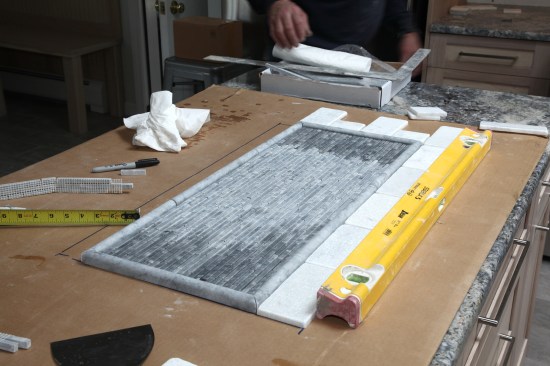
To make the installation go more smoothly, author makes a dry la…
To make the installation go more smoothly, author makes a dry layout of the mosaic mural ahead of time on a sheet of cardboard. Here he marks the bull-nose border before cutting the mitered corners.
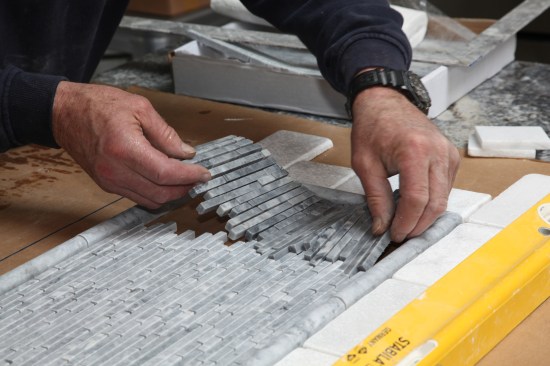
The mosaic tiles come in sheets. After cutting the sheet to fit,…
The mosaic tiles come in sheets. After cutting the sheet to fit, the author lays the the cut sheet in place to complete the dry layout.
The dry layout of the mural also allows the author to plot the f…
The dry layout of the mural also allows the author to plot the field tile layout from one side of the mural to the other that the tile breaks evenly.
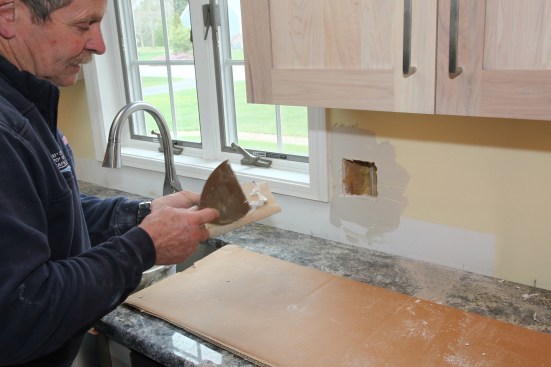
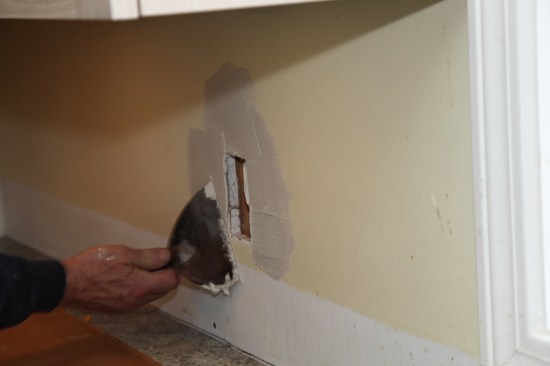
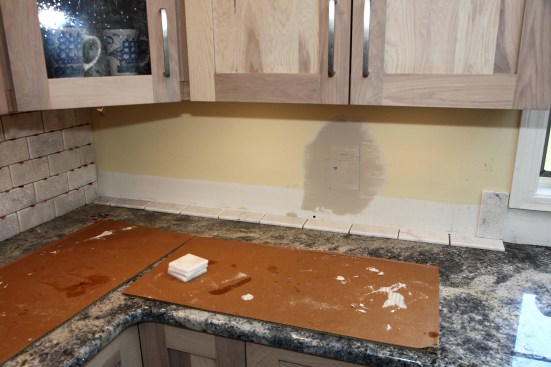
With this remodel, the receptacles over the counter were removed…
With this remodel, the receptacles over the counter were removed and placed under the wall cabinets. To fill the leftover holes, the author scores patches of drywall and peels off all but the outer layer of paper around each patch.
Thinset applied to the backside of the patch acts as the adhesiv…
Thinset applied to the backside of the patch acts as the adhesive.
The author applies thinset to the drywall around the opening bef…
The author applies thinset to the drywall around the opening before pressing the patch into place. The tile installation can proceed without waiting for the thinset to dry.
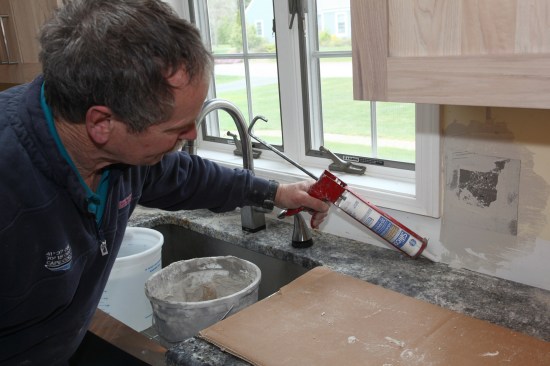
Behind the sink, a bead of silicone seals the seam between the t…
Behind the sink, a bead of silicone seals the seam between the tile and the countertop.
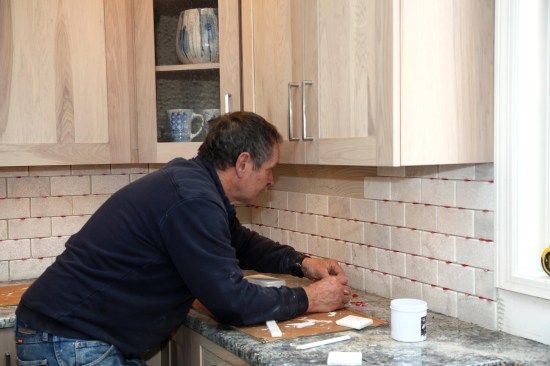
After determining the exact location of the mosaic mural over th…
After determining the exact location of the mosaic mural over the stove, the author begins to install the subway tile, working from one side of the mural toward the corner. Small plastic wedges keep the tiles spaced evenly.
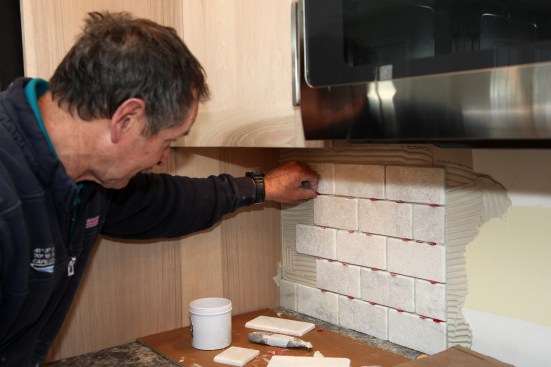
Author installs the mural taking the pieces directly from the dr…
Author installs the mural taking the pieces directly from the dry layout that he had done earlier.
A rubber trowel beds the mural tile into the thinset and flatten…
A rubber trowel beds the mural tile into the thinset and flattens the mosaic.
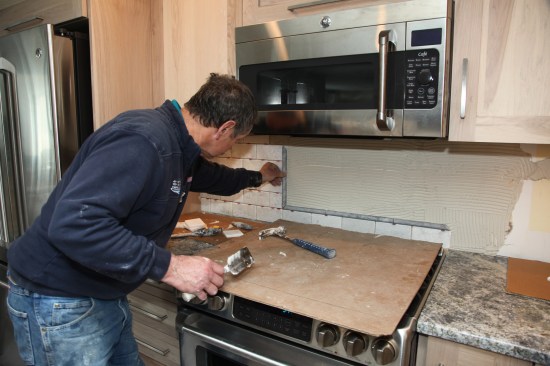
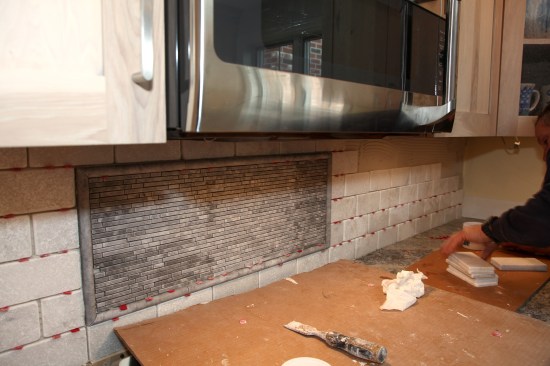
When the mural is complete, the subway tile then runs from the o…
When the mural is complete, the subway tile then runs from the other side of the mural to the corner to complete the first backsplash wall.
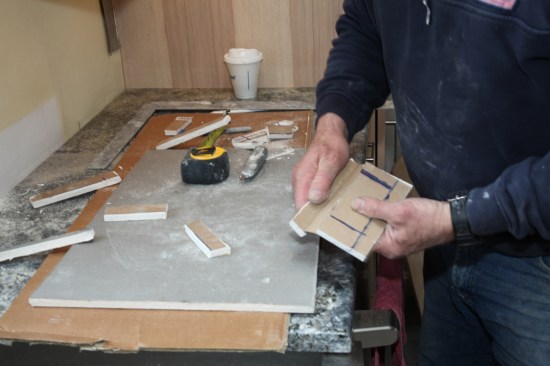
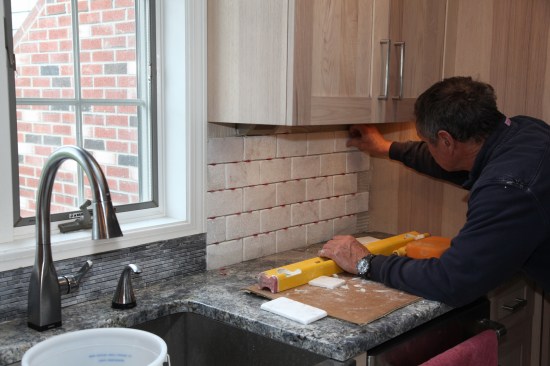
Tile layout for this wall begins with a full tile at the window …
Tile layout for this wall begins with a full tile at the window casing, where the tile will be the most visible. Odd size tiles aren't nearly as noticeable in the corner under the cabinets.
After spreading the thinset, a tile placed vertically helps to g…
After spreading the thinset, a tile placed vertically helps to gauge the placement of the first course to leave the proper grout line along the casing.
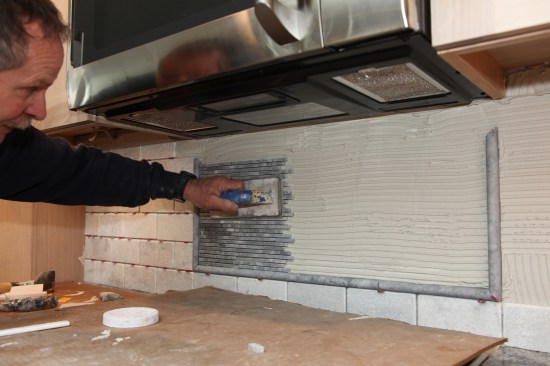
The installation continues from that first course of tile up and…
The installation continues from that first course of tile up and toward the corner.
The mosaic tile also adds a decorative touch behind the sink and…
The mosaic tile also adds a decorative touch behind the sink and under the window. Again the author uses a rubber trowel to bed and flatten the mosaics.
The author then works from the other side of the window over to …
The author then works from the other side of the window over to the corner to complete the backsplash tile.
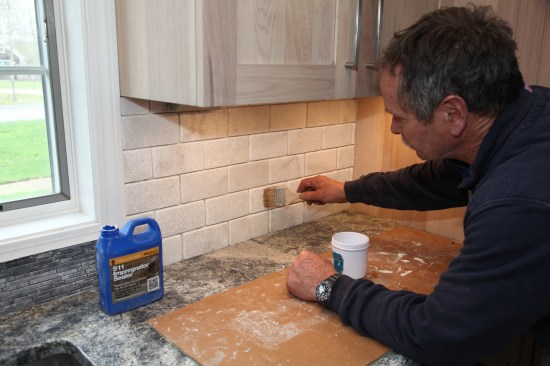
Before grouting, the author applies a coat of sealer to function…
Before grouting, the author applies a coat of sealer to function as a grout release on the stone tile.
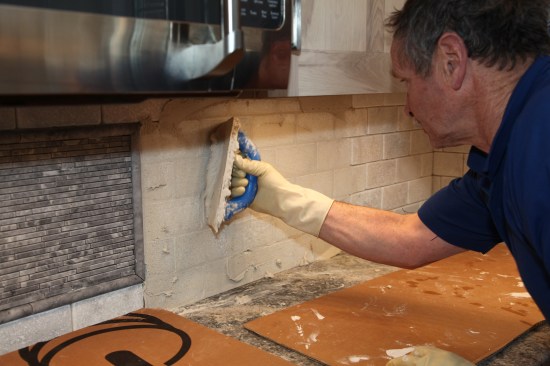
The grout goes onto the field tile in the usual fashion, applied…
The grout goes onto the field tile in the usual fashion, applied with diagonal strokes in opposite directions until all the joints are filled.
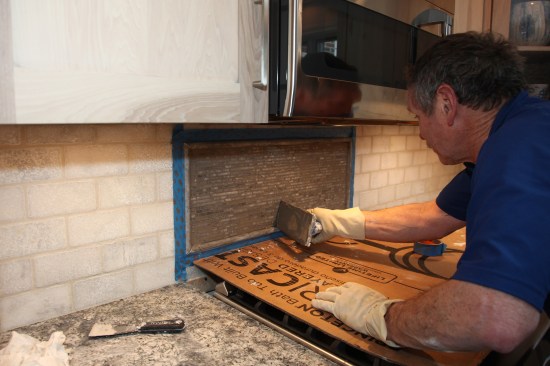
A narrow grout trowel is handy for hard-to-reach places, such as…
A narrow grout trowel is handy for hard-to-reach places, such as under the mural and behind the sink.
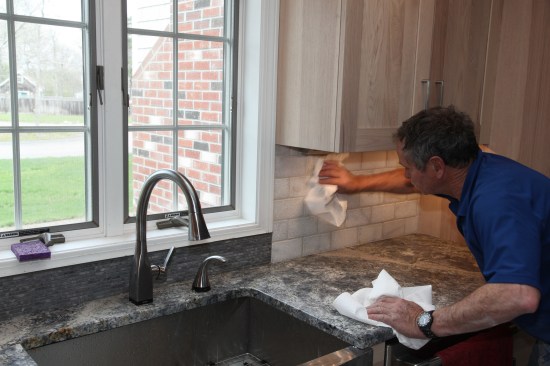
After the grout begins to set up, the author uses a dry paper to…
After the grout begins to set up, the author uses a dry paper towel to make the first wipe. He purposefully does not add water at this point, because too much water can weaken the grout.
After taping around the edges of the mosaic mural, the author ap…
After taping around the edges of the mosaic mural, the author applies a darker color unsanded grout to the mosaics.
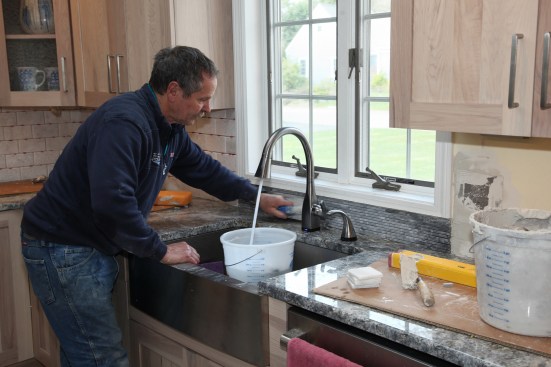
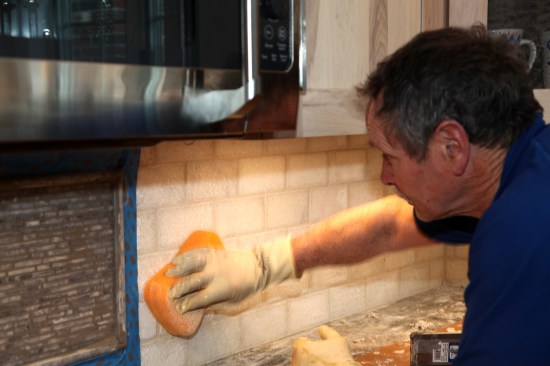
While the grout on the mosaics sets up, a damp sponge continues …
While the grout on the mosaics sets up, a damp sponge continues to clean the surface of the field tile.
When all the tile has been grouted, the author removes the final…
When all the tile has been grouted, the author removes the final grout haze with paper towels. Even when stone tile has been presealed, a final wash with grout cleaner may be necessary to clean the last of the grout off the stone. The author finishes the job with a coat of sealer on both the tile and the grout, and the kitchen is ready for the chef.
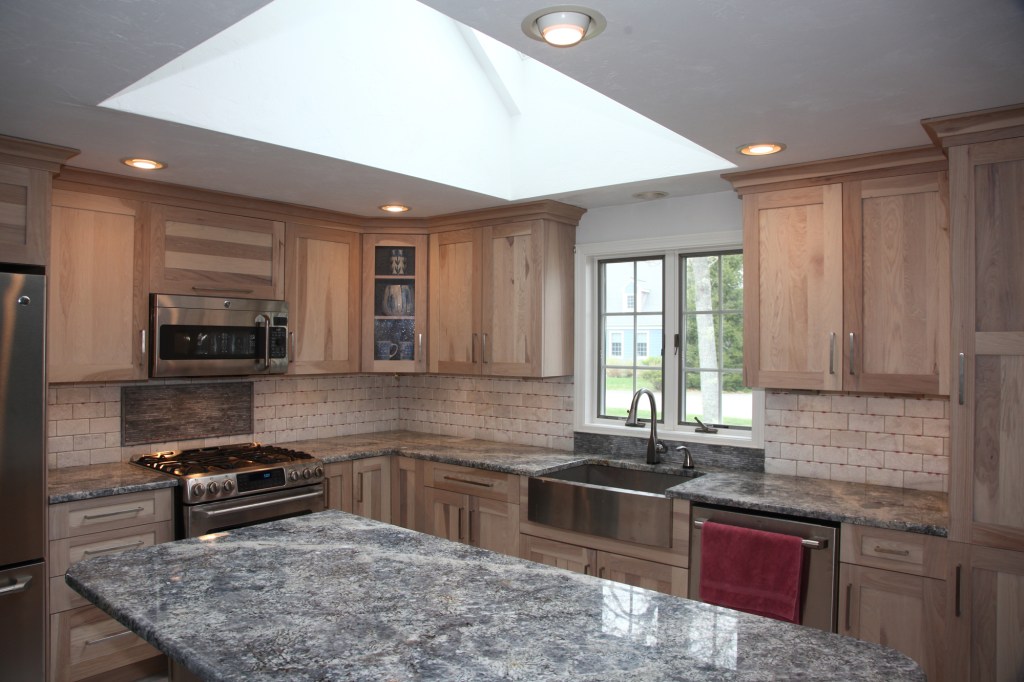
Nothing can put a new kitchen over the top like a tiled backsplash. After bathrooms and tiled floors, it’s one of the most common tile jobs that I do.
During a recent remodel that included opening up their kitchen and dining room, clients replaced their old cabinets with Craftsman-style bleached oak and their old countertops with beautifully figured black and white granite. For the space between the countertop and upper cabinets, they chose tumbled marble subway tile, with a framed mural of horizontal mosaics over the stove. They also wanted the same mosaic tile installed under the window behind the sink.
Knowing that with proper prep-work a tiled backsplash installation usually goes smoothly and quickly, I started there. In this kitchen, part of the prep was patching old outlet holes, left in the wall when the outlets were relocated to strips below the upper cabinets. With that small task completed, I was ready to roll.