

My brother, who is a master craftsman on my custom home building crew, is also a boat builder by trade. He learned a scribing technique that involves a joggle stick. How do I describe a joggle stick? It looks similar to an old-school handsaw blade that you use to plot a series of points on the material you’re scribing; it’s also incredibly effective. A joggle stick is the perfect tool for fitting complicated shapes and round curves, but it can also be time consuming to use. It’s also a great tool for flat surfaces like countertops. It’s not that practical, however, for scribing the kick or side panel on a base cabinet. For that, we employ a strategy that maintains high quality and is accurate, but is also quick and not fussy to implement.
Most of the time we’re installing custom-built cabinets in new custom homes where our framers leave us level and plumb planes to work from and to. Scribing is fairly minimal on those jobs (we pay our framers well). We also do a fair amount of renovations and remodels on older homes built in the late 1800s and early 1900s, which are prevalent here in Saratoga Springs. The new kitchens that we install in these older homes are often substantial in scope and call for custom-built cabinets. On those jobs, I check the floors and walls for level and plumb before I start building the cabinets (or order them, if they are coming from elsewhere) so that I can adjust toe-kick height and panel/face-frame styles according to possible scribe. I don’t get carried away here – I just give myself a fair amount of extra material (usually about 1/2 inch) to ensure the kick isn’t too small once we level the base cabinets, for instance. I do the same on face-frame and panel styles so that the smallest amount left will match the width of the matching style.
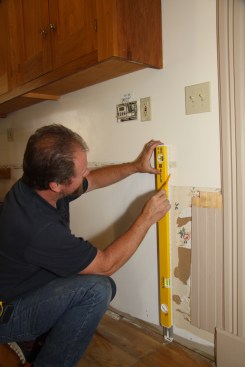
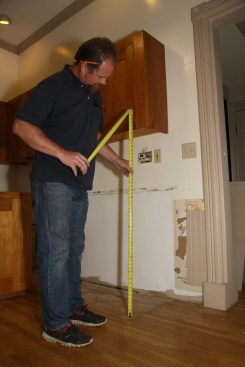
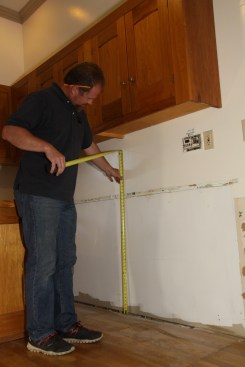
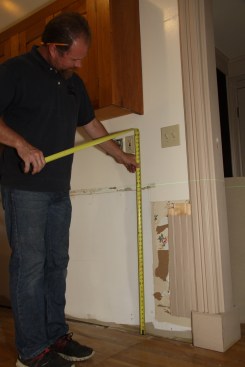
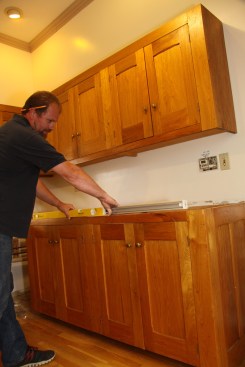
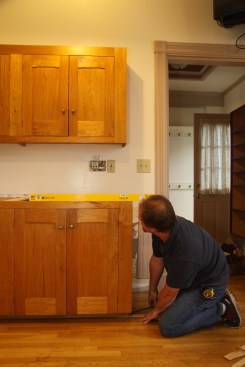
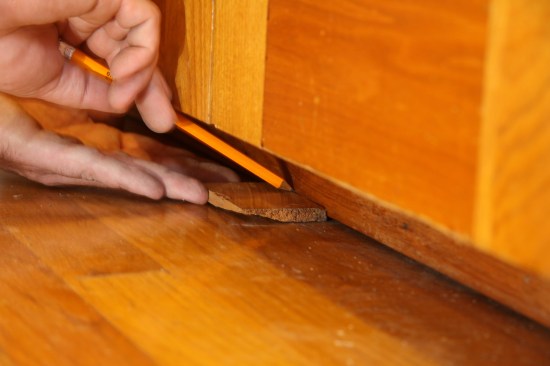
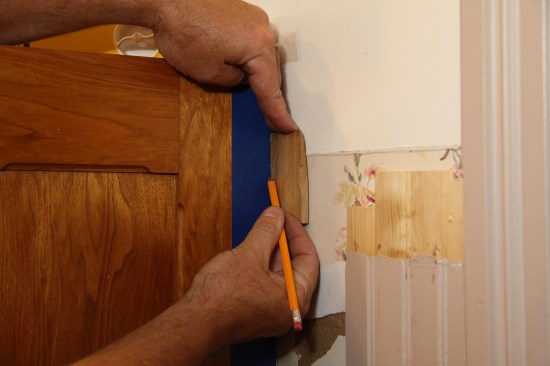
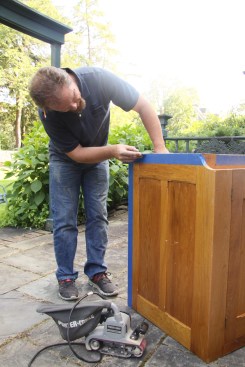
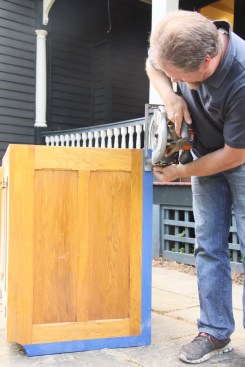
One job was part of a large renovation project we had been working on for months in an immaculately maintained historic Victorian. The cabinets were in good shape but weren’t installed well (the maple countertop was 1/2 inch out of level in 10 feet. The owner wanted us to relocate a base cabinet, shown here in the slide show, so it was a good place to illustrate some of our basic scribing techniques. Some may think them a little crude, but I can assure you that for a skilled craftsman, they are both efficient and effective. Most of the time this approach calls only for a small block of wood (the fat part of a shim, if we’re lucky) and either a circular saw or a belt sander. For long, straight tapers on end panels or face-frame styles, we also use a hand plane or power plane and bevel the cut so that the face fits tight to whatever we’re scribing to – which is the same idea when you’re coping trim: take a little more off the back than the front and you’ll get a crisp finish line.
Editor’s note: this article first appeared in the October 2017 issue of JLC.