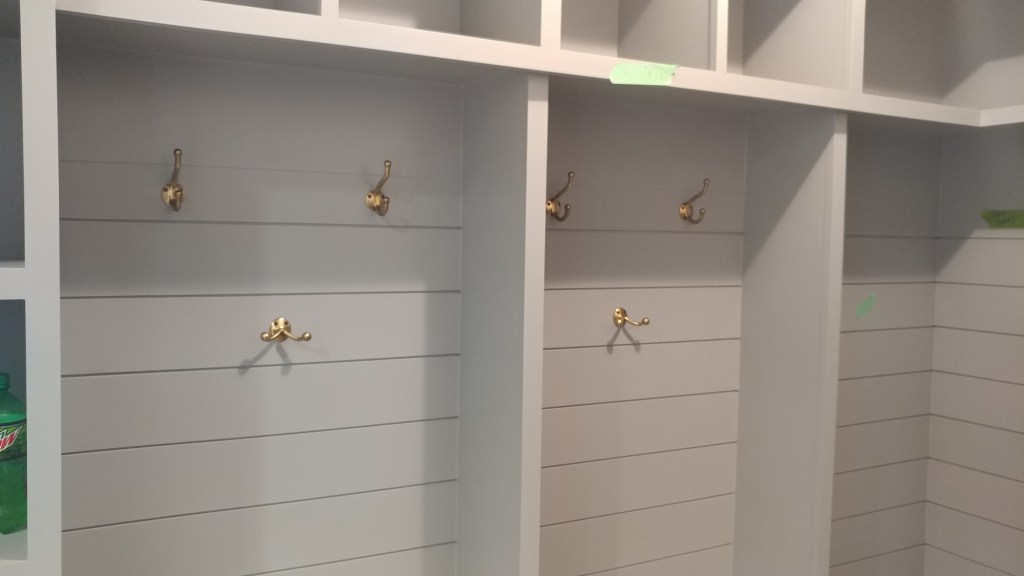
In the homes I trim, we use shiplap all the time in 1×6 and 1×8 widths. Despite the euphoria over it on DIY TV shows, it’s a great way to add visual interest into any room and as an upsell. Whether that’s as wainscot in a basement or bathroom reno, a feature wall for a plain room, a visual offset to a niche space like a laundry space, coat rack, (photo below) fireplace, or just all over, we hang it all the time. The different styles and ways to install it can make any room look like a million bucks. Unless you do it wrong, then, well, not a million bucks.
To get it right and make it look like it grew there, I rely on a few tools to help make layout, intersections with other trim profiles, production speed, and termination of runs easier—and the whole job run smoother. How I use them—lasers, a miter gauge, router table, sander, table saw, chalk line, a construction calculator and a decent helping of good judgement—solve lots of space-specific problems.
The most common types of shiplap are tight gap and nickel gap. Tight gap is technically not shiplap. It’s S4S and looks like 1×6 or 1×8 butted edge-to-edge but it gets lumped into the same design conversation, so I’ll include it here. Tight gap is more common with rustic, “barnwood” looks. It can be rough sawn, knotty and more beat up looking, or even smooth with a rustic style of paint. Nickle gap, on the other hand, has a slight gap (about the width of a nickel for those who remember cash or two bank cards for those that don’t) between the boards. Nickel gap leaves nice clean lines and really accentuates a room—there’s a reason it’s popular on TV. It has a rabbet on the top and bottom so each piece covers the next. Design-wise, smooth-faced, painted nickel gap is a great choice for a lot of different looks as it goes with a lot of styles.
When installing shiplap there are a few things to consider first—mainly the start and stop points, aka terminations. These determine a lot of how you install it and the tools you’ll reach for to get it done. If it’s a square room with no outside corners, that’s the easiest. Terminations are pretty basic and the main layout trick is to avoid visible “slivers”. More on that below. Most houses I trim, however, are more open floor plan with fewer places to end runs.
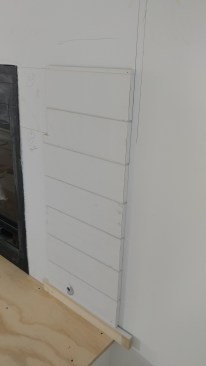
For example, when I run it down a hall and my termination is an outside corner I like to mill up a custom stop for it to butt into. Usually I cut a piece of 5/4 square. To pull the table saw’s swirl marks out of the cut edges, I sand them smooth. When I use stained stops, I think maple, alder, and even white oak work great. When using the stained stops I like to run a shallow rabbet to cover shiplap ends.
A table saw makes quick work of both cuts—rabbet or square. For the rabbet I usually just run one side then flip it and adjust the blade and run the other edge. A dado blade set would be handy if you had a lot to run, or even a router table with a straight-cut bit. It depends on the job how I set up the on-site shop. The value here is being ready to make that choice based on the scope of work. In other words, it’s not worth setting up a router table or dado blade if I only have to make a few stops. Other times, it is.
For mid-wall terminations I like to run my stops square and butt to them. You could rabbet to cover a little of the ends. It’s a judgement call. In some cases—if you’re worried about expansion/contraction, say on a beach house—a dado may be a better idea. For most of what I encounter, I don’t like to see the little holes the rabbet reveals where it covers the nickel gap. I think the butt leaves a cleaner look.
Returns are a great way to terminate shiplap.
I cut these flat on the miter saw. I think the cut is cleaner and more accurate.
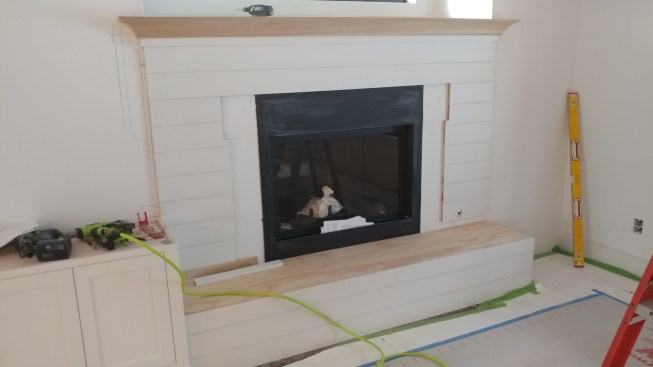
Another way to stop shiplap in the middle of the wall is to return the pieces. In this fireplace I did returns and it leaves a really cool look. To get them right, I cut them on the flat on the miter saw. I then use my 23-gauge pin nailer to fasten. Cutting returns on the flat is much more accurate and lines the miters up really well. If your miters won’t close for whatever reason, try setting the bevel to more than 45-degrees, like 46 or 47. This will drive the outside of the miters together. Using a miter gauge is a great way to see how square the corners are before installing. A simple manual one like the Starrett works just fine, but if you do a lot of odd angles then a digital miter gauge or an angle finder would be a worthwhile tool to get.
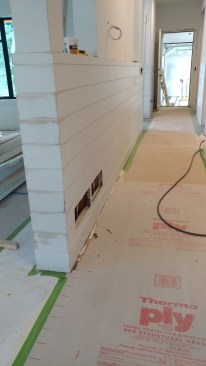
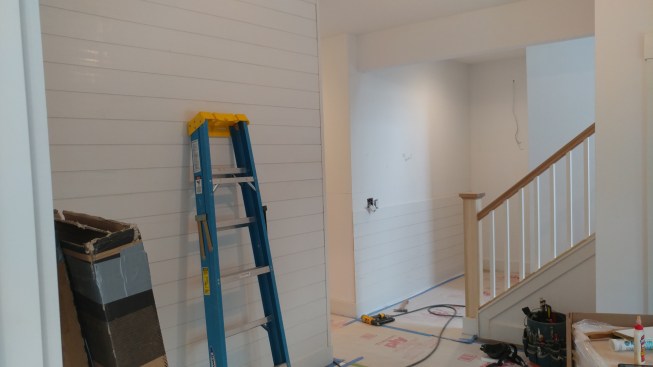
Wrapping outside corners and transitions into other rooms is miter country. I use an angle finder to lay out the corner if it is funky.
If you’re wrapping around a wall into another room, then I like to make this transition with miters. (photo left) I’ll use an angle finder like the Starrett ProSite protractor to map it out and make sure there’s nothing too funky with it before I start.
In Part 2, we’ll cover intersections with existing trim, trim selections at design stage and other tips.