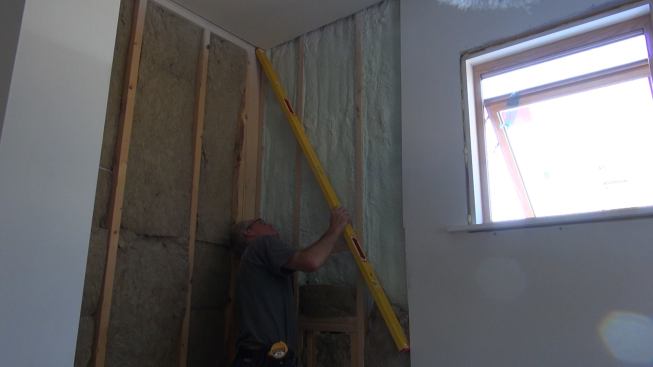
Tom Boucher checks the shower wall framing for flatness with a s…
Tom Boucher checks the shower wall framing for flatness with a six-foot level. Framing tolerances are important in a tiled bathroom, because tile joints will reveal any irregularities in the substrate.
Ted Cushman/JLC
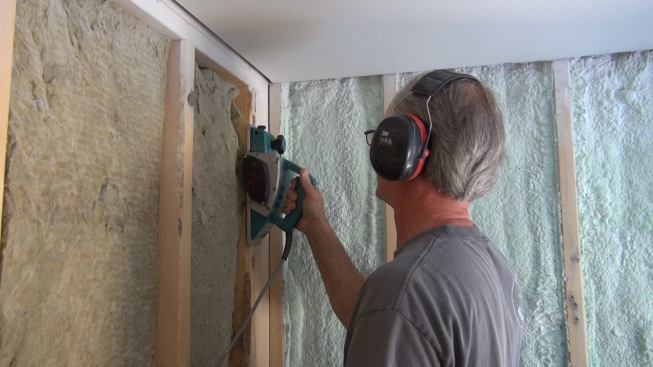
The framing in this shower was almost perfect, but Boucher still…
The framing in this shower was almost perfect, but Boucher still had to plane down a high spot.
Ted Cushman/JLC
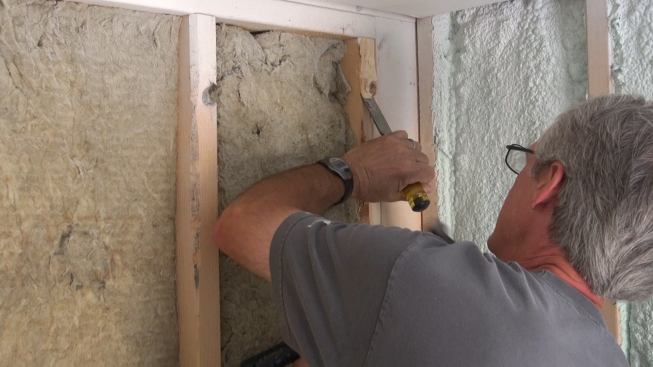
Boucher chisels away a stubborn knot that's contributing to a hi…
Boucher chisels away a stubborn knot that's contributing to a high spot in the wall framing.
Ted Cushman/JLC
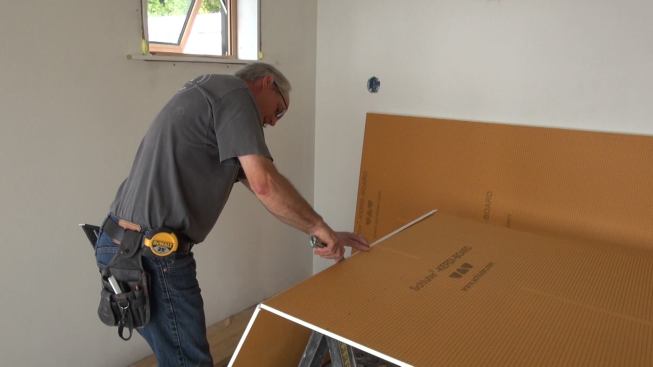
Boucher cuts Kerdi-Board tile underlayment with a razor knife. T…
Boucher cuts Kerdi-Board tile underlayment with a razor knife. The foam board is much easier to cut than traditional cement board, and pre-preinted lines at one-centimeter spacing make it simple to mark cut lines.
Ted Cushman/JLC
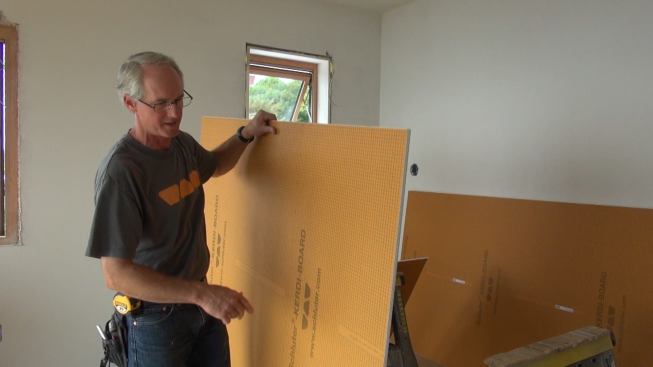
Boucher picks up a piece of Kerdi-Board after cutting it to size…
Boucher picks up a piece of Kerdi-Board after cutting it to size. The lightweight board reduces effort and fatigue for installers.
Ted Cushman/JLC
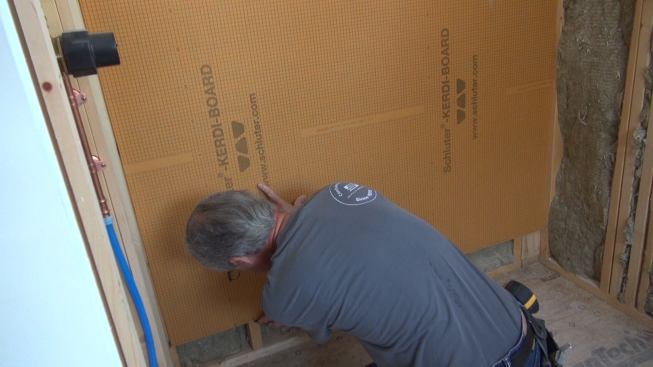
Placing the board against the wall and lifting it off the floor …
Placing the board against the wall and lifting it off the floor a few inches, Boucher marks stud locations on the board edge with a felt pen.
Ted Cushman/JLC
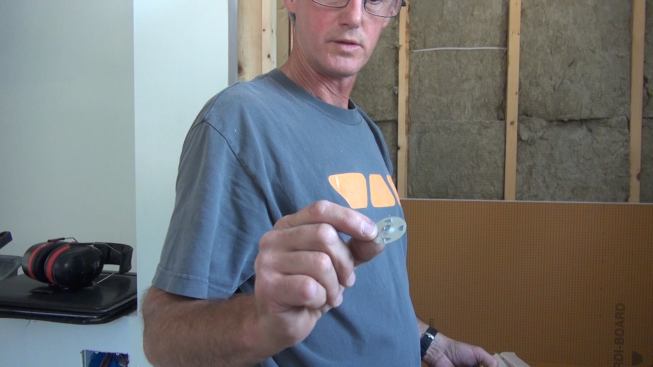
Special washers are used to screw boards securely to framing. Po…
Special washers are used to screw boards securely to framing. Points in the washer pierce the foam's synthetic skin to hold the washer in place before the screw is driven.
Ted Cushman/JLC
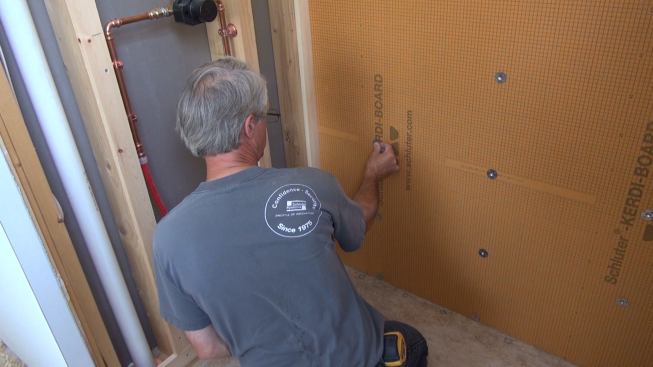
Using pre-printed lines in the Kerdi-Board as a guide, Boucher p…
Using pre-printed lines in the Kerdi-Board as a guide, Boucher positions his washers at one-foot spacing along the stud layout lines.
Ted Cushman/JLC
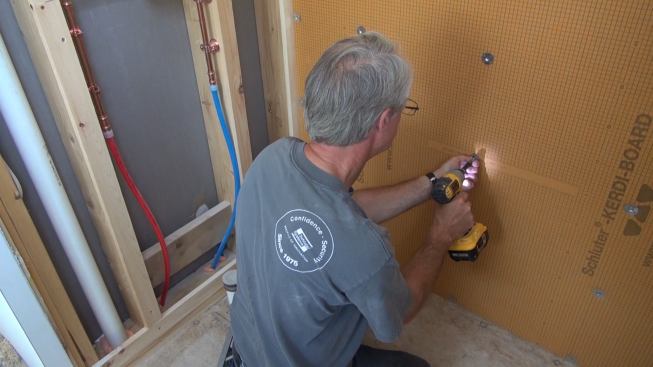
Boucher drives a screw through the washer and Kerdi-Board into t…
Boucher drives a screw through the washer and Kerdi-Board into the stud with a cordless impact driver.
Ted Cushman/JLC
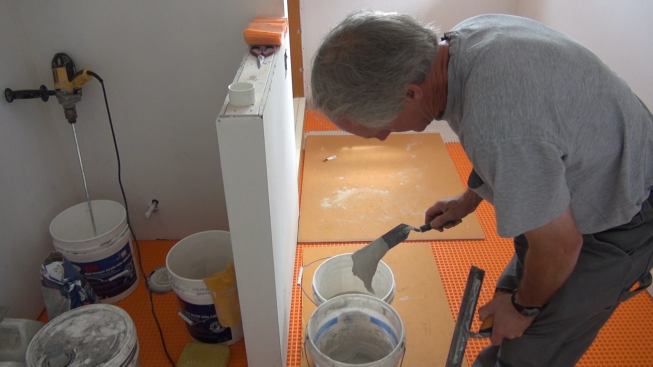
Boucher mixes up a small batch of unmodified mortar, which he'll…
Boucher mixes up a small batch of unmodified mortar, which he'll use to set Kerdi-Band polyethylene joint-sealing membrane over the seams in the Kerdi-Board.
Ted Cushman/JLC
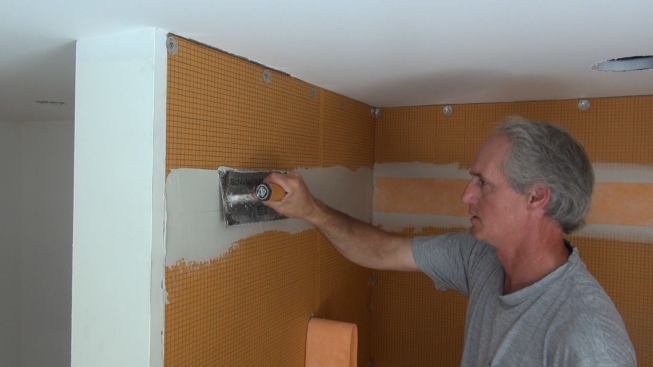
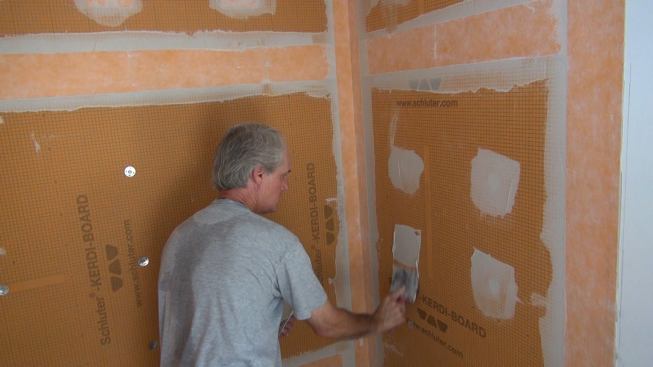
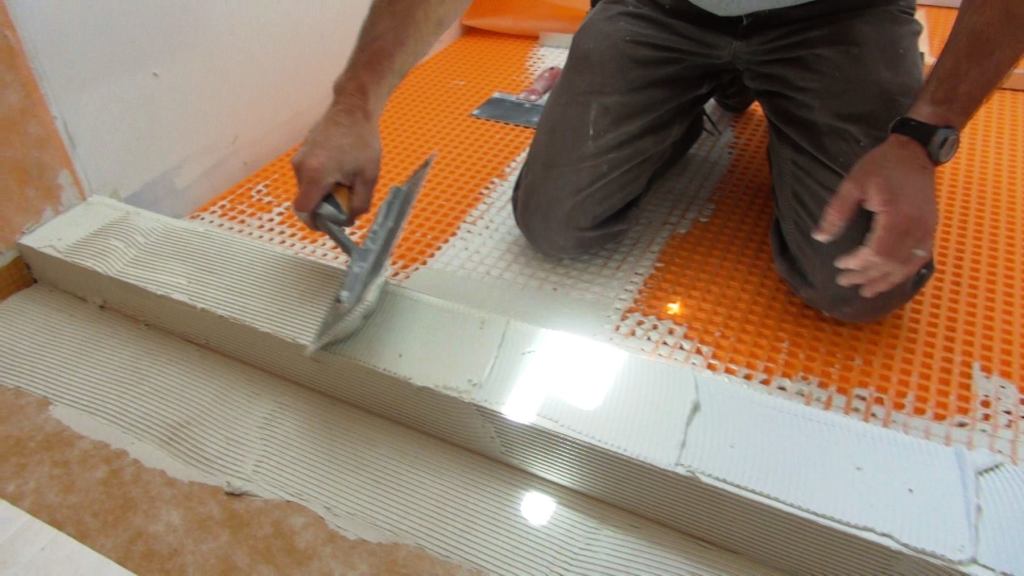
Boucher applies mortar to the surface of the Kerdi-Board, workin…
Boucher applies mortar to the surface of the Kerdi-Board, working the mortar thoroughly into the substrate with the flat edge of the trowel in order to ensure a good bond.
Ted Cushman/JLC
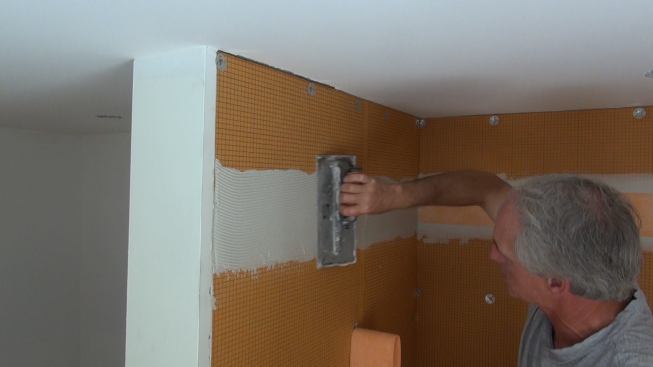
Boucher uses a special Kerdi trowel with a one-eighth-inch squar…
Boucher uses a special Kerdi trowel with a one-eighth-inch square tooth to apply a measured amount of mortar to the joint.
Ted Cushman/JLC
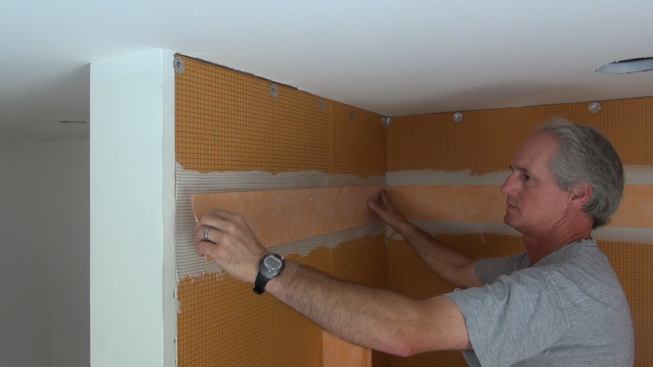
Boucher sets a strip of Kerdi-Band waterproofing membrane over t…
Boucher sets a strip of Kerdi-Band waterproofing membrane over the prepared joint.
Ted Cushman/JLC
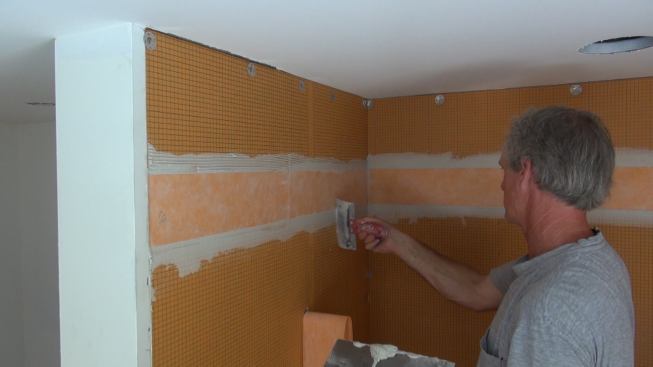
Boucher presses the Kerdi-Band into the mortar with the flat edg…
Boucher presses the Kerdi-Band into the mortar with the flat edge of the trowel. When the ridges from the notched trowel are no longer visible through the translucent membrane, a good bond is assured.
Ted Cushman/JLC
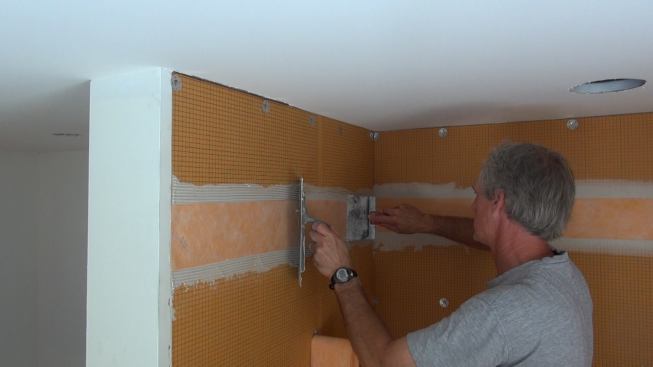
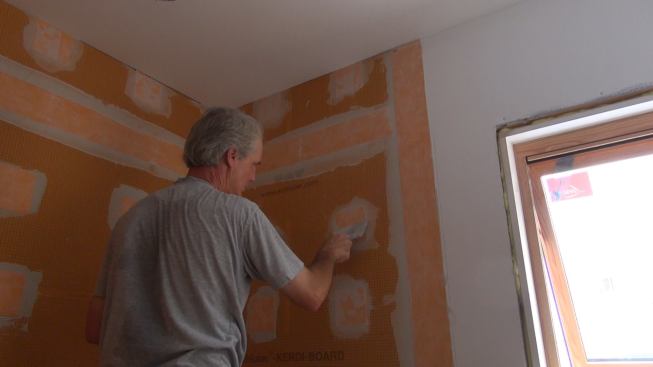
Boucher likes to use a five-inch spackle knife, with the corners…
Boucher likes to use a five-inch spackle knife, with the corners filed off to prevent gouging, to smooth down the Kerdi-Band membrane and remove excess mortar squeeze-out.
Ted Cushman/JLC
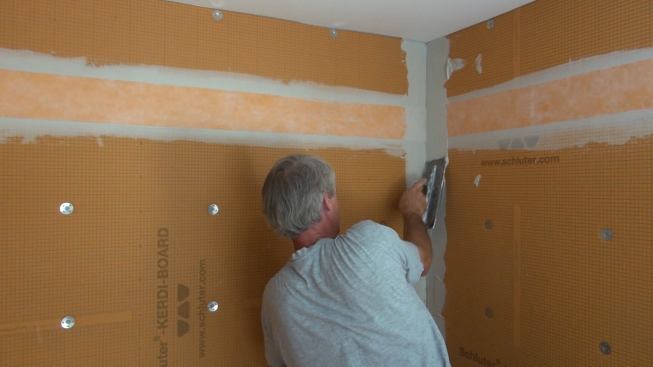
Pressing gently to avoid snagging the already placed horizontal …
Pressing gently to avoid snagging the already placed horizontal Kerdi membrane, Boucher applies mortar to the wall corner and tools it with the short notched end of the Kerdi one-eighth-inch trowel.
Ted Cushman/JLC
Boucher places a pre-creased strip of Kerdi-Band into the prepar…
Boucher places a pre-creased strip of Kerdi-Band into the prepared corner joint.
Ted Cushman/JLC
Boucher works the Kerdi-Band into the mortar with his customized…
Boucher works the Kerdi-Band into the mortar with his customized spackle knife.
Ted Cushman/JLC
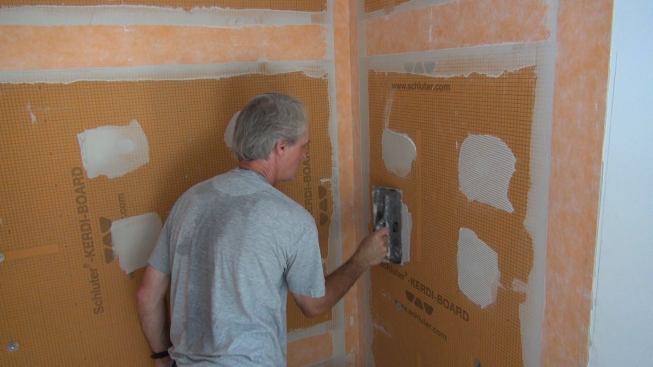
Boucher applies mortar over the screws and washers in the field …
Boucher applies mortar over the screws and washers in the field of the Kerdi-Board panel.
Ted Cushman/JLC
Boucher uses the eighth-inch notched Kerdi trowel to control the…
Boucher uses the eighth-inch notched Kerdi trowel to control the amount of mortar at the screw location.
Ted Cushman/JLC
Boucher applies a square patch of Kerdi-Band into the mortar at …
Boucher applies a square patch of Kerdi-Band into the mortar at the screw penetration.
Ted Cushman/JLC
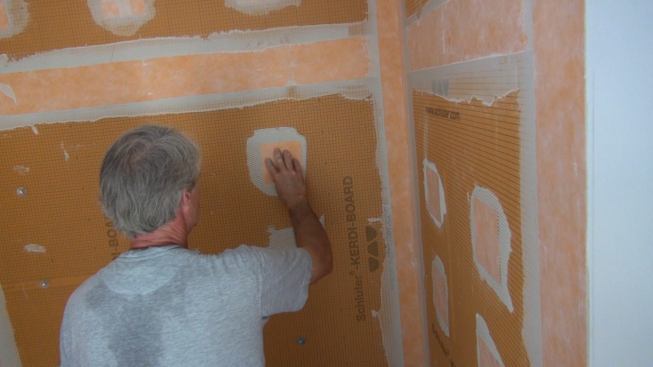
Boucher works a Kerdi-Band patch into the mortar to ensure a goo…
Boucher works a Kerdi-Band patch into the mortar to ensure a good bond. Once the mortar has cured overnight, the shower wall will be effectively waterproofed and ready for tiling.
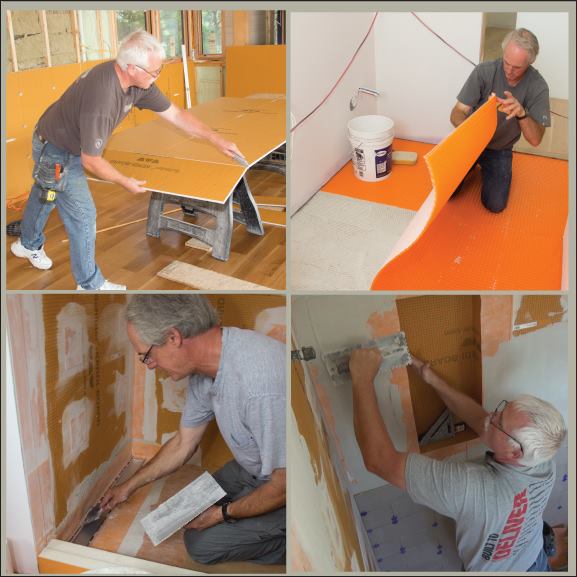
Tiled bathrooms are an ancient tradition, dating back at least to the Roman Empire. And in some respects, methods haven’t changed. Why should they, when ancient Roman baths can still be found that are serviceable today? (See BBC report: “A Roman bathhouse still in use after 2,000 years,” by Edward Lewis).
But in other respects, kitchen and bath tile is still an advancing technology. This month, JLC is following a kitchen and bath tile job for a custom home under construction in the seaside community of Port Elizabeth, south of Portland, Maine. Designed by architect and builder Caleb Johnson (website, Facebook, Houzz), the cottage-style home offers panoramic views of the rocky Maine shore and the sparkling Casco Bay. Interior designer Krista Stokes has chosen tile to match the natural moods of the sea and shore: a gentle gray ceramic tile for the showers, and gray marble streaked with blue and white for the bathroom floors. Kennebunk tile contractor Tom Boucher has the job of installing the tile, partnering up with colleague Bob Vedder. The two bathrooms, plus a kitchen backsplash, will take the pair about two weeks to complete.
Marble tile, of course, is as old as the hills. But the Schluter system that Tom and Bob are using to prep the kitchen wall and the bathroom floors and walls for the tile is decidedly twenty-first century. The Schluter system includes all the components needed to construct a waterproof substrate for tile on walls and floors, including lightweight backerboard, decoupling floor underlayment, joint sealing membranes, and even prefabricated boxes for watertight shower shelves. Boucher loves it. “This is going to let us keep laying tile into our eighties,” he jokes.
JLC is following the progress of the job step by step, from prep all the way through tile setting and grouting. This week, we focus on basic shower wall prep using Schluter Kerdi-Board and Kerdi membrane (see slideshow). In the weeks to come, we’ll look at construction of the shower curb, installation of a sloped shower pan and linear drain, bathroom floor prep, and tile setting.
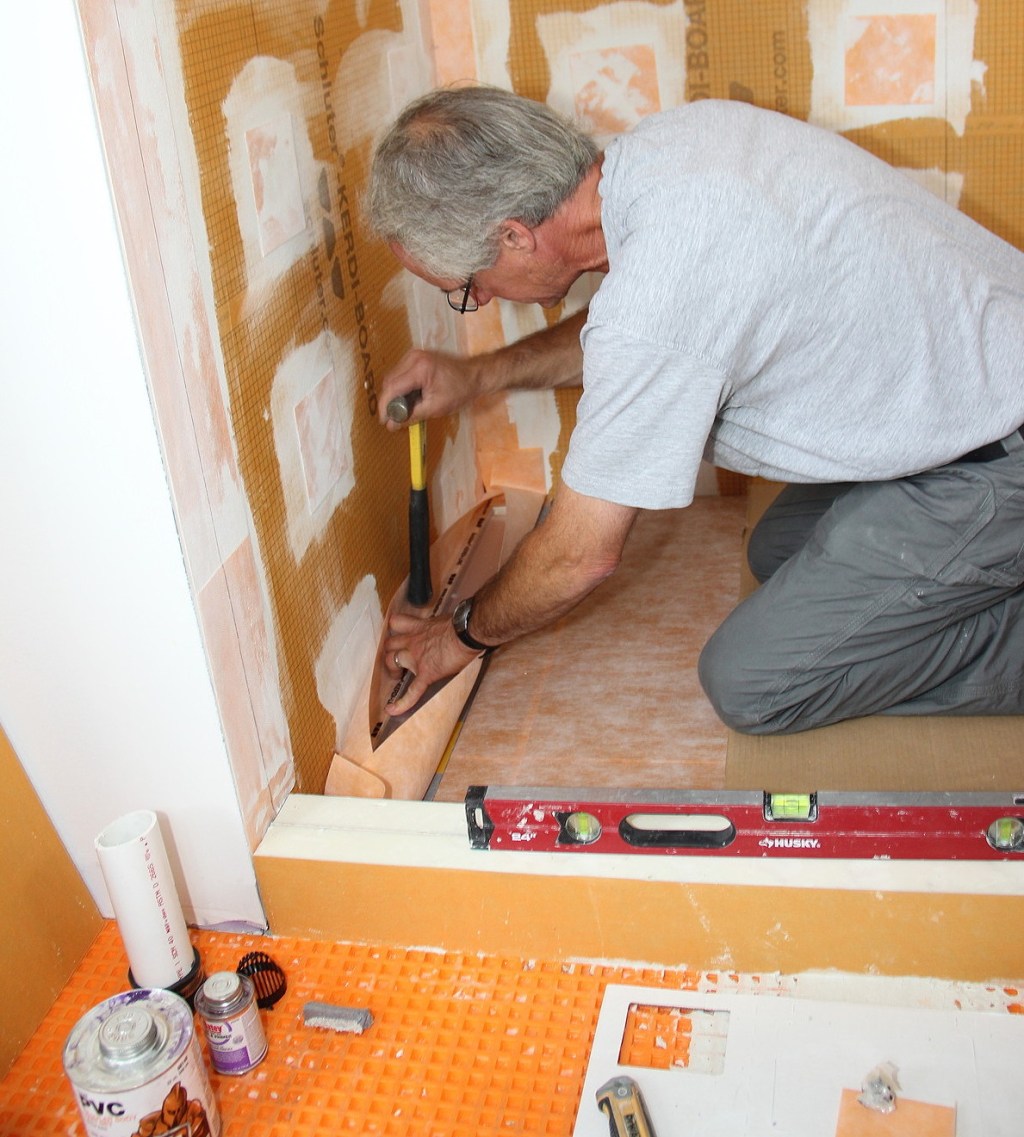
Building the curb for a tile shower is quicker and simpler using Schluter Kerdi-Board and Kerdi waterproof membrane. Kennebunk, Maine, tile pro Tom Boucher shows how it’s done.