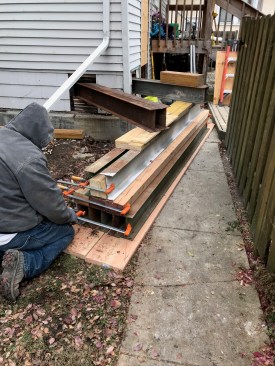
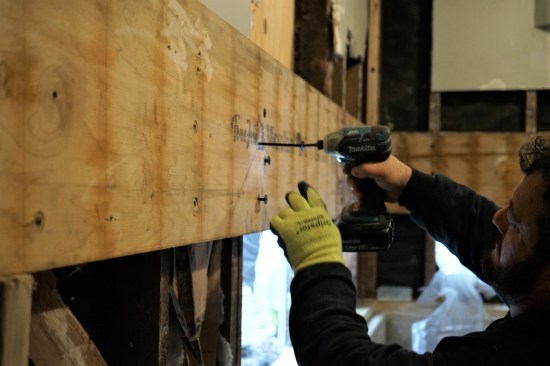
To support the corner of the house while the foundation was bing…
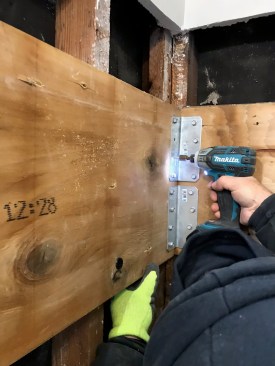
To support the corner of the house while the foundation was bing repaired, the crew first lagged LVLs into the wall studs.
Before assembling the support for the needle beams that carried …
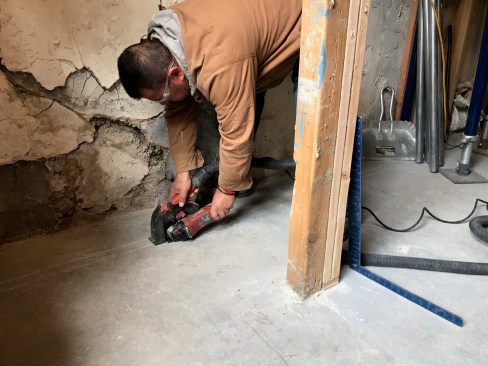
Before assembling the support for the needle beams that carried the wieght of the wall, a crew member scored the concrete slab for the new footing with a concrete saw.
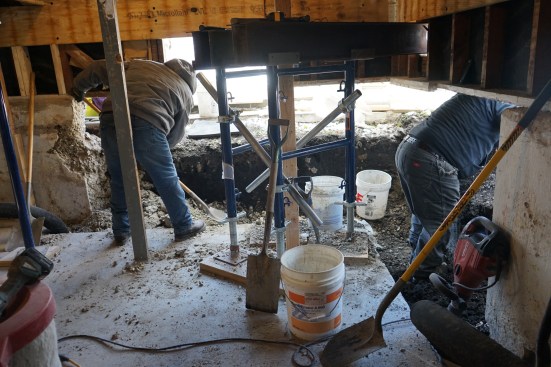
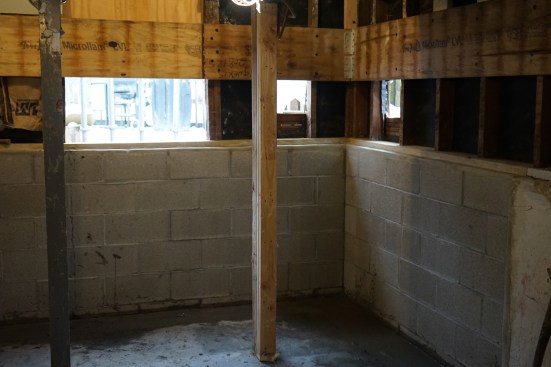
After making openings in the sheathing, the crew inserted the ne…
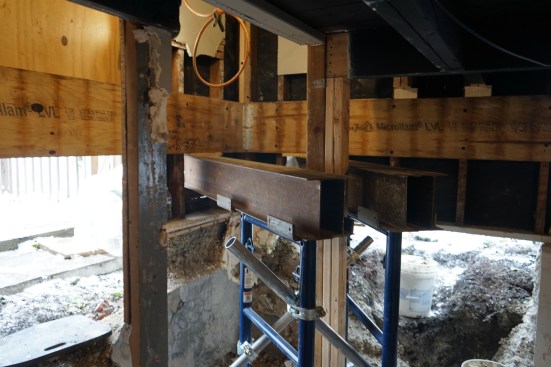
After making openings in the sheathing, the crew inserted the needle beams and supported them inside with double screw jacks.
On the outside the needle beams sat on solid cribbing.
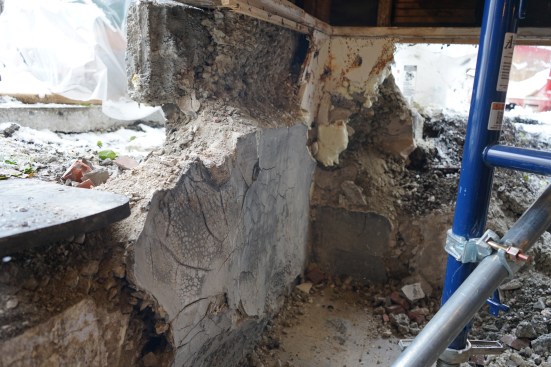
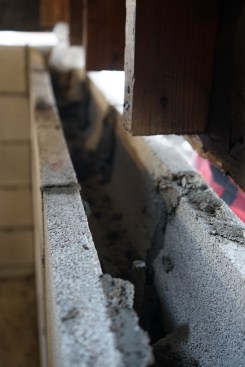
The foundation walls in this corner of the building were in terr…
The foundation walls in this corner of the building were in terrible shape and fell apart easily with an impact hammer.
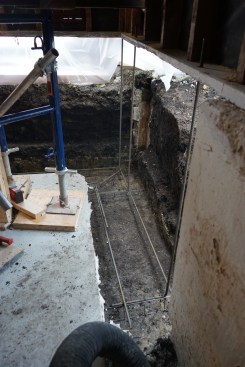
After tearing back the existing walls to solid concrete, the cre…
After tearing back the existing walls to solid concrete, the crew began excavating for the footings.
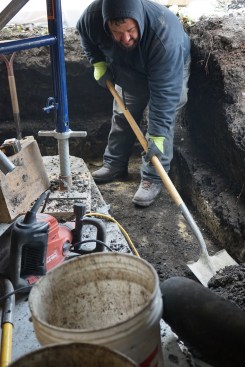
The crew dug trenches 12 inches deep and 24 inches wide for the…
The crew dug trenches 12 inches deep and 24 inches wide for the footings, removing all the excess soil and debris in five-gallon buckets.
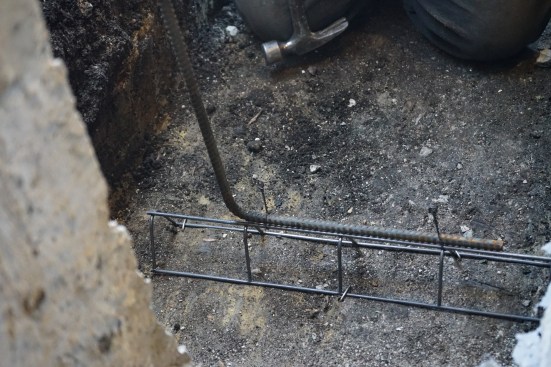
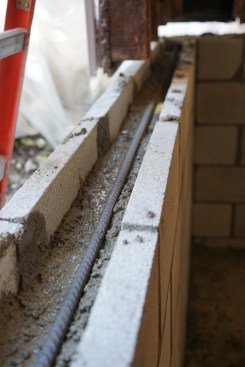
The new footing was reinforced with 1/2-inch rebar, which was ti…
The new footing was reinforced with 1/2-inch rebar, which was tied to chairs pinned to the base of the footing trenches.
The rebar in the footing was wired together with vertical rebar …
The rebar in the footing was wired together with vertical rebar that extended up through holes in the existing sill plates (which would later be replaced), tying the footing to the concrete-block replacement foundation.
1
of 17
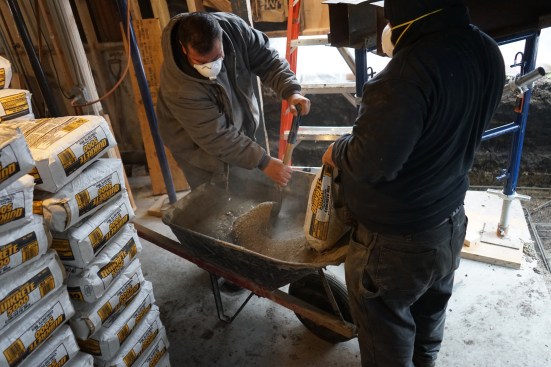
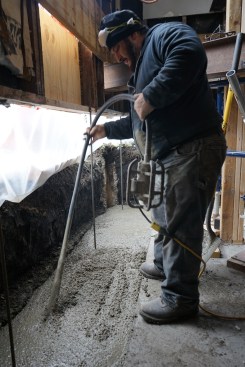
With limited space and limited exterior access, the crew had to …
With limited space and limited exterior access, the crew had to mix all the concrete by hand.
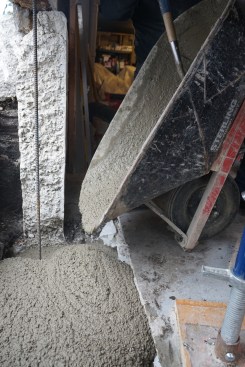
The crew kept dumping batches of wet concrete into the trench un…
The crew kept dumping batches of wet concrete into the trench until the footing was level with the basement slab.
To remove air bubbles in the mix and to create the densest possi…
To remove air bubbles in the mix and to create the densest possible concrete for the footing, the crew vibrated the wet concrete mix after filling up the footing trench.
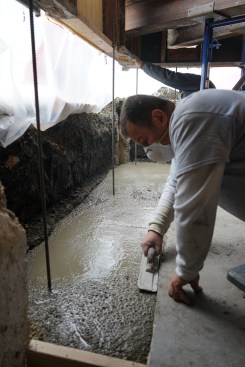
Vibration not only consolidated the concrete, but also brought m…
Vibration not only consolidated the concrete, but also brought more liquid tot he surface, making it easier for the crew to smooth the wet concrete surface of the footing with a float.
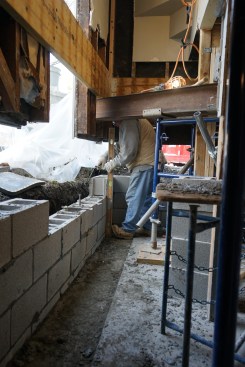
Masons built the foundation walls out of Dry Block CMUs (which a…
Masons built the foundation walls out of Dry Block CMUs (which are made from water-repellent concrete).
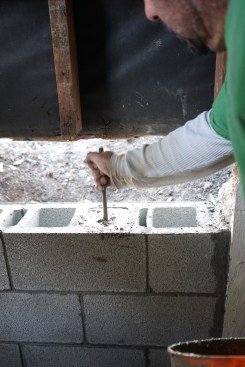
Where vertical rebar extended up from the footing, the crew pack…
Where vertical rebar extended up from the footing, the crew packed the cores of the block with grout.
The masons capped the walls with a course of bond beam blocks, w…
The masons capped the walls with a course of bond beam blocks, which were tied to the lower block courses with short lengths of rebar.
After filling the bond beam blocks partially with wet concrete, …
After filling the bond beam blocks partially with wet concrete, the crew installed horizontal rebar.
With the rebar added, the crew filled the rest of the bond block…
With the rebar added, the crew filled the rest of the bond block with wet concrete, giving the top a smooth surface.
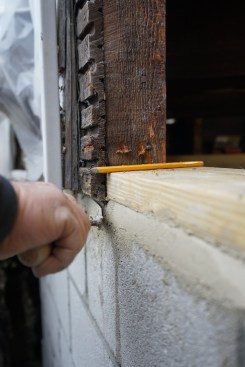
With the block wall finished, the crew replaced the old mudsills…
With the block wall finished, the crew replaced the old mudsills with new treated sill stock, using inflatable shims and heavy-duty pry bars to hold the new plates tight against the bottoms of the existing studs for fastening.
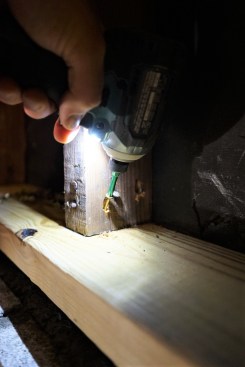
After pushing the sill stock tight against the bottoms of the st…
After pushing the sill stock tight against the bottoms of the studs, the crew drove galvanized toe screws through each stud and into the sills to hold the sills in place.
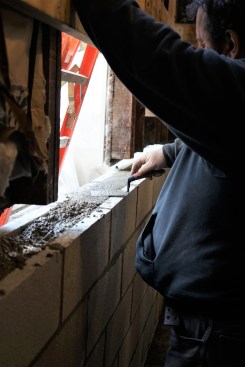
The crew filled the gap between the block foundation and the sil…
The crew filled the gap between the block foundation and the sills with high-strength non-shrink grout, forcing it under the sill from the inside with a margin trowel.
The crew used the same tool and same grout to fill in the gap fr…
The crew used the same tool and same grout to fill in the gap from the outside.
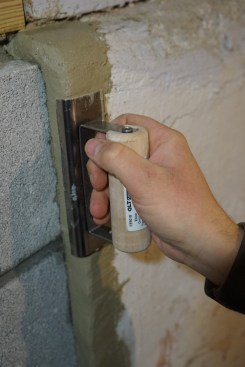
The crew used an edging trowel to smooth the grout along the top…
The crew used an edging trowel to smooth the grout along the top of the foundation and to smooth the seam between the existing foundation and the new block foundation.
After allowing the grout to cure, the crew removed the needle be…
After allowing the grout to cure, the crew removed the needle beams, leaving the corner of the house fully supported by the new foundation and sills.
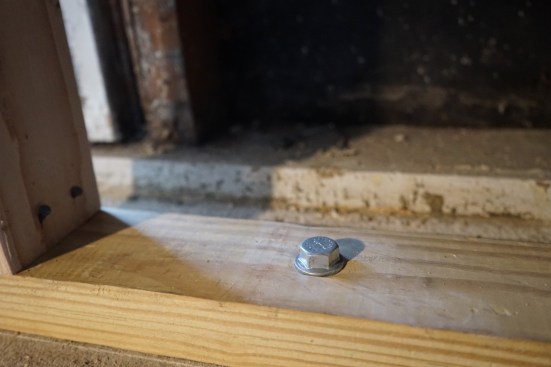
The crew anchored the mudsill to the new foundation with Simpson…
The crew anchored the mudsill to the new foundation with Simpson Titen bolts.
Finally the crew was able to remove the LVLs that had offered te…
Finally the crew was able to remove the LVLs that had offered temporary support while the wall was being rebuilt.
1
of 5
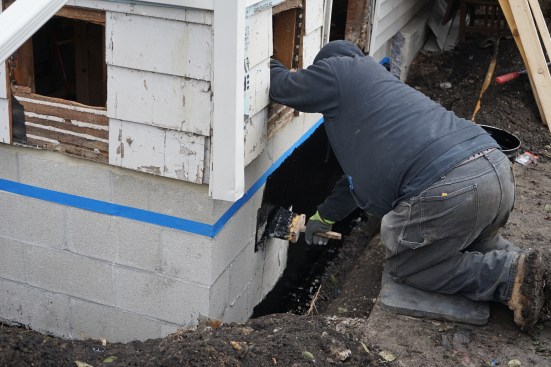
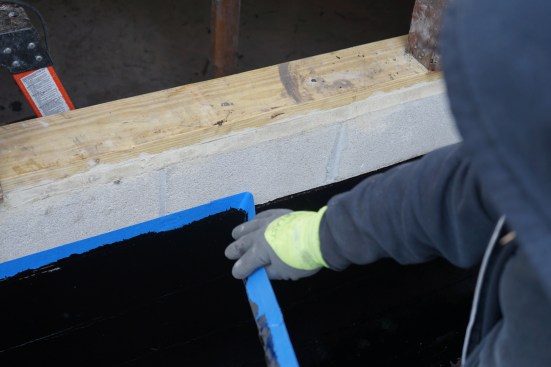
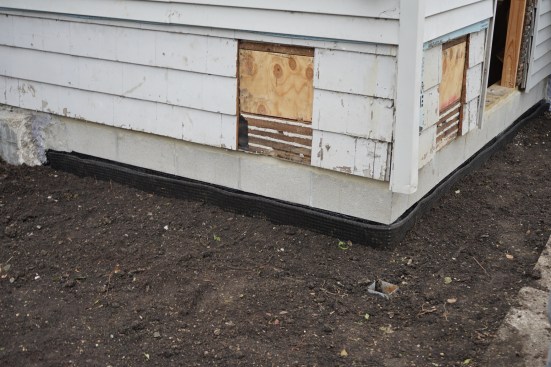
To finish the exterior of the new foundation, the crew applied w…
To finish the exterior of the new foundation, the crew applied waterproofing to the block, after first masking off the part of the block wall that would extend above grade.
Removing the masking tape left a clean line on the block.
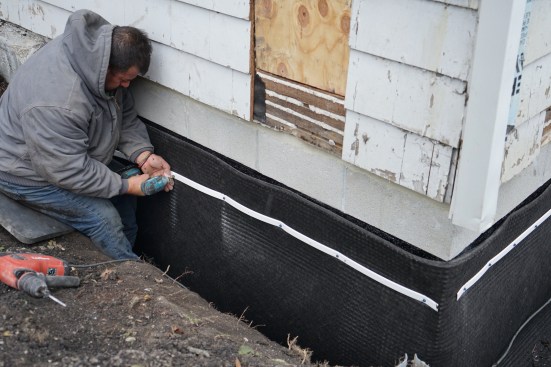
The crew next secured drainage mat to the block foundation with …
The crew next secured drainage mat to the block foundation with concrete fasteners.
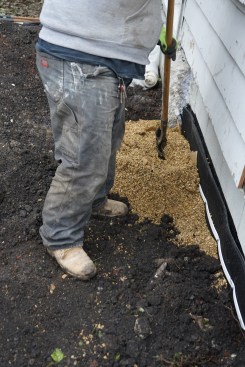
The crew backfilled with pea gravel outside the mat to provide a…
The crew backfilled with pea gravel outside the mat to provide additional drainage.
Once the topsoil was in place, the only remaining task was repai…
Once the topsoil was in place, the only remaining task was repairing the beam holes in the siding.
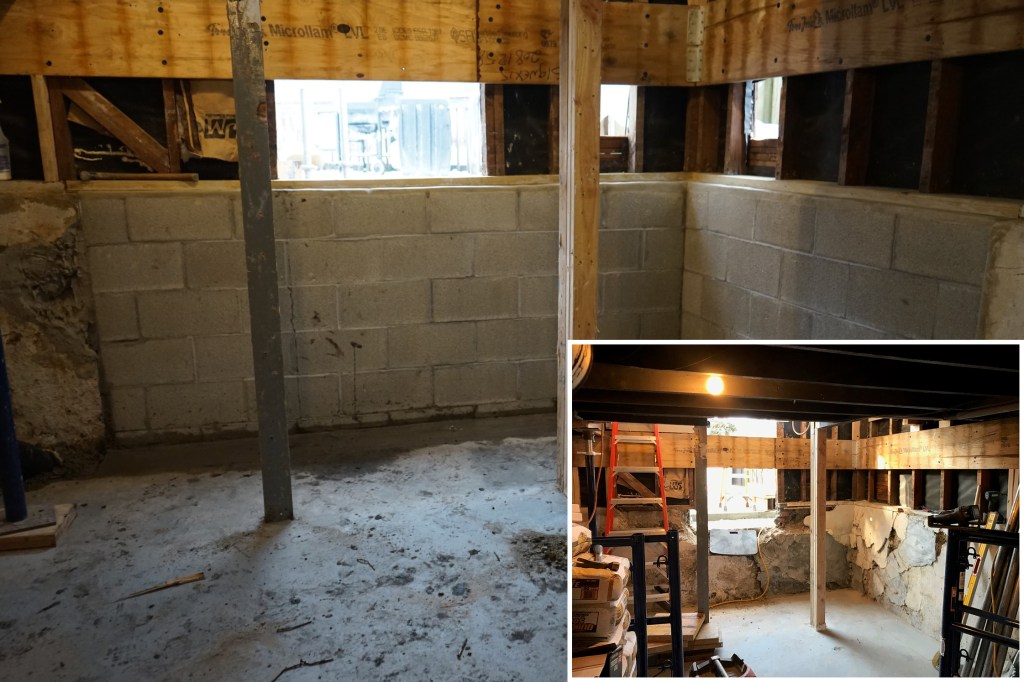
This project started for the clients with a burst pipe in the middle of winter. When they opened up the exterior basement walls—which had been framed and drywalled—to find the leak, they also found a crumbling foundation. Continued investigation revealed that the foundation was failing in two locations. A structural engineer devised repair strategies, and our company, Great Lakes Builders, was hired to do the repair work.
The most deteriorated section of the foundation demanded a remove-and-replace approach. When the original foundation had begun to fail, layers of parging had been applied. Those layers had since separated and the entire foundation on one corner of the house was in imminent danger of collapse.
Our plan was to replace the crumbling foundation, but first we had to stabilize the building above. To do this, we attached horizontal LVLs to the exterior wall framing, basically creating temporary headers on adjacent sides of the corner. After installing the LVLs, we made holes in the sheathing for needle beams. Outside, we supported the beams with cribbing, while interior beam support consisted of four screw jacks linked together. Once the structure was reinforced and supported, we could tackle the foundation.
JLC contributing editor Jake Lewandowski is a construction manager with his family’s business, Great Lakes Builders (greatlakesbuildersinc.com), which specializes in structural repairs in Greater Chicago. Follow him on Instagram: @jakemlewandowski