In the construction world, we use the term “custom” all the time, but what does it mean? I define it as one of a kind, something made for a specific location and client. That doesn’t mean it has never been done before. Most of my projects start with an inspirational picture but, from there, everything is fine-tuned for conditions and location.
The entry door on a recent remodeling job is a great example. We had removed a 6/8 door with a transom and sidelights. My clients wanted a single door with sidelights, as tall as possible and with everything made of maple. The solid core maple veneer door I built was 2¼ inches thick with a simple pattern of vertical lines, and the sidelights each had three glass panels divided by simple horizontal muntins. (Note: Any glass by a door or close to a floor must be safety glass.) Before doing any woodwork, I ordered a threshold, door bottom, and 8-foot weather stripping from the lumberyard—the same products that would be used on a standard exterior door.
I then sorted my lumber, setting aside some straight and flat boards for door jambs, and turned to the door.
Gary Striegler
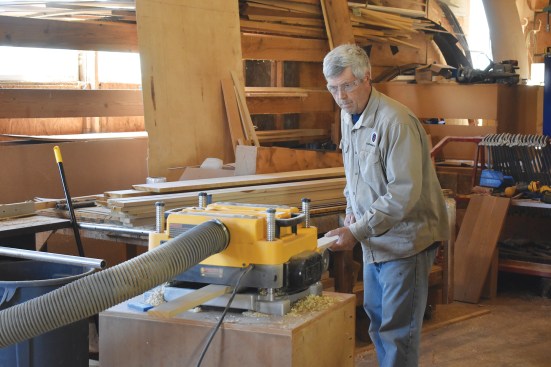
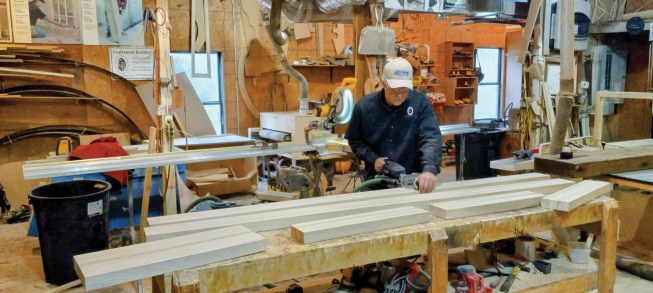
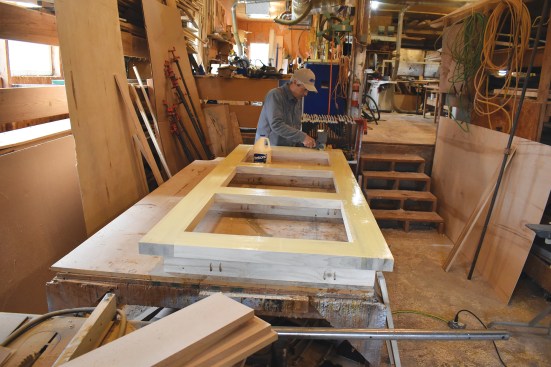
Solid maple is planed flat before glue-up.
Door Glue-up
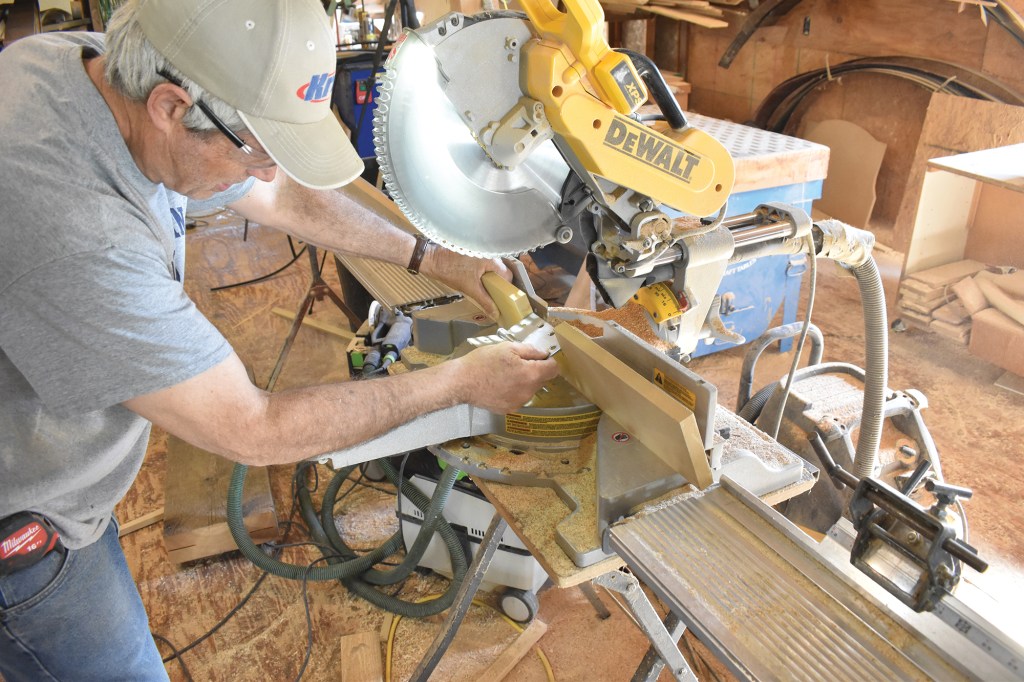
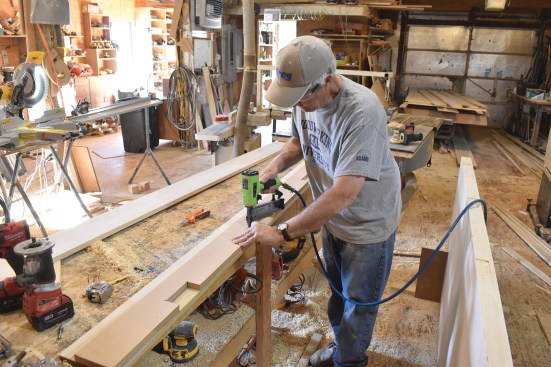
To avoid warping, I like to glue up a sandwich of 3/4-inch boards, face to face, for the door-frame material. First, I rip the boards 3/8 to 1/2 inch thicker than the finished dimension. Before I coat the faces with Titebond glue, I make sure they’re clean and smooth by using very light passes with a planer. I use pipe clamps to make a glue-up wide enough for a stile or rail. By leaving a dry joint between the stile or rail pieces, I can glue up several pieces at one time. I make the glue-up 4 or 5 inches longer than the finished length so I can trim any planer snipe off the ends. To achieve a good bond, it is critical to glue your parts up on a clean, flat surface. After a couple of hours, I unclamp the boards and scrape off most of the glue that has squeezed out.
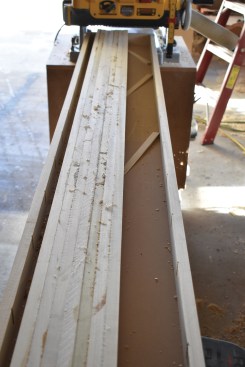
The next step is to get a flat face on one side of the glue-up. A large jointer is the easiest way to do this, but if you don’t have one, you can make a rigid sled and run the pieces through a planer. Place shims under the glue-up to keep it from rocking. On the door shown here, the stiles, top rail, and intermediate rails were 4½ inches wide and the bottom rail, 8 inches wide.
When all the frame pieces have a flat face, I run them through the planer to final thickness. For this door, I used ¼-inch-thick maple plywood for the face veneer, so the final thickness of my frame parts was 2¼ inches minus the thickness of two pieces of plywood.
To allow room for final adjustments to fit the door to the jamb exactly, it’s a good idea to build the door slightly oversized. Here I cut the stiles ¼ inch long and cut the rails an extra 3/8 inch wide. Besides the top and bottom rail, I added two intermediate rails for strength. My plan was to fill in the voids with rigid foam sheets.
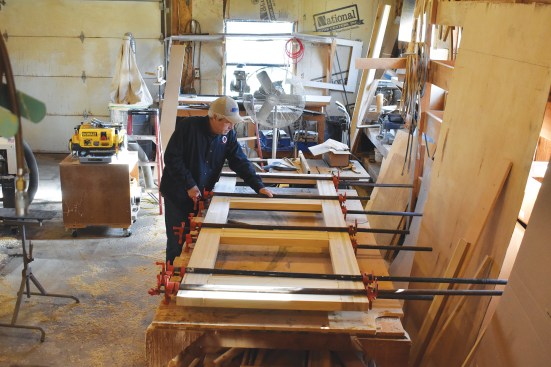
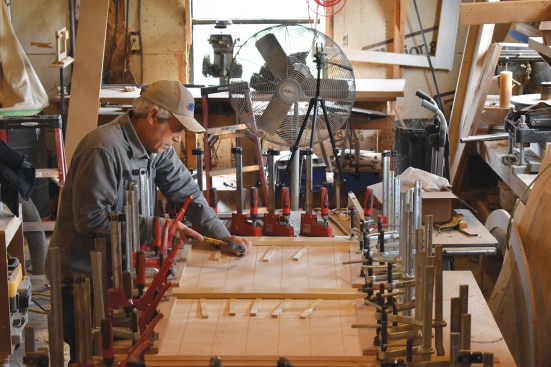
I have a 4-by-8-foot table in my shop with a dead-level top (I used shims and an 8-foot level) that I use to assemble doors and cabinets. For the top and middle joints, I used two 12mm Dominoes; at the bottom rail, I used three. If you don’t have a Domino XL, two rows of smaller Dominoes or even dowels will work.
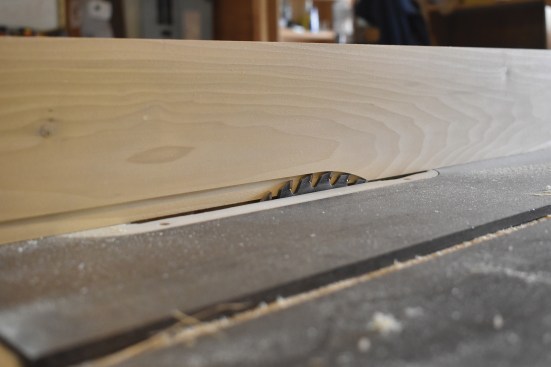
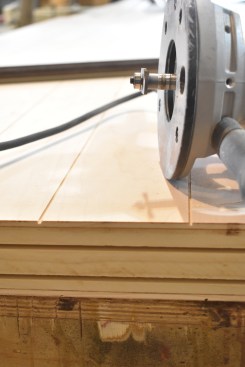
While the glued-up frame was drying, I laid out and cut the plywood veneers to size and added the vertical lines (⅛-inch-deep saw kerfs on 3-inch centers) using a track saw. The joints in the frame needed a little sanding, and I was ready to glue on the veneer. I added spacer blocks to my table to make room for clamps.
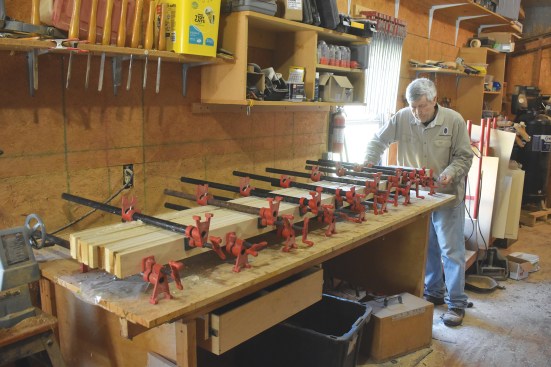
This door was well under a porch roof (if a client asks me to build a door that’s not under 4 feet or more of roof, I have them respond to an email that states I do not guarantee the door), but I still used Type-2 Titebond for water resistance. I use a glue roller with a hopper to spread glue for projects like this. For a good glue joint, I use a K-body clamp every 3 inches around the frame, plus a board with wedges at the rails. If you don’t have that many clamps, place your door glue-up between two sheets of MDF and put bags of cement, sand, or even concrete blocks on top to create pressure.
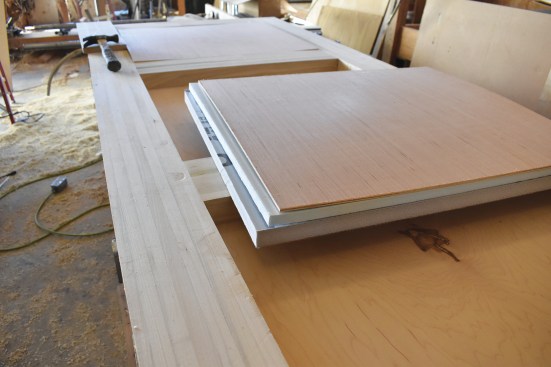
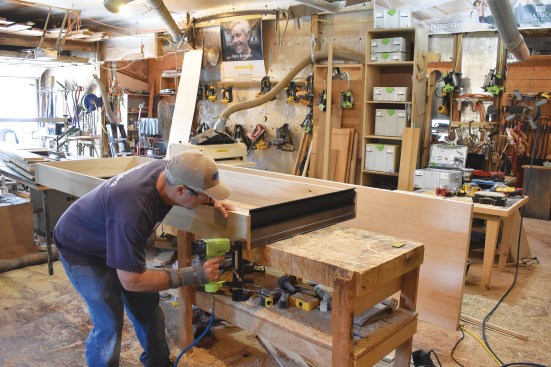
After an hour, I removed the clamps, fit foam and a plywood shim in the voids, and clamped the second veneer (9, 10). An hour is probably enough drying time but, to be safe, I let it dry overnight, then used a hand-held planer to bevel the door edges.

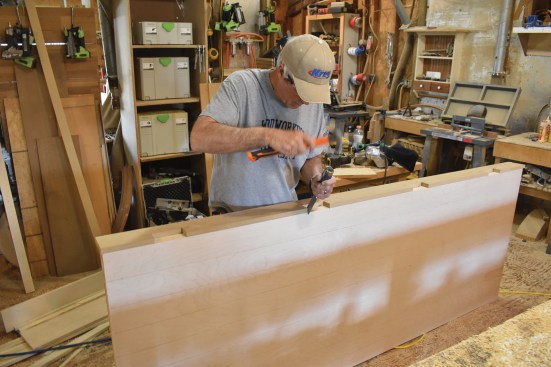
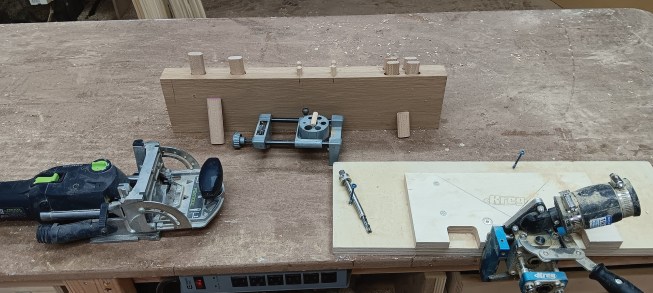
Gary Striegler
The author creates a jig for the hinge placement.
Jambs
Next up are the door jambs. I run the faces of all the jamb material through a Woodmaster drum sander. Alternatively, you could make a very light pass with a benchtop planer with sharp knives.
I make the door jamb in two pieces. The first is ¾ inch thick, and its width is equal to the wall thickness. For better access, I like to mortise for the hinges before I assemble the jamb. For a door this size, four 4½-by-4½‑inch hinges work well. I make a plywood template and use a ½-inch Whiteside template bit (part number 3000) to cut out recesses for the hinges. The ½-inch bit leaves ¼-inch round corners that must be squared out.
I use the same plywood template to mortise for the hinges in the door. To allow room for a reveal across the top of the door, I attach a ⅛-inch-thick spacer on the template to hook on the edge of the door. Though this door wasn’t a standard size, I started with measurements from a standard door and adjusted them to the size of my door.
The second part of the jamb is ½-inch-thick maple with a saw kerf on the back edge to seat the weather-strip fin. To find the width of this second piece, I measured the setback on a standard door jamb and adjusted for the thicker door. To start building the jamb, I stapled the ¾-inch maple header and the threshold between the side jamb material. I used glue and headless pins to add the ½-inch-thick maple.
Once the jamb is assembled, I trim the door to final length and use a router with a slot-cutting bit to cut a groove in the door bottom for the weather stripping.
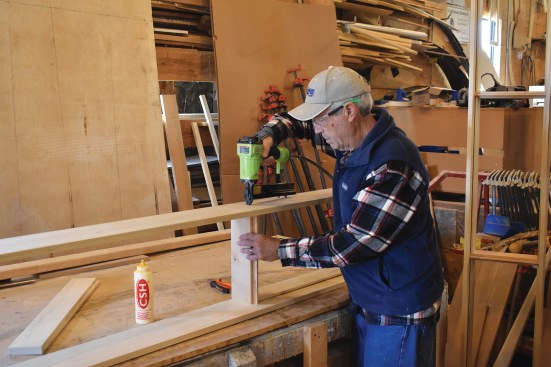
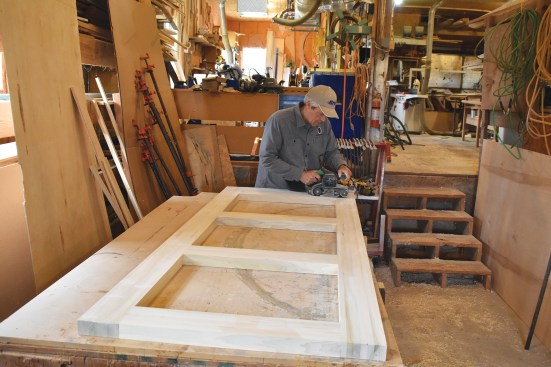
Gary Striegler
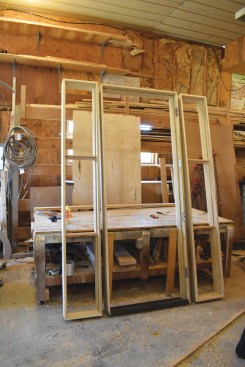
The sidelights that will hold the tempered glass are stapled tog…
Sidelights
I started to build the sidelights by gluing two pieces of ¾-inch maple together. I used this thick material to make a wood threshold with a rabbeted edge and four crosspieces with rabbeted edges for the muntins. I stapled the head jamb and the wooden threshold between the side jambs, then added ½-inch-thick material up to the location of the first muntin, which was also stapled in place. I added a piece of ½-inch material on each side up to the second muntin location, stapled it in place, and filled in to the top with ½-inch material. The rabbeted edges were all ½ inch to hide the spacers between the insulated glass panes. I made some ½-inch glass stop with a chamfered edge to be installed after the glass was in place.
The last, very important step before the project left my shop was to seal the bottom of the door, thresholds, and jamb end grain with polyurethane. If you trust the painter, you can skip the door bottom, but the other areas will be out of reach by the time he gets there.
This project has held up well, with no warping or finish wearing. It fits my idea of “custom,” as I took an inspiration from the client and created a door to fit their specific home. I used mostly materials I milled myself, except the hinges and metal threshold. My caution to anyone trying to scratch-build an exterior door is that it will face many different environments, sometimes all within the same day, so pick your projects carefully.
Note that if you are unable to purchase an interior door in a style your client wants, you could apply the process outlined here to make one.
Keep the conversation going—sign up to our newsletter for exclusive content and updates. Sign up for free.