Outdoor kitchens rank high on many homeowners’ wish lists. They offer a high return in client satisfaction and home value—the National Association of Realtors says that homeowners typically recoup 100% of the cost of an outdoor kitchen at resale.
While these advantages make outdoor kitchens a strong business opportunity, good design is a must.
An outdoor kitchen has obvious features in common with an indoor one, such as cabinets, countertops, and a place to cook. But exposure to the weather means there are differences. Failure to account for these differences will cause problems for you and the homeowners.
General Planning
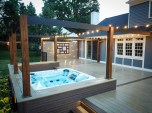
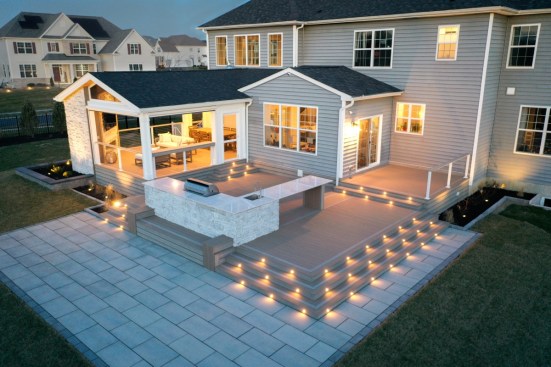
Most installations are under a roof over part of a deck or patio. “About 70% of the outdoor kitchens we see have roofs,” says Michael Hidalgo, Director of Pro Sales for BBQ Guys in Baton Rouge, La., which works with contractors in all parts of the U.S. If the homeowners haven’t asked for a roof, you’ll want to suggest it.
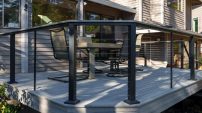
Most decks with outdoor kitchens are also built with durable composite decking products. For instance, Denver-area contractor Jonathan Moeller is a big fan of Deckorators® decking made with Surestone® technology. “It’s a mineral-based composite with an anti-slip texture, which is the main reason I switched to it,” he says. “Other companies’ decking can get real slick when wet, but the Deckorators product actually gets more sticky.” The sure footing that it provides is important in an outdoor workspace, where a slip could cause an injury as well as a ruined meal.
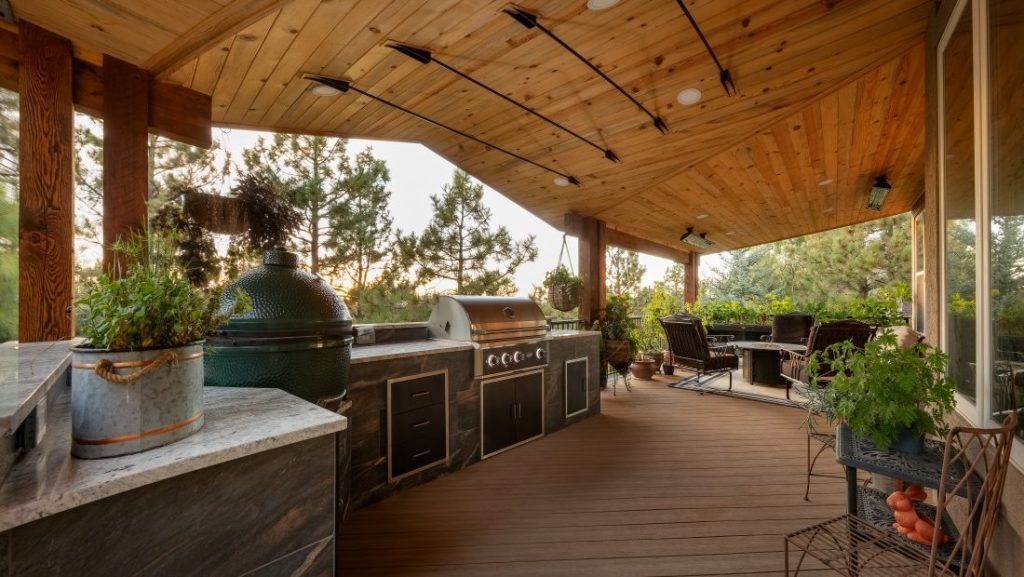
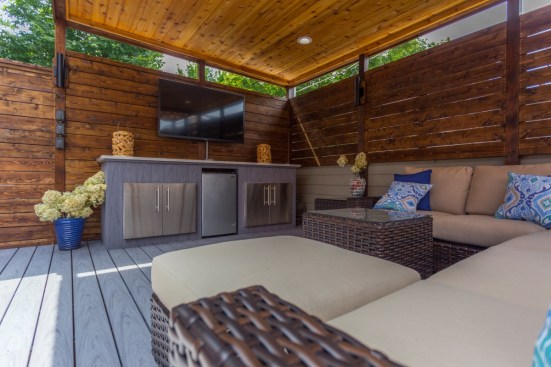
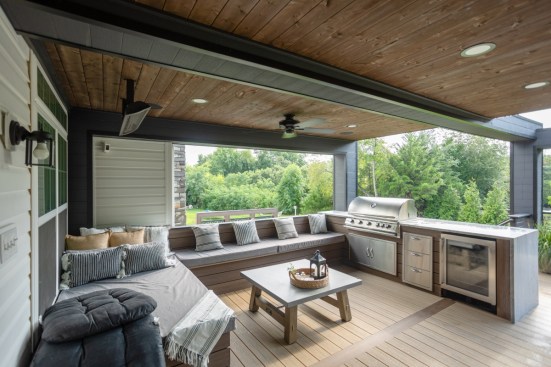
Within the outdoor kitchen, you will, of course, need to locate cabinets, countertops, and appliances. You’ll also need to map out wiring runs for refrigeration, ceiling fans, heaters, outlets, and lights. (You can use low-voltage lighting products like those offered by Deckorators for accent, rail, and deck lighting, but will still need 110-volt wiring.) If the plans include a sink or an ice maker, decide where to put plumbing runs.
Before diving into these details, however, talk with the homeowners about their lifestyle and expectations. “What size island and what type of equipment do they want?” asks Hidalgo. “Will the island include a bar with a sink, or will it just be for cooking? It’s important to know how they will use it.”
The availability of modular outdoor kitchens has simplified the process for homeowners and contractors alike. These products are easy to spec and come in a variety of options and finishes.
Infrastructure Issues
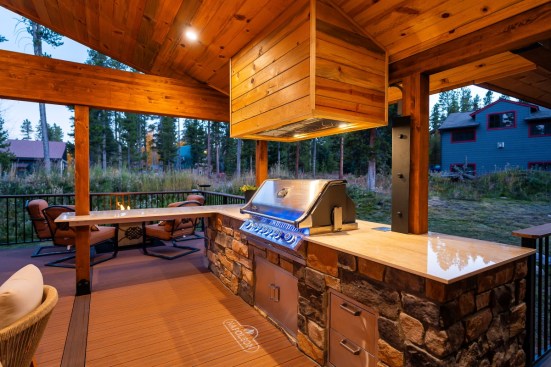
One decision unique to outdoor kitchens is what kind of fuel will be used for the grill. “Do they want gas plumbed in from the house, or can we use a portable propane tank?” asks Hidalgo. Many homeowners would love the convenience of a gas line, but the $2,000 to $10,000 cost is a big deterrent.
For kitchens built on a framed deck rather than on a patio, there are also structural considerations. Add up the total weight of everything, including appliances, cabinets, and countertops. Do the homeowners want granite counters? Some extra framing may be in order. “You need to make sure the structure can support whatever they want,” says Hidalgo.
When it comes to structure, also remember that the decking choice will affect the framing plan. For instance, the span rating of composite decking boards tends to be less than wood decking of similar thickness, so more framing may be needed. As with any deck, it’s wise to have the plans reviewed by a structural engineer, even if it’s not required by local code.
Also discuss what the homeowners might want later. “Let’s say that a year after installing the grill and island, the homeowners decide they want an ice maker or a TV, but didn’t put in the necessary wiring or plumbing,” says Hidalgo. “Retrofitting these will be more difficult and expensive.”
The homeowners may say no to installing that infrastructure now, but you don’t want them complaining later that you never suggested it.
Preplanning Pays
Wiring that’s not inside a protected enclosure like a cabinet or a waterproofed roof will need to be in conduit. When it comes to conduit, remember that most homeowners prefer that it be hidden from view. Ensure this by working with the electrician ahead of time.
“You need to plan the wiring before the job starts,” says Sean Collingsgru of Premier Outdoor Living, a deck and patio builder in Tabernacle, N.J. His preconstruction process always includes a meeting with the electrician and any other sub-trades that will be involved, whether a plumber or an A/V installer.
Decking Plan
It’s usually a good idea to hold off on installing deck boards or a tongue-and-groove ceiling in the roofed area until after the electrical rough-in. That will make it easier for the electrician to run wires and conduit where they won’t be seen. You may be able to keep the job moving by installing trim or decking in areas with no wiring. “But you need to plan that out with the electrician,” he says.
However, piecemeal installation isn’t always ideal. Like Moeller, Collingsgru uses Deckorators composite decking, which comes in 20-foot lengths. Those lengths eliminate seams and make for a clean, finished look, but the most efficient approach is to install them after the rough wiring and before the cabinets.
In other words, a great outdoor kitchen starts long before the first nail or screw goes in. Early conversations, smart layouts, and a plan for future needs will deliver a space the clients love now—and for years to come.