Here in Pennsylvania, we generally build under the 2009 version of the IRC, with some small state-specific tweaks. Recently, the state also adopted parts of the 2015 IRC, including its new deck-specific Section R507. As in many states, each of Pennsylvania’s local municipalities are free to adopt—or not—these code revisions, which are then subject to local ordinances and enforcement by inspectors who each seem to have their own interpretation of what the building code says. Because we work in several different municipalities, this creates some challenges for our building practices, including how we install guard posts.
The IRC itself doesn’t offer a lot of guidance in this area. While it contains a number of prescriptive design details, none of them currently address guard-post installation. I suspect that this will be changing over the next few years, as guards and posts are one of the areas of focus in the current round of code development (as a NADRA board member, I’m on the Deck Code Coalition). In addition, we’ve seen increased interest by local inspectors regarding the railing-post construction detail.
Given that there are many ways a post can be mounted—inside the framing, outside the framing, with or without notches—and multiple hardware choices, we have over time developed our own set of “best practice” construction details that have performed well. However, they are subject to the interpretation and approval of the inspector in the municipality that we’re working in. To deal with the uncertain code environment and make sure our home-grown details are indeed OK, we often hire an engineer for our larger projects, to provide validation for our construction practices and code-compliance, as well as for peace of mind and reduced liability for our township inspectors.
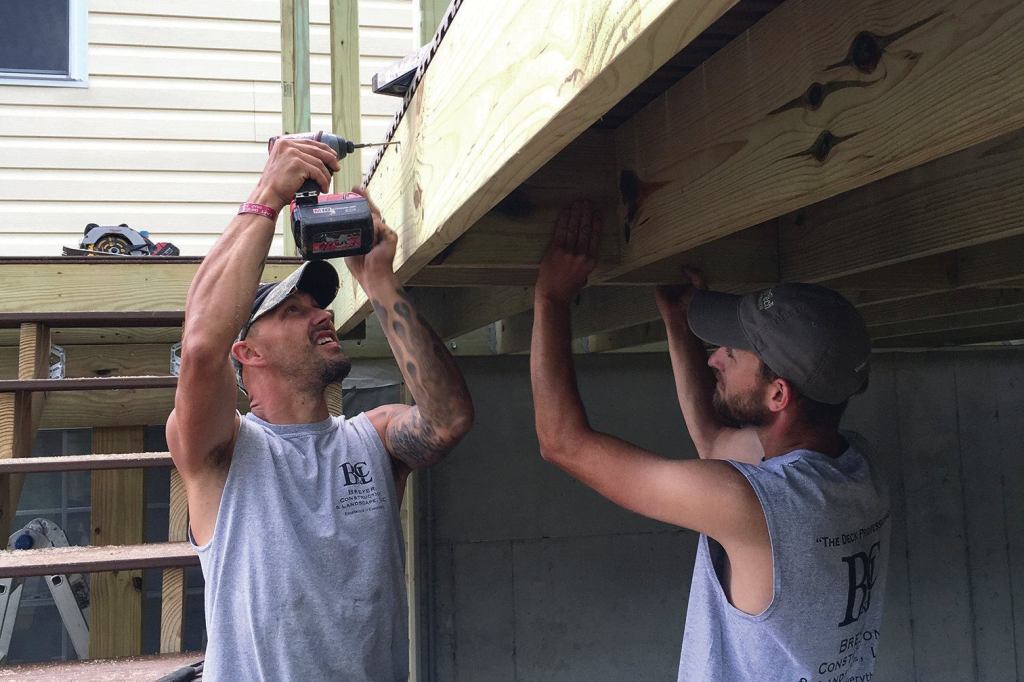
But getting an engineered solution for every project we build with a guard post isn’t a practical approach. Most (if not all) of the “fly-by-night” contractors we encounter consistently underbid our company by 25% to 50%, making our clients unwilling to pay for the more extensive hardware solutions. So we’ve simplified our approach where possible to remain competitive. For most basic deck construction, we’ve eliminated excessive metal hardware and top-mounted structural guard-post kits. Instead, we install standard PT 4×4 posts inside the framing of the deck perimeter (obviously, borders, inlays, deck roofs, and other nonstandard deck details can alter railing-post framing).
What follow are examples of several traditional installation locations and of what we’ve done to install guard posts that are safe and secure while mitigating long-term failure risks and using methods our local inspectors have come to expect and approve of—at a price our customers are willing to pay.
Blocking Is Key
One of our rules of thumb is to always add blocking to every rail post. We generally install any pressure-treated rail posts and basic blocking while we are framing, securing everything just with galvanized nails shot in with a pneumatic gun. This is fast and lets us place the rail posts where they belong.
Once the primary structure is together and we have turned our attention to the railing, we add more blocking as needed, filling in where it was missed during framing, or where after review we have decided that a specific post needs additional support.
If the nail gun has been put away, we may use a few deck screws to hold the new blocking in place. Like the nails, these aren’t structural fasteners, but rather a temporary or partial connection detail. However, sometimes we will put a few screws into a connection that has already been secured with nails (which are subject to withdraw), simply to pull the framing and blocking members tightly together.
Outside corners. Even on a corner where you can get a positive connection on two sides between the post and the framing, additional blocking is essential. Having fasteners driven into a post from three sides rather than two is what really helps keep the connection strong over the long-term.
We use engineered lag options such as FastenMaster’s HeadLoks and LedgerLoks (fastenmaster.com) or Simpson’s SDWS timber screws (strongtie.com) to secure guard posts to the blocking and framing. Unlike with a ledger, where we try to remain consistent per the fastener manufacturer’s specs, we’re not afraid to mix fastener styles as long as the resulting connection is secure and the inspector doesn’t have an issue with our approach.
Intermediate posts. On long side rails, guard posts are typically attached to a single rim joist. Here—where several people could potentially lean against a railing that is often supported by only a single mid-span post—is where leverage against a guard post is often the greatest, so we not only add blocking between the two outside joists, but also carry the blocking back an additional joist bay. This helps support the guard post and railing by creating additional rigidity, and it limits rotation of the rim joist at the ledger connection as well. We have seen many old decks with rim joists that are all but disconnected from the framing because of the leverage exerted on them by occupants leaning against the railings.
At the ledger. The guard posts closest to the house are another problem area. Generally, these are installed in the corners of the deck’s framing, but they’re often spaced between 1 inch and 3 inches away from the ledger to allow room for the post sleeves and skirts that are used to dress up the posts. As a result, these corner posts are often secured only to the rim joist. Meanwhile, a person leaning against a corner post creates tremendous leverage that can pry the rim away from the ledger and weaken this critical framing connection. So, in addition to installing blocking between joists, we try to fill the small gap between the post and the ledger with additional blocking.
Angles. We have found that the framing at angled corners often pulls apart over time as the wood dries out and the framing nails start to withdraw. Add a little leverage from people leaning on the guard posts, and these connections can become compromised. So we make sure to reinforce these corners with blocking, driving the fasteners through the framing into the blocking from several different directions for triangulated support.
Stair Rail Posts
Stair locations can be tough. Essentially, you’re being asked to attach a guard post to a stringer, which might have been notched out for steps—making it into a marginal framing member that has limited strength—and which will move constantly under use.
We always add blocking between stringers anywhere that deflection could occur, such as on an extended stringer run or where there will be a mid-span guardrail post. For additional support, we usually carry mid-span railing posts down into the ground and support them with a concrete footing below the frostline. This detail not only helps support the stairs, but also adds considerable stability to the stair railing by limiting its lateral movement.
Extending the lower stair guard posts down to frost-protected footings is also a great way to support the base of the steps, though it’s not an actual IRC requirement. By code, stairs must be supported by their “primary structure”—the deck—via the proper hangers and hardware and must have a level landing, but there’s no specific requirement for a concrete (or similar hard material) landing, and there is no requirement for the bottom of the steps to be positively connected to a below-grade, frost-protected footing.
Local inspectors sometimes interpret this differently, as some local ordinances have adopted details from DCA6 (Prescriptive Residential Wood Deck Construction Guide), including Figure 34, which is a stair-footing detail (see “Deck Stairs on Frost Footings,” Jul/Aug 2012). This is an expensive approach that fortunately isn’t required by any of the inspectors we work with, so we typically just pour a level concrete landing pad that our stair stringers rest on. We then securely connect the first 2-by subriser to the stringers with structural screws and add blocking between the two pairs of outer stringers, as shown.
After the posts are installed, we lock the stair assembly together with more 2-by blocking installed on the flat, which also helps support the edge of any decking that has to be cut to fit around the posts.
Finally, we use 8-inch-long FastenMaster ThruLok bolts to firmly fasten the guard posts to the blocking-reinforced framing. These specialty connectors are specifically created for rail-post applications like this and have testing and documentation to back up their use, which our inspectors appreciate. We like them because they’re much faster to install than through-bolts, since they don’t require pre-drilling. And they’re not much more expensive than through-bolts that have been properly galvanized and have the correct washers.