We often hear back from previous clients when they have new projects. In this case, we had originally built the client’s house with a wide opening between the kitchen and the living room that was almost 2 feet deep and finished with flat panels. But now my client was looking for a way to occasionally close off the opening, in a way that would match the original woodwork we’d done.
The opening was just under 8 feet tall and more than 8 feet wide. We have built pairs of doors that large in the past, but there just wasn’t enough room for doors that wide to fold back against the wall when open (which would probably be most of the time). My solution was to build four door panels that would fill the opening. The two outside panels would be stationary, and the two middle door panels would swing in and store against the fixed panels when they were open.
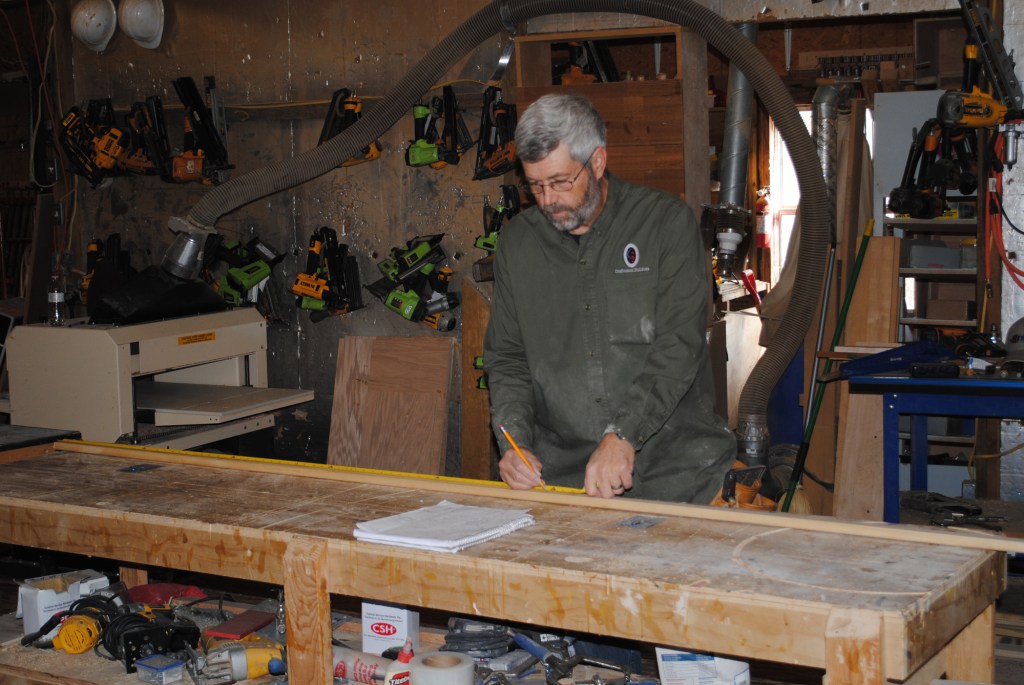
For projects such as this one, I begin by doing the layout on a story pole. I first did a layout across the width of the finished opening to figure out how wide each door panel should be. We started with four identical panels, but we’ve found that it is better if the two fixed panels are slightly wider than the operable ones, so we cut back the operable panels at the time of installation. From the story pole, I also calculated the width for the door stiles, as well as the lengths of the rails. Then I did a vertical layout so the doors would match the paneled jambs.
Building Doors in Layers
I choose poplar for most doors that I make; it stains well if you select lighter colored wood, and it paints perfectly. I select the flattest boards for the door stiles, and then I assemble the frames so that any bowed boards will counteract each other when I glue the frames back to back. I also cut all the parts longer and a little wider at first. Sometimes a straight, wide board will develop a bowed edge when you rip it, so I always leave enough extra width to straighten it on the joiner if needed.
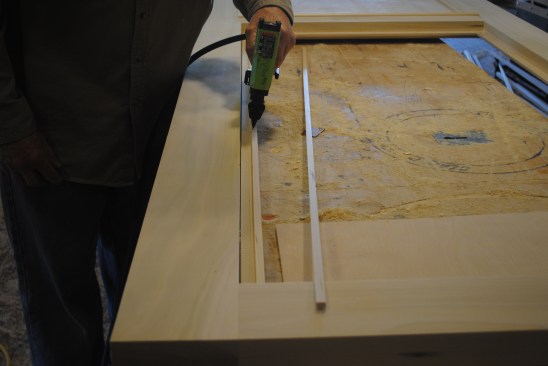
After milling and cutting the parts, the crew assembles the frames using pocket-screws. The frames are joined in pairs to make the doors. Here a layer of glue rolls onto one of the frames before the pairing..
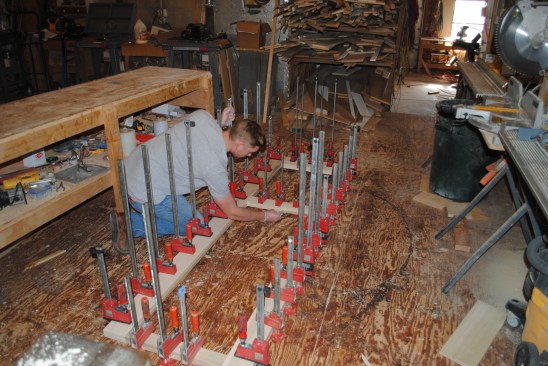
I assemble the frames with pocket screws, but no matter what system you use, it’s important to have clean, square edges on all the parts. To create those edges, we stand the parts on edge and run them through a planer in pairs. I also run all the material through a drum sander before it is cut to final length. When I cut the rails, I make sure that all the end cuts are clean and square. I also try to be precise with the layout cutting so that the frames line up perfectly when they are glued back to back. When all the pieces are ready, I screw the frames together. With four door panels, there were eight frames in all.
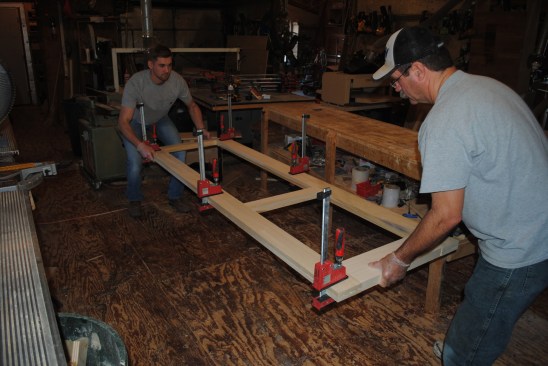
To ensure that the door turns out flat, the crew places the assembly on the on the flat surface of the floor after clamping the frames together at the corners, .
Glue the Frames Together
For interior doors such as these, I apply a generous coat of yellow glue with a roller to both frame surfaces and then place one frame on top of the other. I use K-body clamps because they spread the clamping pressure across a wide area and I don’t have to use pad strips to protect the wood. After we’ve mated the two frames, one clamp on each corner is enough to keep the frames aligned while we transfer the assembly to a flat surface. Any door you build will be only as flat as the surface you use for the glue-up, so I set the assembly on the floor of my shop.
The crew adds clamps every 6 inches or so around the entire perimeter of the door, and then wipes off the excess glue with a damp cloth.
Once the frames are on the floor, I clamp them together every 6 inches or so. After the last clamp is tightened, we wipe off all the glue that has squeezed out with a damp rag. That saves a lot of time scraping later. I leave the clamps on for a couple of hours; if the shop is cold, I wait twice that long.
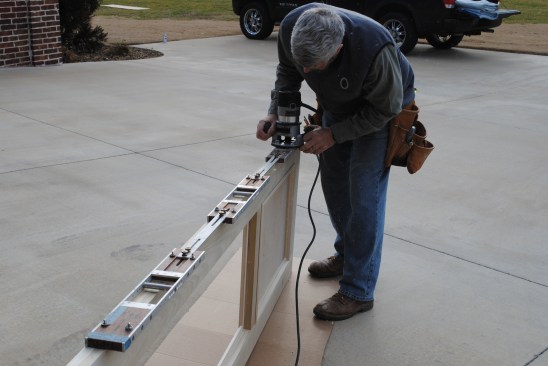
After removing all the clamps, I use a flush-trim router bit to true up any spots where the frames didn’t line up perfectly, and we clean up any glue we may have missed.
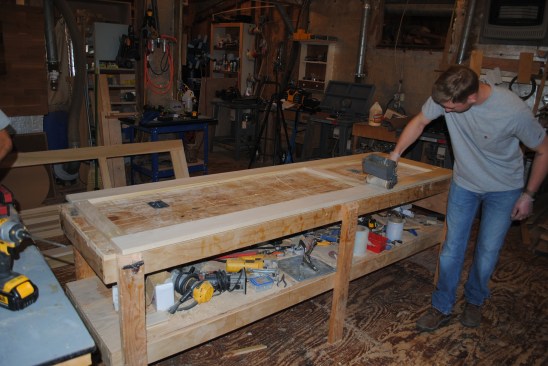
As a final step before adding the trim, I go over the joints on each side of the door with a random orbital sander. If I’ve done a careful job building the frames, the joints need only a minor touch-up.
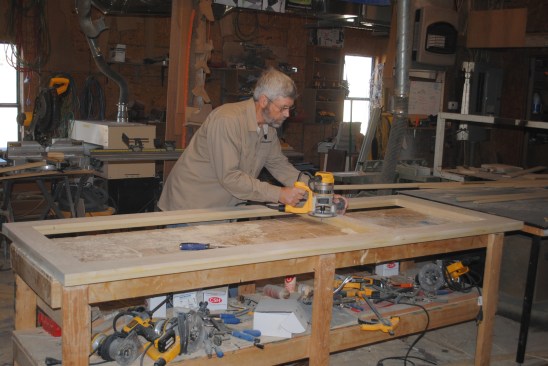
After the glue sets and clamps are removed, the author uses a router with a flush-trim bit to true up the surfaces.
Adding the Panel and Trim
To match the doors to the paneled jambs, I used the same trim profile to hold the flat panel and glass in place. The panel molding that I needed to use to match the original jambs was almost 3/4 inch thick along the outside edge. So to make room for the 1/2-inch plywood panel and to make the panel molding work more like a bolection molding, I rabbeted its edge.
The total thickness of the door was 1 1/2 inches, so when I subtracted the panel thickness, the rabbets on each side of the door had to be 1/2 inch deep to hold the panel in the center of the door. That seemed like a lot of material to remove safely with a router bit, so I made the rabbets with two passes on a table saw, always using a push stick to finish up each cut.
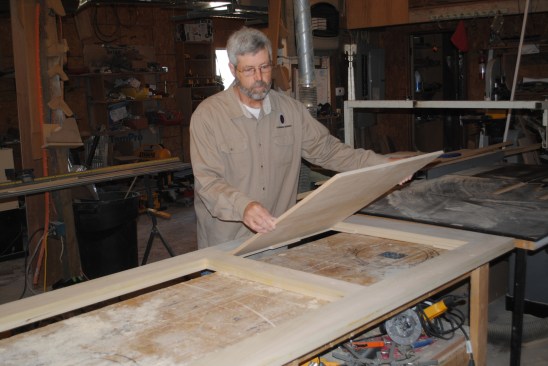
The author tacks temporary blocks to hold the plywood panel in the center of the opening, and then drops the panel into place.
I’ve always found it easier to start with the panel in place and then apply the trim to it. So I tacked on 1/2-inch-thick spacers flush with one side of the opening to hold the panel temporarily. After flipping the door over, I dropped the plywood panel in place on top of the spacers.
Cutting the lengths of trim is a lot easier if you have a miter-saw stand with a very accurate stop (see “Two Essential Stands for Finish Carpentry,” Feb/17). My setup lets me cut multiple pieces to the exact same length without measuring.
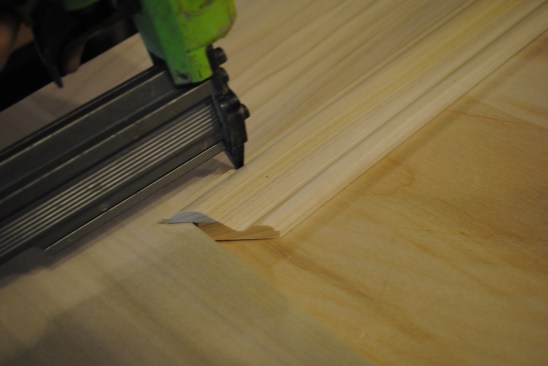
Rabbeted molding attaches to the door frame to hold the panel in place.
The edge of the molding that sat on the face of the door was thin, so I made the lengths of the trim pieces fairly tight and attached them with headless pins. Then I nailed the inside edge of the molding to the panel with shorter headless pins. After flipping the door over, I removed the temporary blocks and cut the molding pieces for that side.
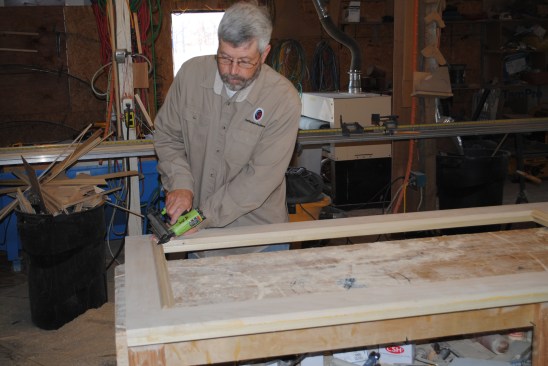
After flipping the door and adding molding on the other side of the plywood panel, the author pins molding to one side of the top opening to hold the glass.
I used the same modified panel molding on the top section of each door to hold the glass. I installed the trim on one side and painted it before installing the glass (for this job, the glass didn’t go in until after the doors were installed). Again I cut the molding as tight to the opening as possible and glued the joints carefully.
To make up for the thickness difference between the glass and the plywood, a thin strip attaches to the back of the glass molding.
The top panel required one extra step. Because the glass was only 1/4 inch thick, I added a 1/4-inch-thick filler to the molding on one side to make up the difference. Instead of trying to make the molding flush with the filler, I left a 1/16-inch reveal to step the molding in from the edge of the opening.
After scribing the stationary panels to fit, the author routs the hinge mortises for the operable panels.
Installing the Doors
At that point, the stiles and rails were still slightly wider than I needed. First, we scribed the stationary panels to the opening, keeping them tight to its top and sides. I made all the top and bottom cuts on the doors with a track saw and used a power planer for the sides. The operable panels hinge off of the stationary panels, so after painting the bottom, top, and blind side of the stationary panels, I mortised for the hinges, using a router template. I attached the stationary panels to the paneled jamb along the side and at the top free corner with long finish-head screws, leaving the bottom inside corners free for the moment.

The stationary panels screw to the jamb and to the top free corner.
Next, I scribed the operable panels to the opening, taking care to leave a perfect reveal between the two panels. To put the operable panels perfectly in plane when closed, I simply pressed lightly on the free bottom corner of the stationary panel until the edges aligned perfectly. Then another finish-head screw anchored the free corner in the adjusted position.

After scribing and mounting the operable panels, the author aligns their free edges by pushing lightly at the bottom of the stationary panel.
After aligning the door panels, screws anchor the bottom free corners in their adjusted positions.
The rest was easy. I set the glazing in place and installed the final pieces of molding. After everything was painted, we installed the hardware, and these easy-to-build doors perfectly matched the paneled opening, looking like they had always been there.
Photos by John Lovelace