Extension Jambs
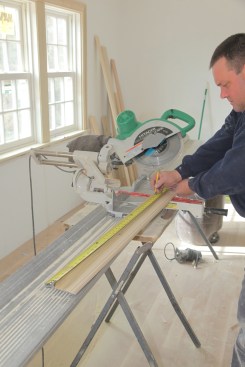
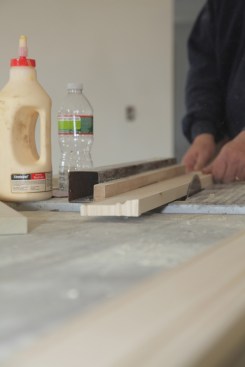
The crew in the photos for this article begin the trimming process by precutting rough lengths of stock and leaving a kit of pieces at each window. That kit includes the stool, extension jambs, and lengths of casing for the four sides of the window.
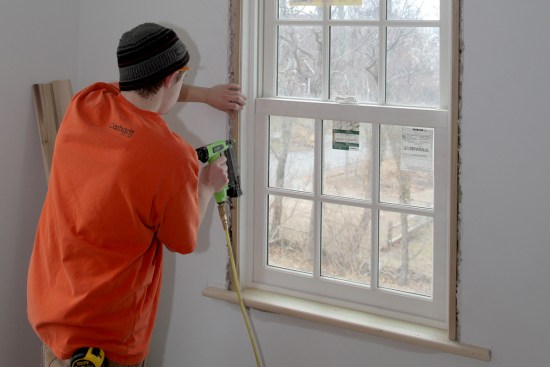
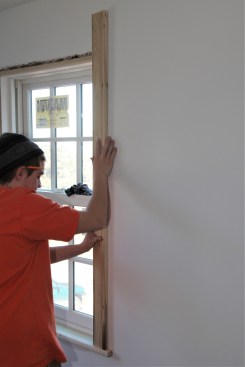
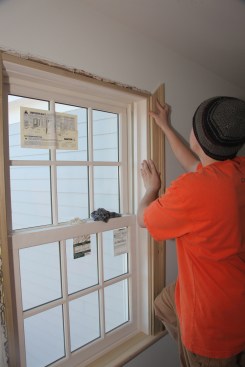
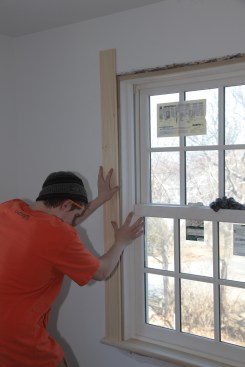
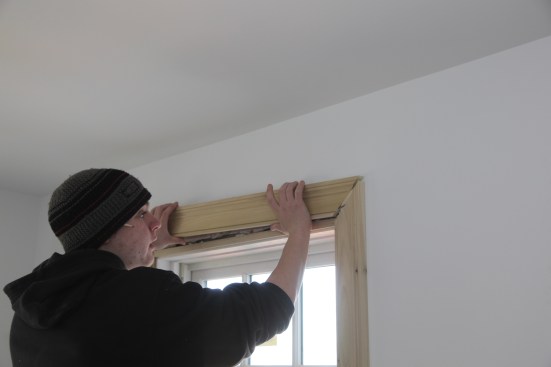
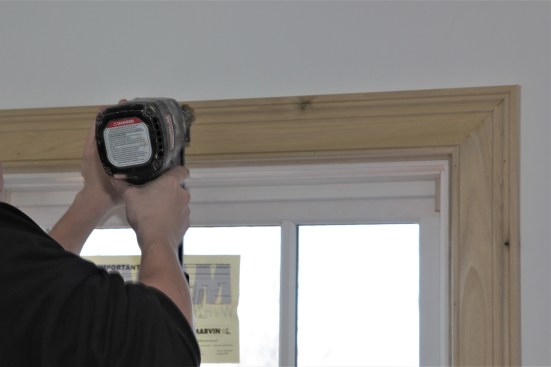
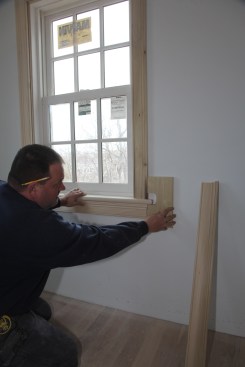
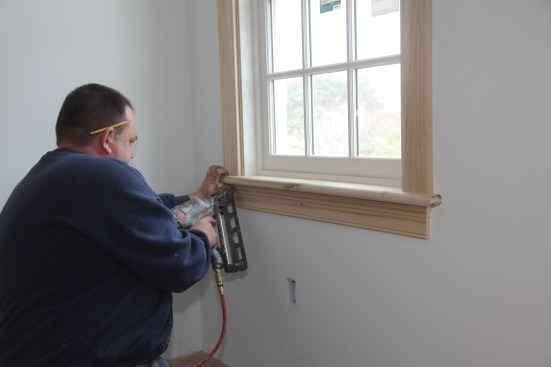
The factory jambs that came with the windows were about 1/2-inch shy of the drywall surface. So the carpenter installed strips to build the jambs out flush with the wall.
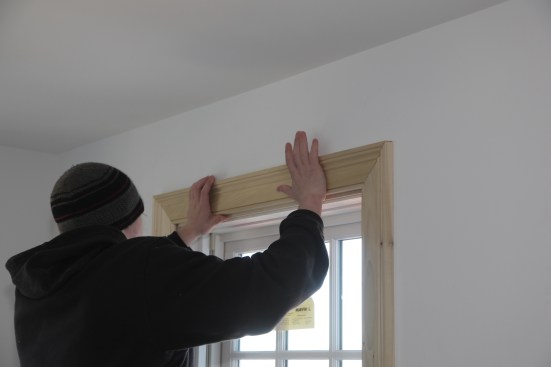
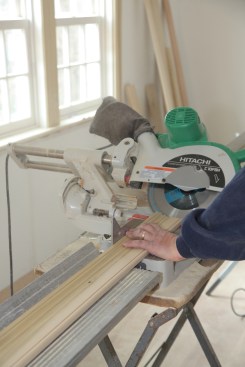
The extension jamb for the top of the window fit between the side extensions. The crew installed the extension jamb strips with a 1/4-inch reveal from the edges of the factory jambs.
Casing is the finished transition between the window jambs and the wall surface. But before any casing can be applied, the jambs have to be built out or extended to the plane of the wall. The strips of material that do this job are called extension jambs. Many window manufacturers include extension jambs with the window package, but quite often—especially in remodeling—factory-supplied extensions are not as deep as needed. In these cases, additional strips attach to the factory jambs to make them flush with the wall.
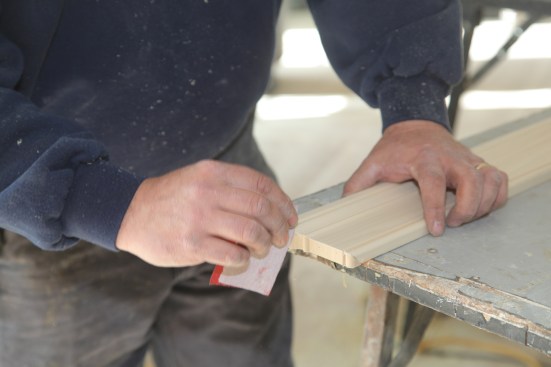
To ensure a tight fit against the stool, a fresh square cut is m…
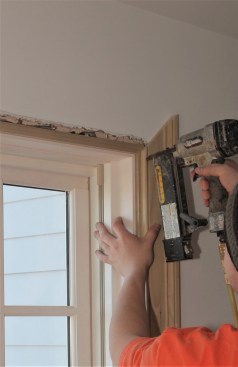
The project in the photos is one such case, and the crew had to add strips that were about 1/2 inch thick. The first instinct is to nail the strips flush with factory strips, but it is always difficult to create a good-looking joint between the strips. A better choice is to install the additional strips with a reveal, or a step between the two surfaces. Any discrepancy between the two surfaces is much more difficult to see with the reveal than it is when you try to install the two surfaces flush.
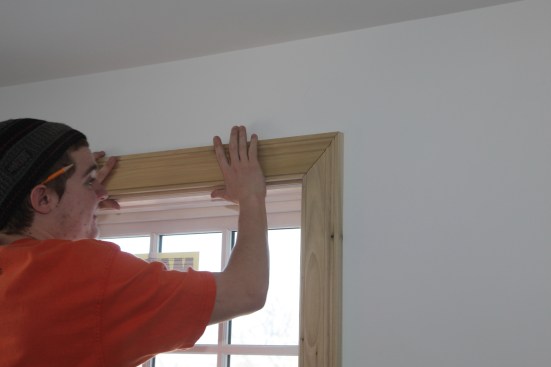
Because the crew elected to install the stool first, the extension jambs for this project began at the stool. The extension jamb for the head of the opening fit between the two side strips.
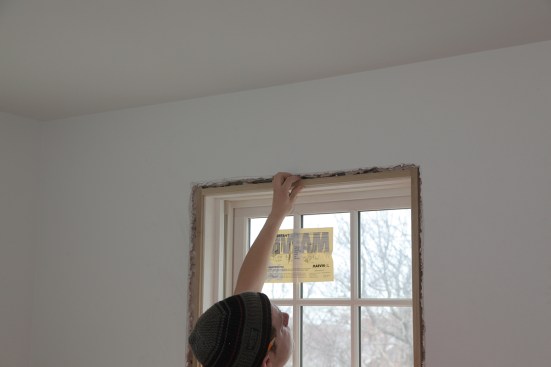
We should mention that drywall and plaster can be notoriously uneven around window openings. Because of the extra framing for a window opening and the fact that overzealous plasterers often allow material to build up on the surface where the wall board ends around a window, extension strips might not always be adequate to bridge the entire distance to the wall plane. The quickest solution is using a hammer to break out the areas where the drywall is proud. Areas where the wall board is removed are then covered by the casing when it is nailed in place.
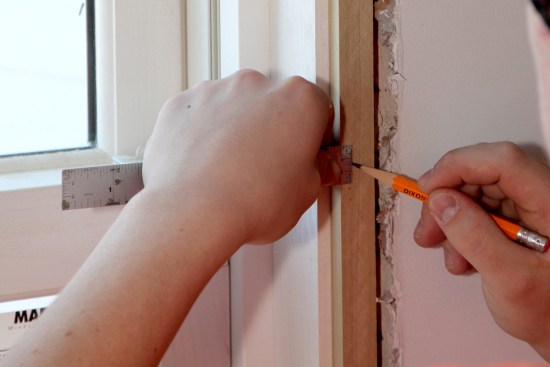
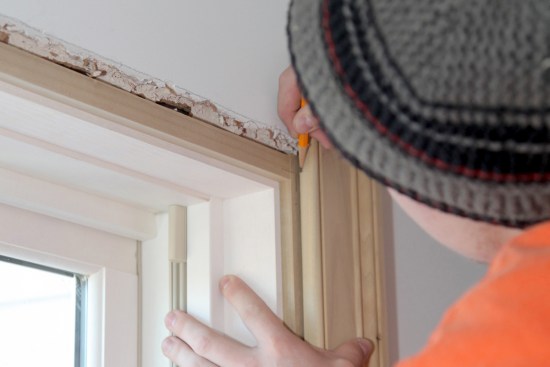
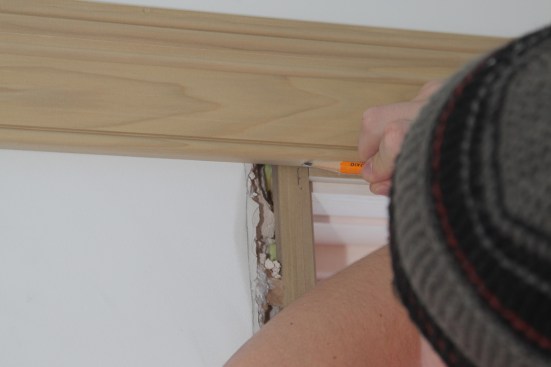
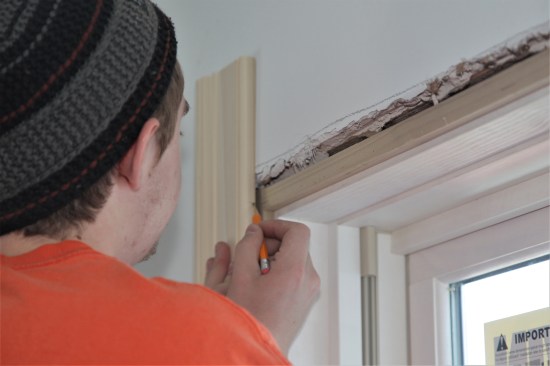
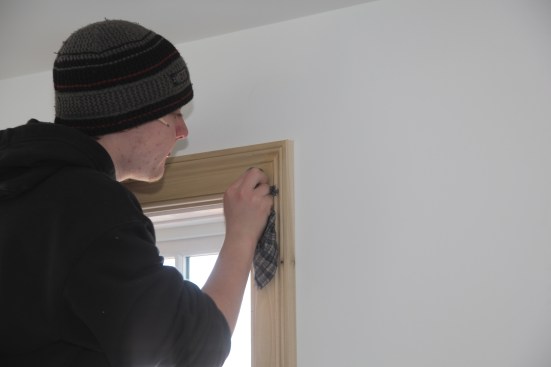
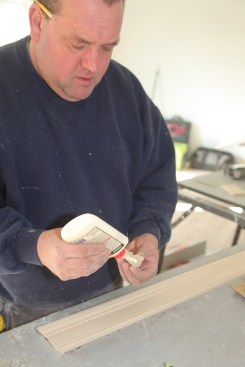
The carpenter uses a 6-inch steel ruler to mark the reveal for the casing on the extension strip. Note the reveal between the jamb and the extension strip installed earlier.

At the corner, the carpenter marks the reveal on both the head and the side jambs.
Install the Casing
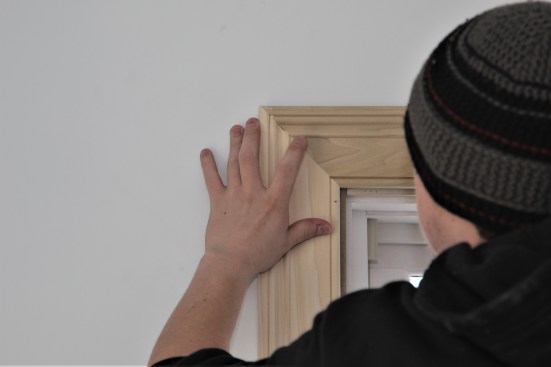
The casing attaches to the extension jamb and to the wall, so again, instead of trying to make long, perfectly flush joints, install the casing with a reveal. To mark the reveal, use a sliding bevel square or a 6-inch steel ruler held at 1/4 inch. Mark the reveal at both sides of the top corners and make additional marks along the sides.
In addition to creating a better-looking joint, marking the reveal serves an even more important purpose. The reveal marks let you mark the lengths of all the pieces without having to take a measurement, which makes the entire trimming process go much more quickly.


After cutting the head casing to length, the carpenter dryfits t…
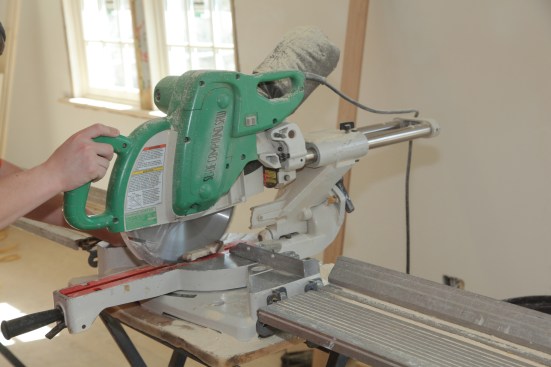
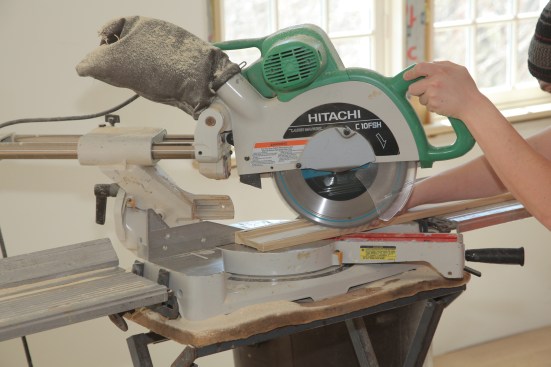
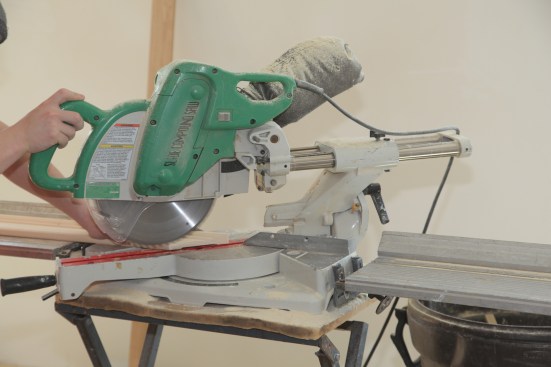
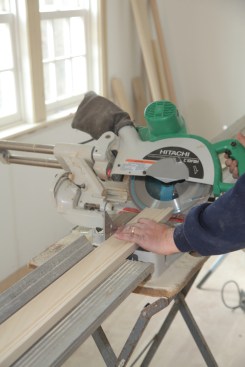
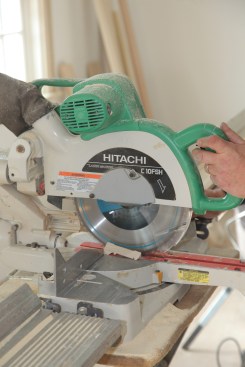
Boards from suppliers are notoriously out of square, so make a fresh square cut on the end of one of the rough-cut side lengths. Then set the square end in place on the stool, and copy the reveal mark onto the casing. This mark is the short point of the jamb-casing miter. Make a 45-degree miter cut on the miter saw at that mark.
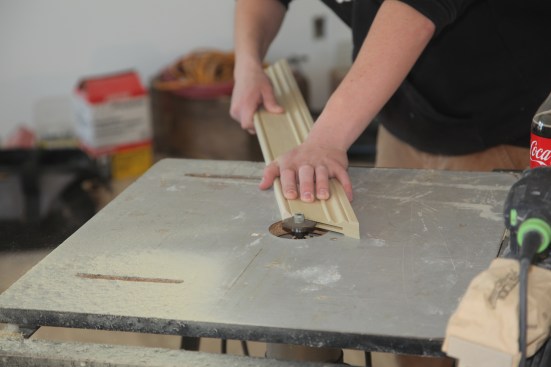
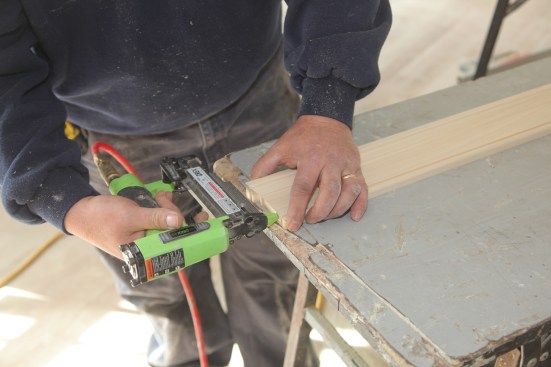
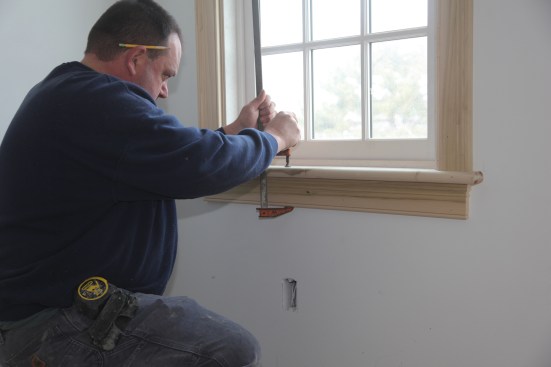
To align the pieces and to strengthen the miter joint, the crew uses biscuit joinery. They cut slots in the edges of both faces of the miter joint using a biscuit joiner or a slot cutter mounted on a router table. When they are ready to assemble the pieces, a wooden “biscuit” slips into the slots on both pieces to join them together. After making a miter cut on the end of each length of casing, cut a slot for the biscuit into the face of the miter cut.
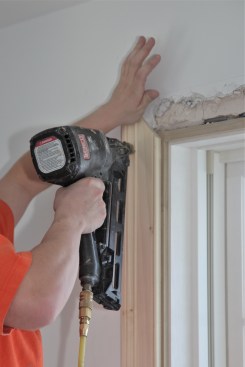
Set the jamb casing in place to make sure the length is correct. Then tack the casing in place with finish nails driven through places in the casing profile that will be easy to fill. After cutting and slotting one end of the head casing, set it in place with a dry biscuit to align the joint. When satisfied with the joint, mark the length at the reveal mark on the opposite end. At this point, you can set the head piece aside and turn to the jamb casing on the other side. (You can go ahead and cut the opposite end of the head casing to length, but it’s OK to leave that cut until later in the process).
The second jamb casing is prepared exactly the same way as the opposite side: Square the end, mark the length, cut the miter, and slot the end. As with the first side, tack the second jamb casing in place near the miter. If you haven’t already cut the head casing to length, do so at this point. Then dry fit the head casing, checking the joints at both ends to make sure that no adjustments need to be made.
To prepare a biscuit joint for gluing, squirt carpenter’s glue into the slots of the head casing. Then insert a biscuit into each slot, wiping any excess glue onto the biscuit. Squirt glue into the slot on the mating piece and make sure the entire mating face has a thin film of glue. Set the head casing in place, letting the biscuits slide into the slots on the jamb casings. Wipe any excess glue off the face of the casing before nailing it into place. When all three sides are nailed off, wipe down the joint with a damp cloth to remove any residual glue that might affect the painted surface, and then give the joint a light sanding.
The Apron
The apron is the piece of trim that covers the space below the stool. Its length should be the distance between the outside edges of the casing above the stool. With a simple-profile casing that will be painted, it’s possible to just square the ends of the apron or to cut the profile into the end with a jigsaw or coping saw. For complex profiles and for what most craftsmen would consider a more-professional-looking joint, finish the ends of the apron board with returns—small pieces of the stock that bevel into ends of a board to continue the profile at a right angle back to the wall.
The apron trim that goes under the stool has end returns where t…
Preparing the apron starts with cutting the returns. Make bevel cuts on both ends of the rough-cut length. Then flip the casing over with the profile against the saw table and the back of the stock parallel with the surface of the table. Small spacer blocks can be used to keep the casing in position. With the miter saw blade at a 90-degree bevel angle, cut from the back using the line where the bevel meets the back as your cut line. When you cut through, the return piece should fall safely away.
When you’ve cut the returns for both ends, measure and cut the apron to length with a bevel cut. To attach the returns, place the apron on a flat work surface with the profile facing up. Apply glue to both surfaces and slide the return against the end of the apron. Tack the return in place with a headless pinner. When the glue has set on the returns, sand the joint smooth, maintaining the sharp line where the two pieces meet. Next, run the apron through a table saw with the blade set at a 5-degree angle to create a slight back bevel along the top edge. The back bevel lets the apron fit more tightly against the underside of the stool.
A site-built jig made from a scrap of 1-by takes the guesswork out of lining up the apron with the casing. One edge of the 1-by board has a notch cut out that’s large enough to go comfortably around the overhang of the stool. To line up the apron for installation, press the jig against the jamb casing, and then slide the apron over until the longest part of the profile meets the edge of the jig below the stool. The apron is now in line with casing and ready to nail in place.
If either the stool or apron are not perfectly straight, you may have to draw the two together with a clamp. To close small gaps, carefully placed nails through the apron or stool are probably enough to hold the two pieces together. For larger gaps, apply a bead of construction adhesive to the top of the apron and leave it clamped to the stool overnight or until the adhesive sets. While the two pieces are clamped together, nail the apron through the drywall and into the wall framing below the window.
Photos by Roe Osborn.