As carpenters, we are almost always building something that is floored, walled, or roofed with plywood, OSB, or some other form of sheet stock. For the most part, it comes in big stacks of 4×8 sheets, and we spend a lot of time cutting it into the sizes and shapes we need. Over decades of building houses, I’ve learned quite a few methods that make the tasks of measuring and cutting sheet goods go smoothly and efficiently.
There are specialized tools, such as panel saws and track saws, for cutting sheet goods, and the precision and accuracy that these tools provide are required in some applications. But for the purposes of this article, I’ll focus on the routine cutting we do with circular saws, although I do keep an old table saw on framing jobs for some rips and for repetitive cuts.
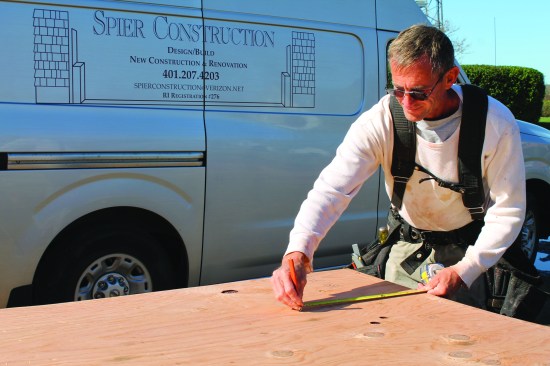
The fastest way to mark sheet goods for cutting is by using a measuring tape with a pencil on the hook end. Move both hands at the same speed for a straight line.
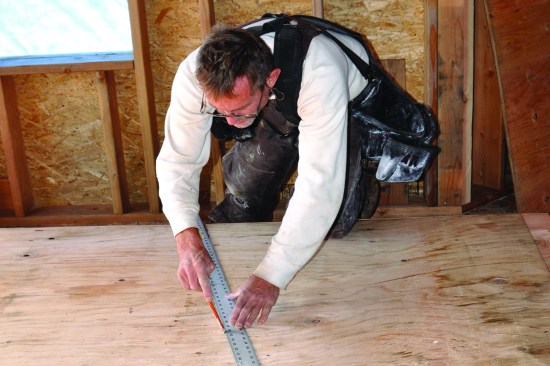
A T-square makes a good straightedge, but with bumpy edges on the sheets, don’t trust it to be square.
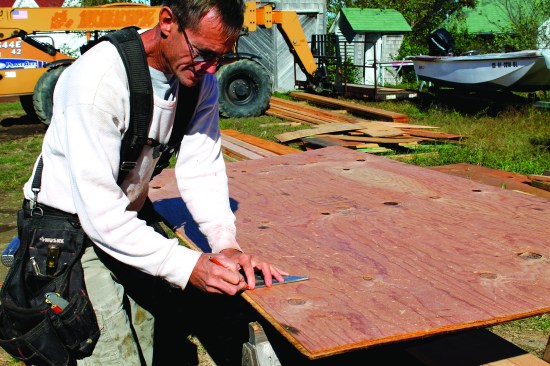
A factory edge from a rip makes a good straightedge for an angled cut.
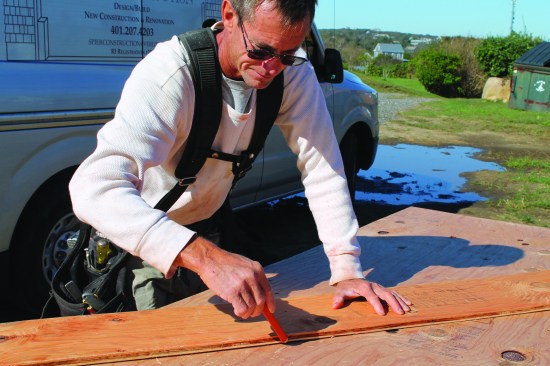
To mark a narrow rip, slide a layout square along the edge while holding a pencil at the measurement.
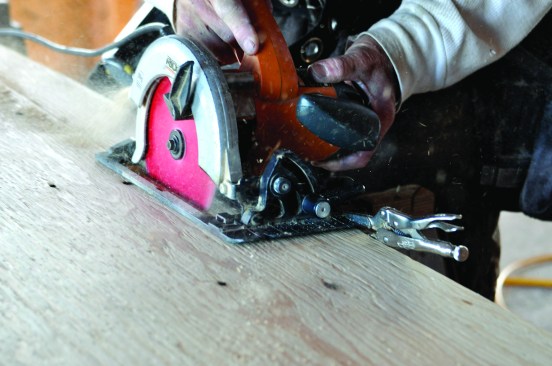
To make a narrow rip without marking a line, clamp locking pliers to the saw table to act as a rip guide.
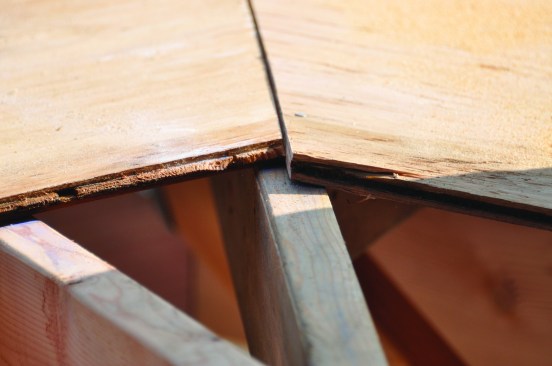
Tongue-and-groove edges can make it difficult to make efficient use of angled cutoffs, as when you’re working on roofs. Alternating tongue up and tongue down lets you use the same angled cut on adjacent roof planes.
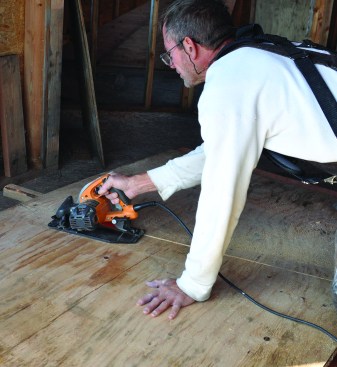
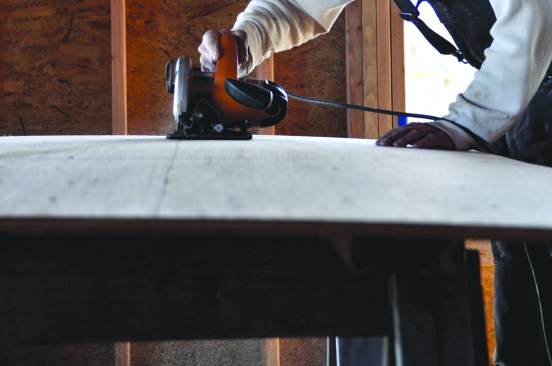
After marking a cut line, slip a short length of 2-by under the sheet a couple of inches from the line. Then you can make your cut without damaging the sheets below.
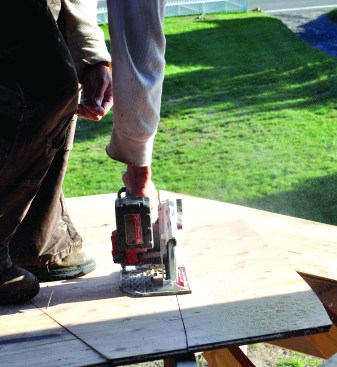
Often, a scrap can be used to finish a course of sheathing, such as the angled cut at a hip rafter. Instead of measuring and marking the piece you need, just tack the scrap to the framing, snap a line, and cut it in place.
The best cutting station for sheet goods consists of two sturdy sawhorses made of 2-bys with a pair of sacrificial studs between them.
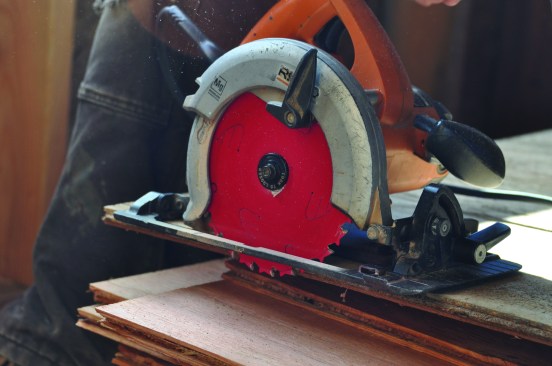
The blade depth should always be set no more than 1/4 inch past the depth of the material that you are cutting.
Photos 1–4 by Liz Bazazi; Photos 5–10 by Kate Ryan