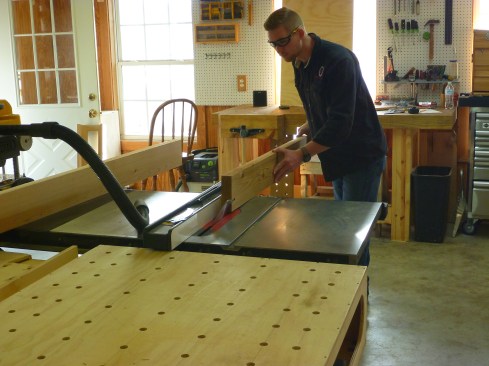
The 2×6 cedar stock for the horizontal top and bottom frames of …
The 2×6 cedar stock for the horizontal top and bottom frames of the louvered section receives a 20° bevel, which helps prevent water from collecting on the horizontal surfaces.
Mike Baker
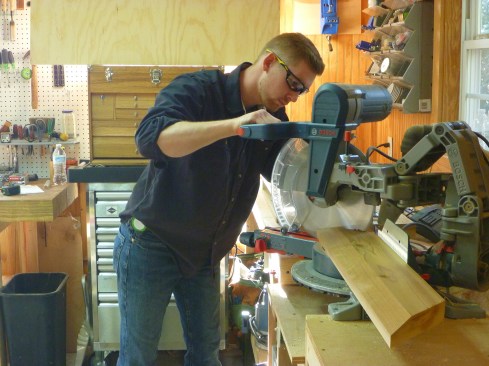
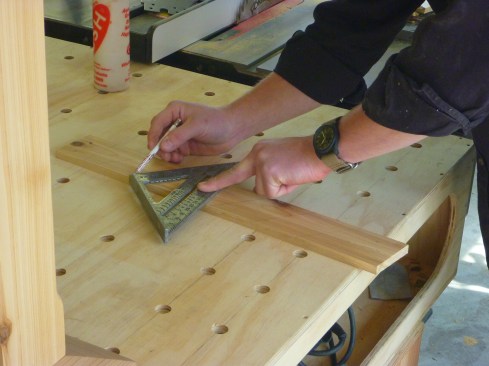
Author miters the ends of the pieces for the top and bottom fram…
Author miters the ends of the pieces for the top and bottom frames.
Mike Baker
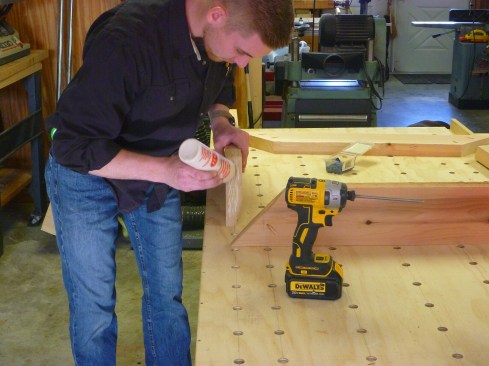
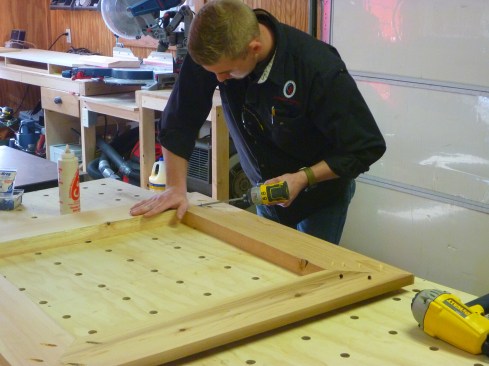
After drilling for pocket screws, the author applies exterior gl…
After drilling for pocket screws, the author applies exterior glue to all of the frame joints.
Mike Baker
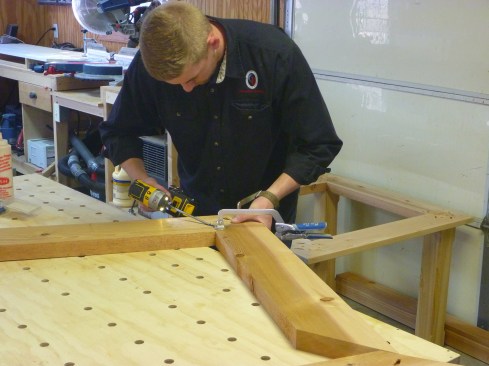
Author assembles the frames on a flat surface, driving pocket sc…
Author assembles the frames on a flat surface, driving pocket screws to secure the corner joints.
Mike Baker
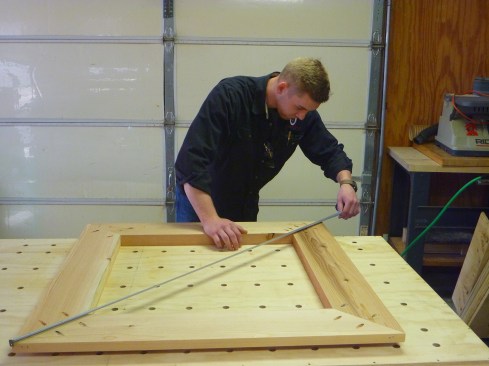
Diagonal measurements confirm that the frames are perfectly squa…
Diagonal measurements confirm that the frames are perfectly square.
Mike Baker
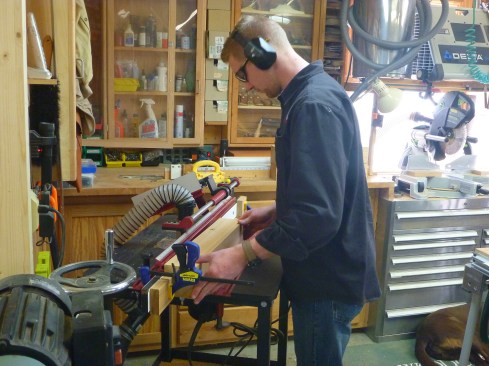
After cutting four posts for the corners of the louovered sectio…
After cutting four posts for the corners of the louovered section of the cuopla, the author chamfers the edges of posts on a router table. Stops clamped to the fence govern the amount of each edge that receives a chamfer.
Mike Baker
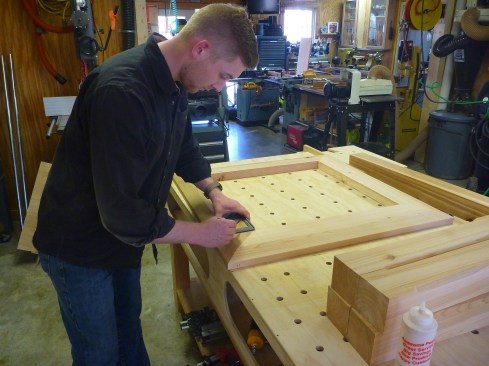
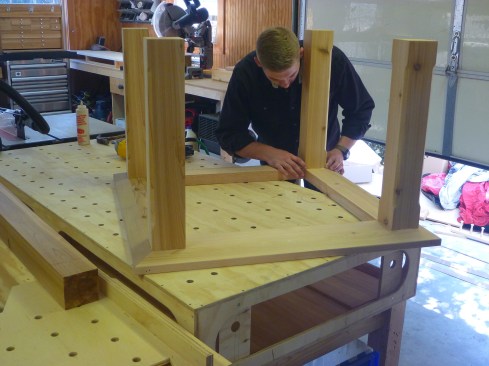
Layout lines at the corners of the frame guide the placement of …
Layout lines at the corners of the frame guide the placement of the corner posts.
Mike Baker
Corner posts sit on layout lines on the frame.
Mike Baker
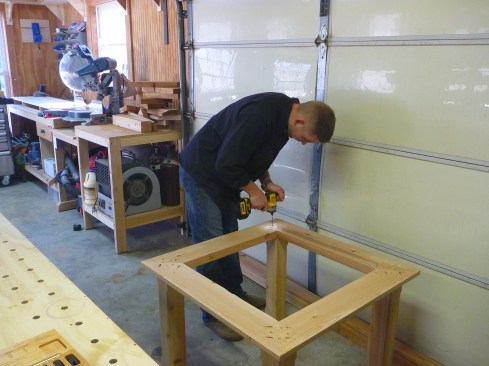
After flipping the assembly over, long screws attach the frame t…
After flipping the assembly over, long screws attach the frame to the posts.
Mike Baker
Frame for the top of the louvered section goes together like the…
Frame for the top of the louvered section goes together like the bottom frame with glue and pocket screws.
Mike Baker
Author preps the ends of the corner posts with exterior glue.
Mike Baker
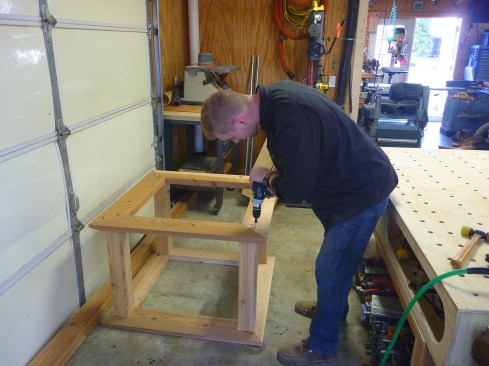
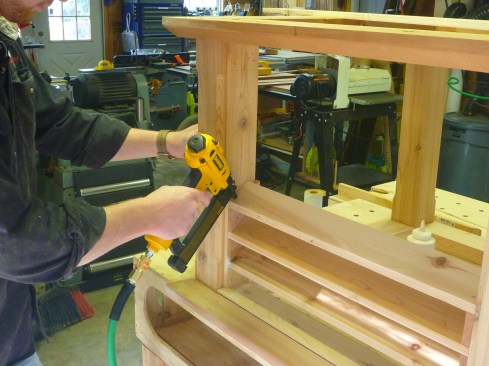
The top frame for the louvered section secures to the posts with…
The top frame for the louvered section secures to the posts with long screws.
Mike Baker
A beveled sill sits on top of the bottom frame to help shed wate…
A beveled sill sits on top of the bottom frame to help shed waterfrom the horizontal surfaces.
Mike Baker
Author lays out louver jambs, spacing the louvers evenly from to…
Author lays out louver jambs, spacing the louvers evenly from top to bottom, and marking them at a 35° angle, leaving enough room at the top for an acrhed frieze.
Mike Baker
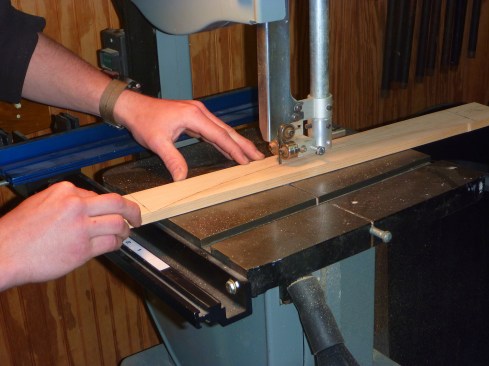
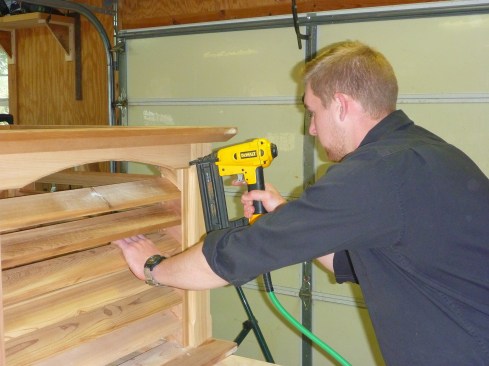
Louver stock is ripped with a 35° angle along one edge. To inst…
Louver stock is ripped with a 35° angle along one edge. To install the louvers, spacer blocks nail to the jambs first, and then the louver stock nails in on top of the blocks.
Mike Baker
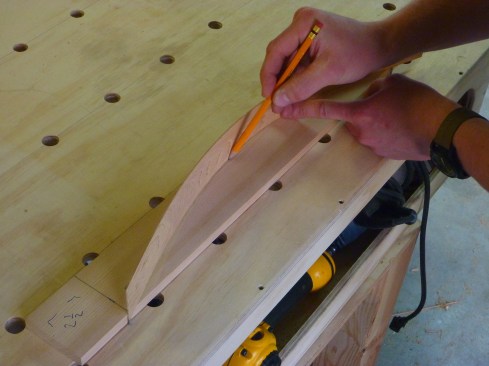
To scribe the arch for the frieze board, author uses a batten ma…
To scribe the arch for the frieze board, author uses a batten made from a thin rip of wood.
Mike Baker
A band saw cuts the arch in each frieze board, and after smoothi…
A band saw cuts the arch in each frieze board, and after smoothing the edge a chamfer is added along the outer face.
Mike Baker
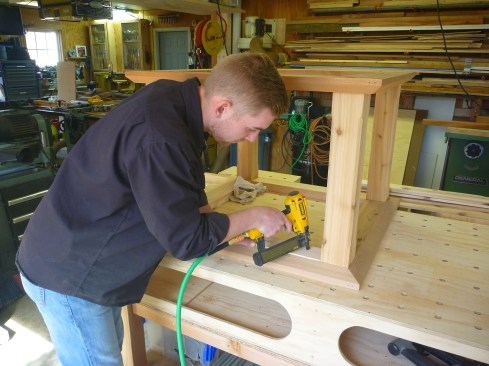
The arched frieze nails in at the top of each louvered side.
1
of 11
Mike Baker
Author laid out and cut a pattern rafter out of 2x cedar stock. …
Author laid out and cut a pattern rafter out of 2x cedar stock. The rafter will slant up at a 45° angle from the corner of the louvered section and meet the other rafters in the center.
Mike Baker
Next the author traces and cuts the rest of the the rafters usin…
Next the author traces and cuts the rest of the the rafters using the pattern rafter.
Mike Baker
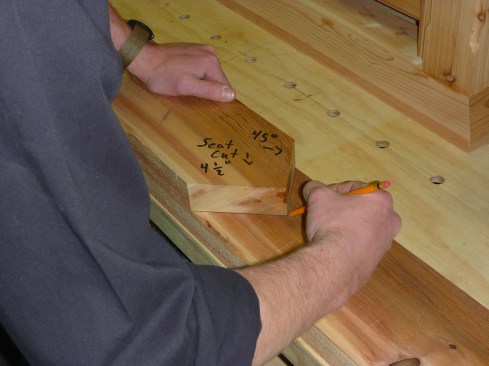
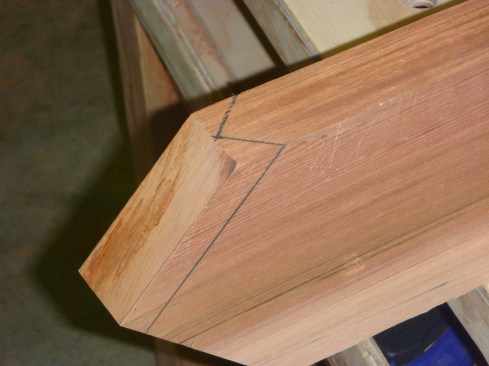
The plumb cuts on the bottom ends of the rafters receives a 45°…
The plumb cuts on the bottom ends of the rafters receives a 45° cut in both directions to provide a nailing surface for the facia.
Mike Baker
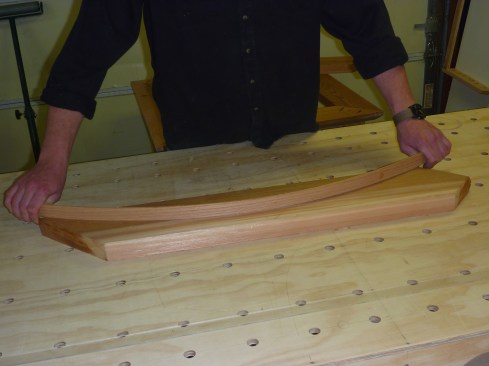
To create the swooped roof, the author uses a thin batten to scr…
To create the swooped roof, the author uses a thin batten to scribe the curve to each of the rafters.
Mike Baker
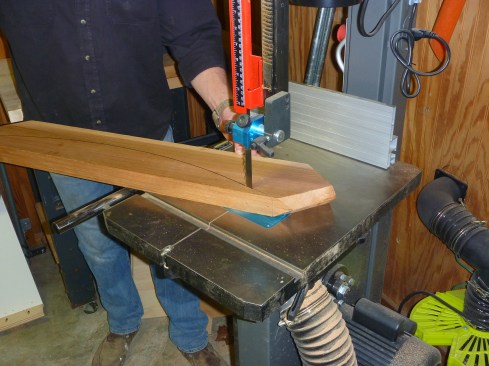
A bandsaw cuts the curve in each of the rafters.
Mike Baker
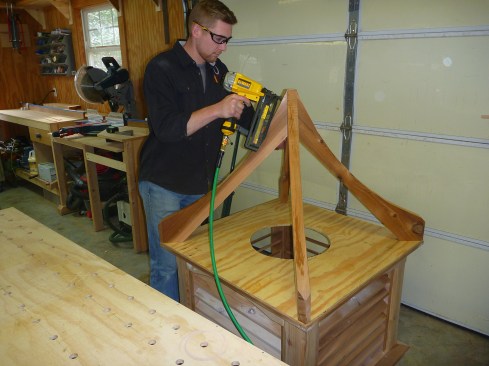
The rafters attach to a plywood platform and meet in the center.
Mike Baker
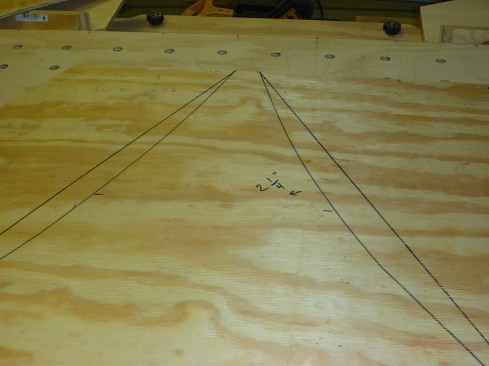
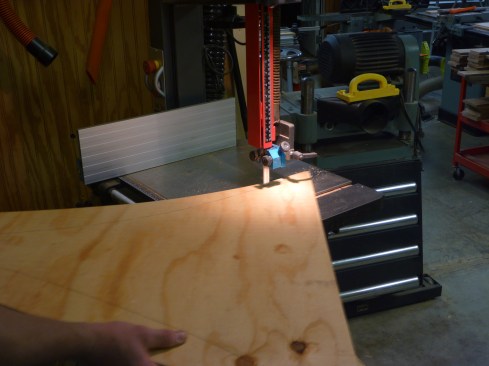
For the curved roof planes, author laid out triangular pieces of…
For the curved roof planes, author laid out triangular pieces of sheathing with curved edges.
Mike Baker
Again a bandsaw makes the curved sheathing cuts.
Mike Baker
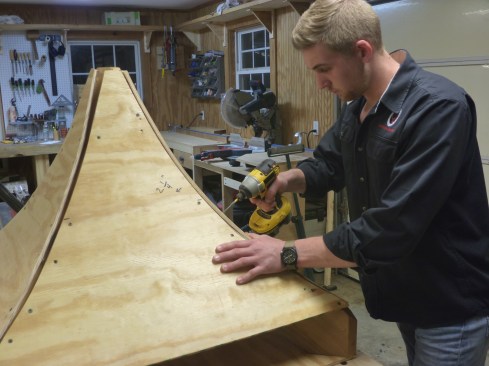
The sheathing screws to the rafters to create the swooped roof p…
The sheathing screws to the rafters to create the swooped roof planes.
Mike Baker
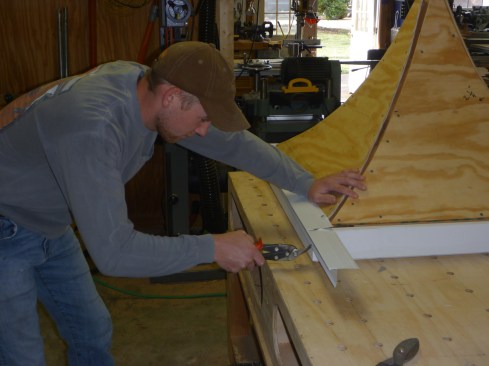
After installing the facia around the perimeter of the cupola ro…
After installing the facia around the perimeter of the cupola roof, author begins the roofing with drip edge along the edge of each side.
Mike Baker
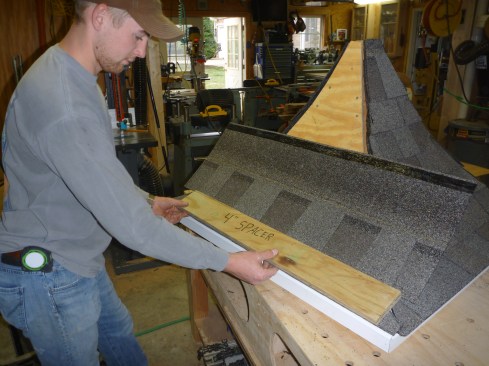
The architectural-style shingles on the cupola match the house b…
The architectural-style shingles on the cupola match the house below. A 4-inch exposure looked better on the small roof, so the author used plywood spacer to set the shingle courses.
1
of 9
Mike Baker
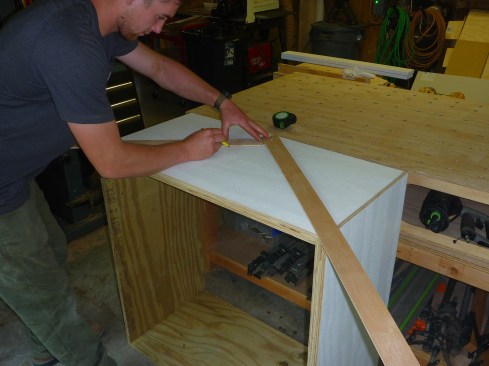
The author built the cupola base out of two layers of 3/4-inch …
The author built the cupola base out of two layers of 3/4-inch exterior plywood. Two strips of thin plywood act as a giant bevel square to transfer the angle of the roof to the base
Mike Baker
To give the base a paneled look, 1x stock attaches to the sides …
To give the base a paneled look, 1x stock attaches to the sides .
Mike Baker
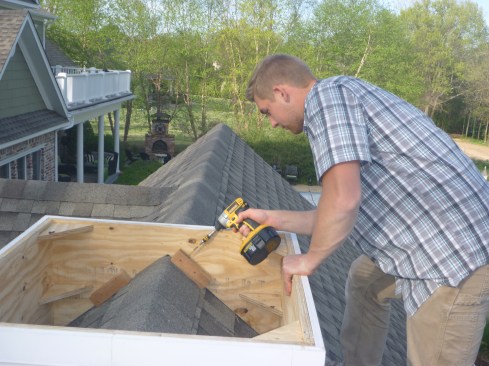
After setting the base in place on the roof, author beds attachm…
After setting the base in place on the roof, author beds attachment blocks in silicone and screws them into the roof.
Mike Baker
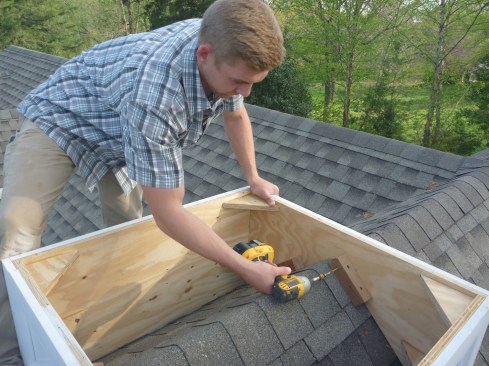
Screws driven from the inside attach the base to the blocks.
Mike Baker
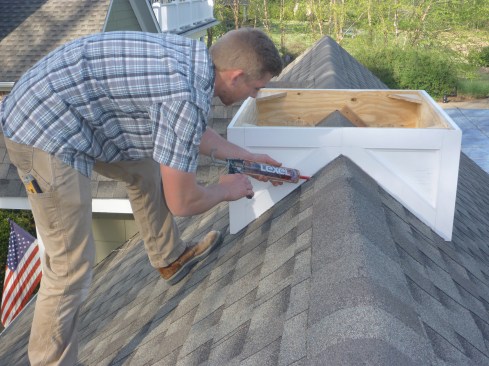
A bead of silicone seals the slanted edges of the base to the ro…
A bead of silicone seals the slanted edges of the base to the roof, but the bottom horizontal edges were left clear to allow moisture to drain away.
Mike Baker
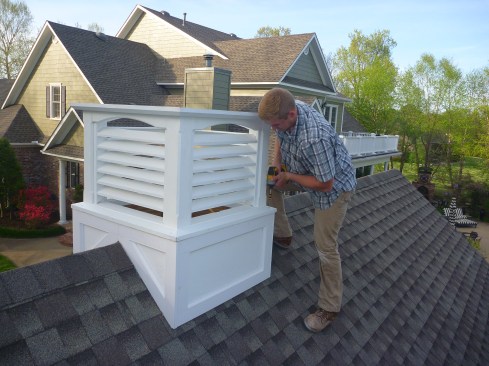
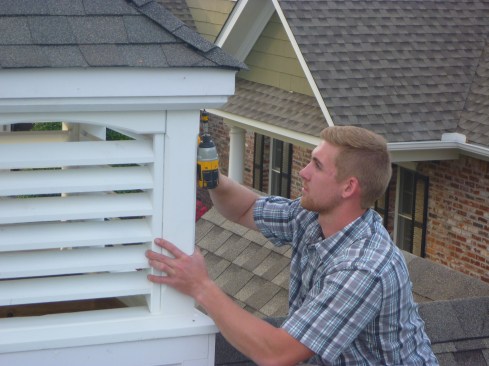
After receiving three coats of exterior paint, the louvered sect…
After receiving three coats of exterior paint, the louvered section screws to the base at each corner.
Mike Baker
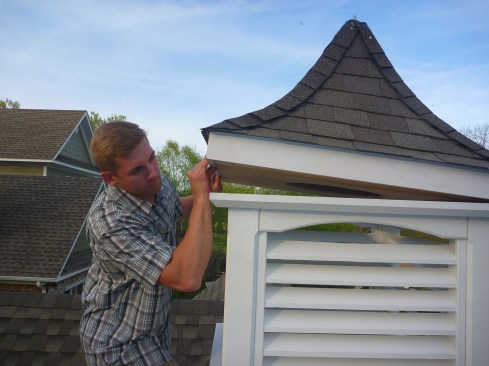
The swooped roof section tops off the assembly. Note, before the…
The swooped roof section tops off the assembly. Note, before the roof was permanently attached, insect screening was stapled to the inside of the louvered section.
Mike Baker
Long screws extend from the frame up into the rafters to secure …
Long screws extend from the frame up into the rafters to secure the roof in place.
Mike Baker
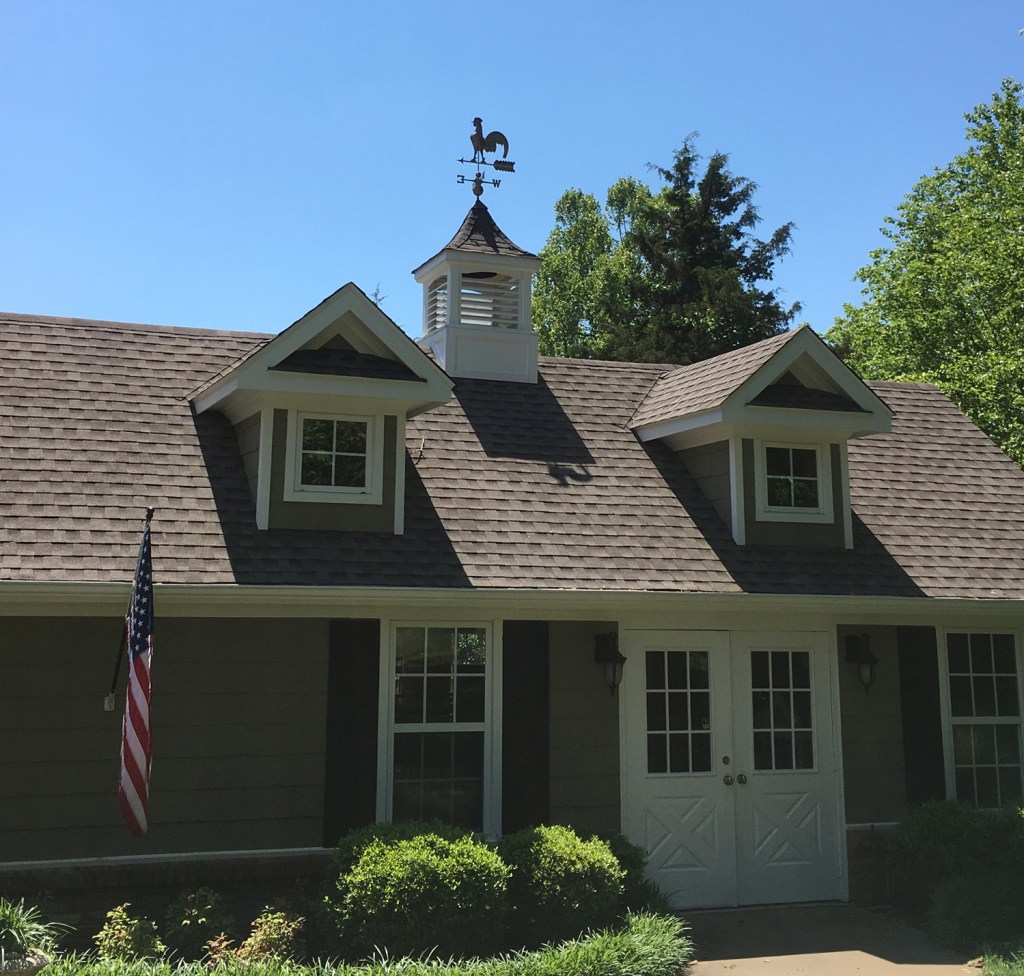
A weathervane tops off the cupola, with its base weather-sealing…
A weathervane tops off the cupola, with its base weather-sealing the peak of the cupola roof.
In the northwest corner of Arkansas where I work, most cupolas you see are rotting away on top of dilapidated old hay barns, where the only creatures that seem to enjoy them are the resident cows. So I was a bit surprised when a client approached me about building a cupola on the roof of her home. This cupola would not be functional for ventilating the building below, like those on the barns, although it could have been had I used a different installation strategy. Instead, it would be purely decorative—a way to dress up an otherwise straight and boring roof.
Before I began building the cupola, I did some research to determine a size that would be proportionate to the roof. On the internet, I found a formula that would work well for this project: Each side should be about 1 1/4 inches wide for every linear foot of roof ridge. The ridge measured 29 feet long, so I decided on a cupola that was 36 inches square.
The construction was actually quite simple. I made the cupola in three parts: a base that would saddle over the ridge, a main section with louvered sides, and a hip roof with surfaces that curved up to a point. I used cedar and exterior-grade plywood for all the components and gave the whole cupola three coats of white exterior paint.