
The author installs galvanized expanded lath on the deck, lappin…
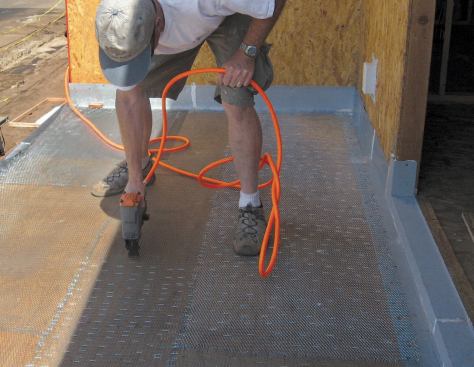
Applying the Lath and Base Coat
To provide a mechanical bond between the polymer base coat and the deck, we then cover the deck with 2.5-pound galvanized expanded metal lath, which is fastened to the plywood with one-inch crown staples. Adjoining sheets of lath should overlap one another by 1 to 2 inches, with at least a 2-inch overlap between the lath and the horizontal legs of any flashing. We use staples a minimum of 5/8 inch in length, spacing them about an inch apart at lath edges and making sure to use at least 24 staples per square foot in the field. It’s important to avoid spanning sheathing joints with staples, because if the plywood moves, the fastener will flex and heave or crack the coating.
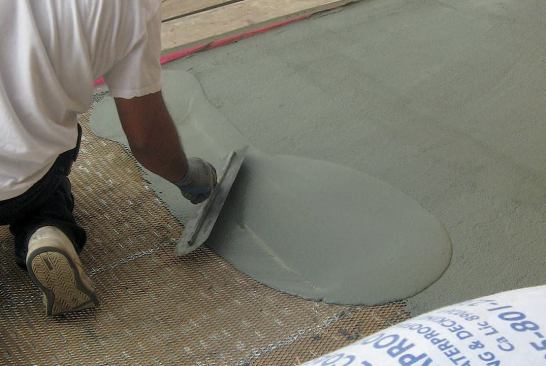
Bring on the mud. At this point, we’re ready for the first layer of base coat. Poly Base — as the Desert Brand base-coat material is called — is a blend of polymer, cement, and sand. We mix the Poly Base with water in a 5-gallon plastic bucket. Although the manufacturer recommends using one gallon of water for each 50-pound bag of the product, we may increase that to as much as 1 1/4 gallons to retard setting in hot weather. Once we’ve mixed the mud, we pour it onto the deck and screed and trowel it into the lath. Each bag covers about 50 square feet of deck at a thickness of 1/8 inch.
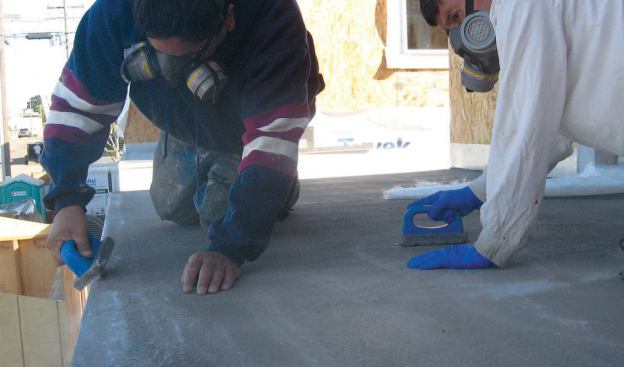
The coating must be thick enough to completely cover the lath. If there are any low spots or lath showing through, we apply a second layer of Poly Base to those areas. When the base coat is dry, we use a mason’s stone to grind off any rough spots and then sweep or blow the surface clean.
Waterproof Membrane and Top Coat
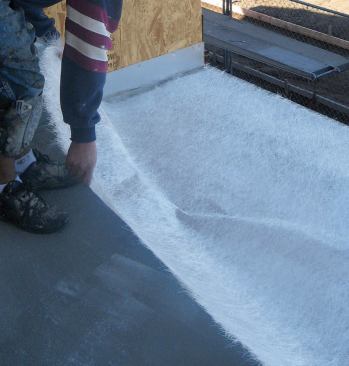
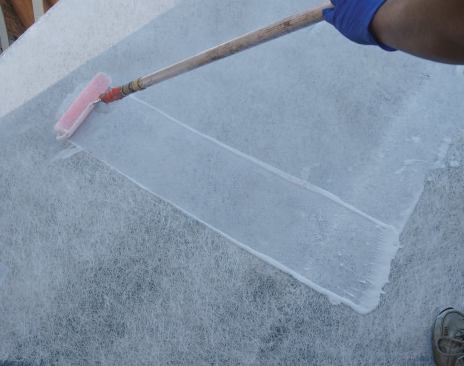
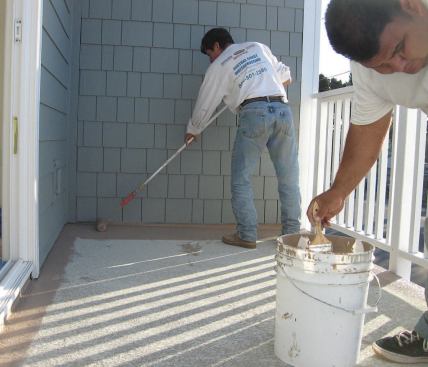
The middle layer of the three-coat system provides the actual waterproofing. It consists of a layer of 3/4-ounce chopped mat fiberglass — which is a loose nonwoven fabric — saturated with acrylic resin. The material comes in 4-foot-wide rolls and can be cut with scissors or a utility knife. As with fiberglass batts, it’s a good idea to wear long sleeves, gloves, and a dust mask. We lay the fiberglass on the deck and use a paintbrush and standard 3/8-inch paint roller to coat it with Bonder 480 resin. We ordinarily start at the drip edge and work back toward the door.
Spreading the resin. Whether the mat is rolled out from side to side or front to back doesn’t matter, but it’s important to fray the edges where they overlap so there are no hard seams to telegraph through the finish. The mat need not turn up at the flashing — it laps over its horizontal leg and terminates within a half-inch of the bend — but we carefully brush the resin an inch or more onto the vertical leg. The resin soaks through the fiberglass, bonds it to the substrate, and cures to form a waterproof membrane that also functions as an anti-crack membrane.
This part of the project goes quickly. It generally takes us less than half an hour to place the mat and spread resin on a deck the size of the one shown here.
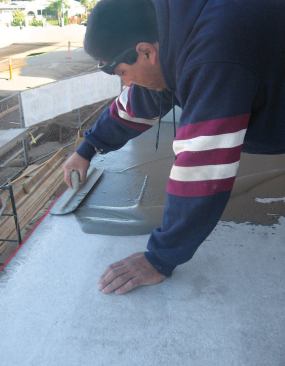
Adding a second base layer. Once the resin has set up overnight, we trowel on a second layer of Poly Base, this one about 1/16 inch thick. The additional layer of base material protects the glass and resin layer from sunlight and mechanical damage. This type of polymer cement is actually stronger when applied thin, so it’s a very tough wear layer. In fact, we’ll often leave the deck in this condition until the trim carpenters, plasterers, and painters are done with the exterior, eliminating the need to protect a finished surface from construction damage. If the outer base coat and membrane are damaged somehow, the affected area can be cut out and patched before the final finish goes on.
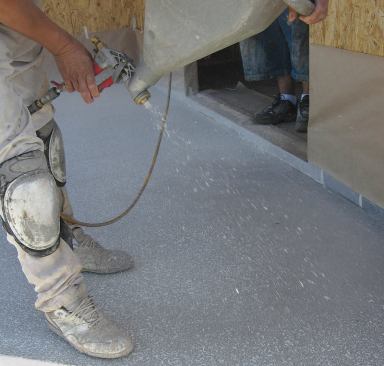
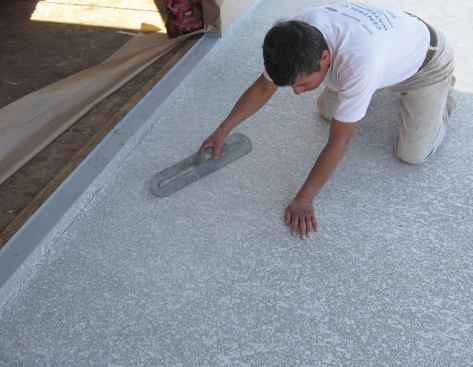
The protective layer can be covered with tile, stamped concrete, or some kind of textured finish. On this project we used Desert Brand’s Texture and Liquid Polymer to create a low knockdown finish. The texturing material is mixed with polymer to the consistency of thick pancake batter and then splattered onto the surface with a pneumatic hopper gun. When the sprayed material begins to set, the applicator runs a trowel across its surface, thereby creating a knockdown texture.
After the texture has cured — the manufacturer says it takes 24 to 48 hours — we sweep and blow off the surface and then apply two coats of Desert Brand Concrete/Masonry Floor Paint and Sealer.
Bill Leys is the owner of Central Coast Waterproofing in Arroyo Grande, Calif. Special thanks to Habitat for Humanity for San Luis Obispo County for help with photography.
Sources of Supply
AVM System 100
AVM Industries
818/888-0050
avmindustries.com
Desert Crete
Hill Brothers Chemical Co.
800/994-8801
desertbrand.com
Enduro-Kote
Enduro Products
714/526-5898
Endurokote.com
Excellent Coat F/S
Excellent Coatings Intl.
800/473-3817
excellentcoatings.com
Shur Deck
Mer-Ko Parex
714/778-2266
parexmer-ko.com
Miraflex II Decking System
Miracote
310/886-9100
miracote.com
Life Deck AL Series
Life Paint Co.
562/944-6391
lifepaint.com
ICC-ES ESR-2097
Pli-Dek Systems
800/364-0287
plidek.com
Westcoat ALX
Westcoat Specialty Coatings
800/250-4519
westcoat.com