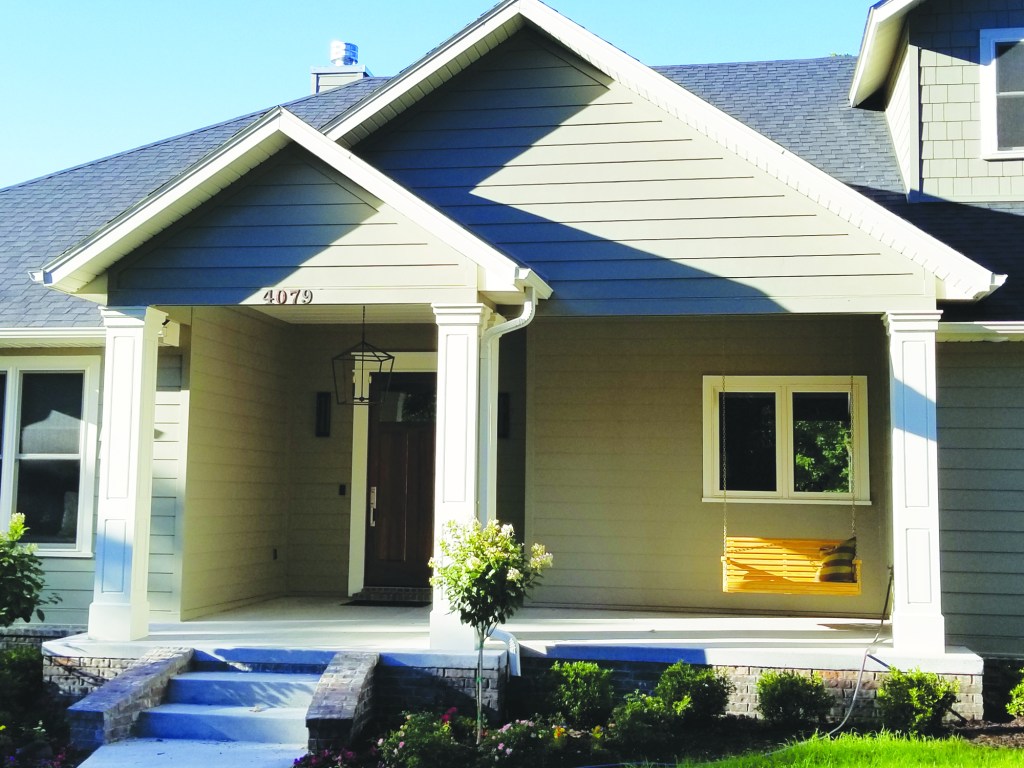
Recently, I built a home that featured a 300-square-foot front porch with four support columns. The plans didn’t give a lot of details for the columns, and my client definitely did not want turned posts or fluted square ones—the two standard options where I live.
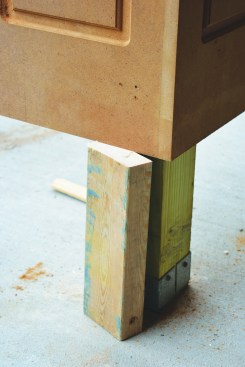
Decorative covers. Treated 4x4s carried the roof load for the porch, so I just needed something decorative and not structural. For the size and height of the porch, I thought that 12-inch columns would look best.
In the past I’d made porch columns from Extira, an exterior MDF product, creating a paneled look with a frame layer over the MDF. The finished product looked amazing, but it was a lot of work and the extra layers meant more maintenance down the road. For this job, I wanted a panel look but with less work.
I decided to try an interior trim trick that I’d learned years ago. I used a Whiteside router bit to simulate a raised-panel look. Once I got set up, I knew that routing two panels in each face wouldn’t take long, and skipping the frame layer would save on material and painting.
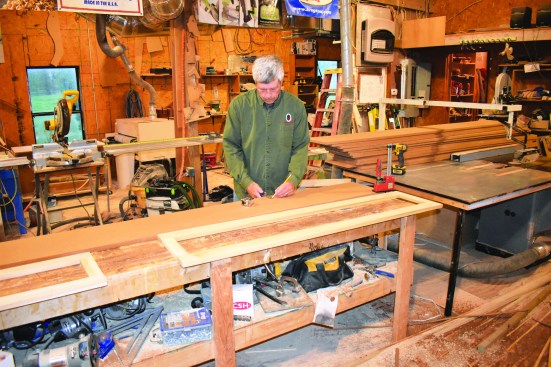
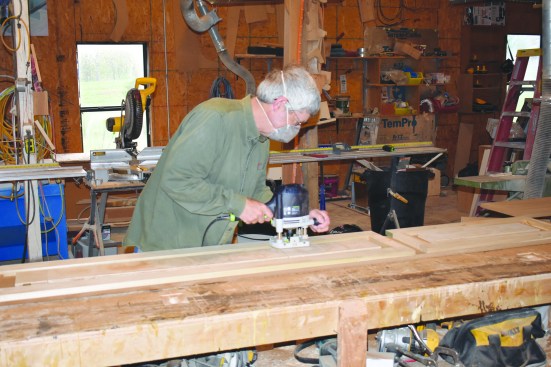

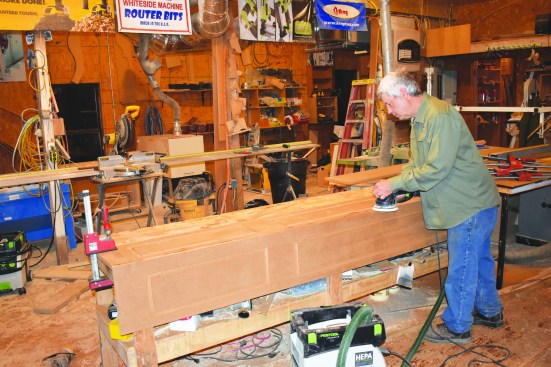
After ripping sheets of exterior MDF to width, the author built …
Layout. Extira comes in several different sizes, but for this job I used the standard 49-inch-by-97-inch sheets. I ripped four sheets to 12 1/4-inch widths, which let each face butt on one edge and lap on the other. I would end up with 13-inch square posts with almost no waste. To get the height right, I would add a base and a two-step capital detail.
After ripping the material to width, I laid out the panels. From the bottom, I measured up 5 inches and laid out a 29-inch-tall panel. Five inches up from that lower panel, I laid out a taller panel to within 4 inches of the top. I wanted the look of a 9-inch-wide panel with 2-inch styles on each side. Because 3/4 inch of my final width came from the lap joint, I would have to rout the panel off center by 3/4 inch and offset the layout to the same side for all four faces of each column.
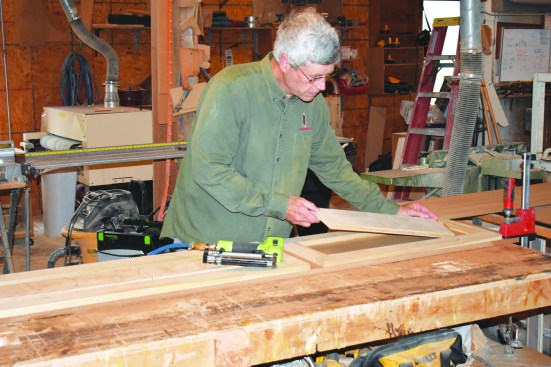
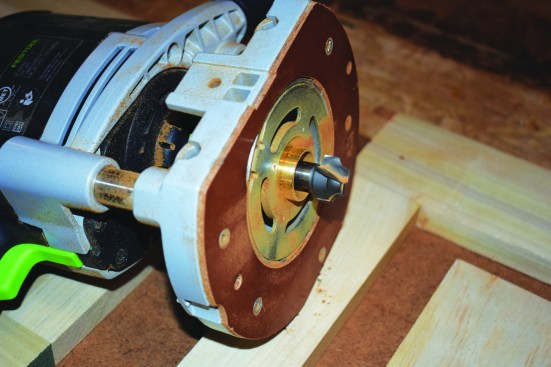
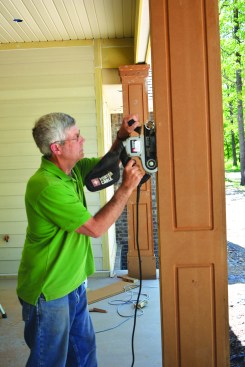
Routing the panels. Similar to the process of routing hinge mortises, I mounted a bushing onto the router base to guide the cut for panels. The router bushing rode against a rectangular wooden template that I pocket-screwed together. To get the correct panel width, I oversized the templates to allow for the distance from the outside of the bushing to the router bit.
Once I had the layout right, I located the templates, using a tape measure and a Kreg multi mark. After tacking the templates to each column face with 18-gauge brads, I took a scrap that was the same thickness as the templates and placed it inside them to keep the router riding flat.
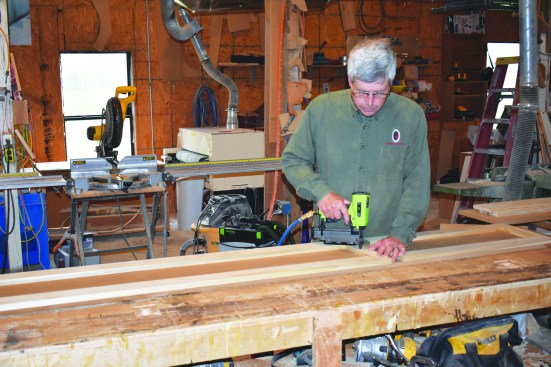
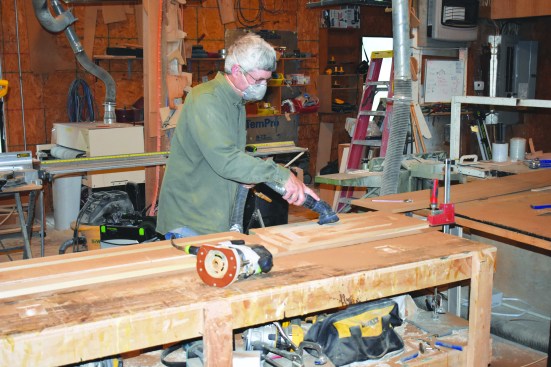
To rout the panels, I started with a plunge cut. Once the bit was at the correct depth, I focused on keeping the bushing in contact with the template, making sure that the router moved in the right direction. If the bushing strays away from the template, the piece is ruined.
Routing MDF creates a lot of dust, so I wore a mask and cleaned up with a shop vacuum after each panel cut. When I finished routing each panel, I pried the template off and removed the brads.
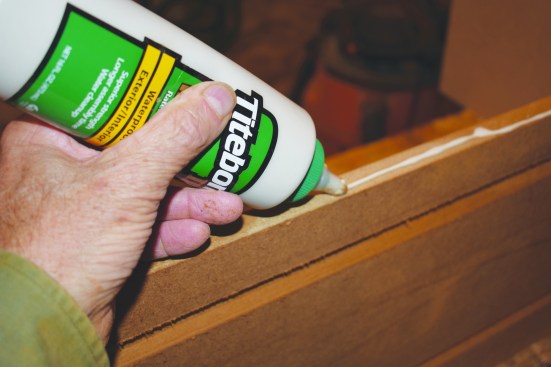
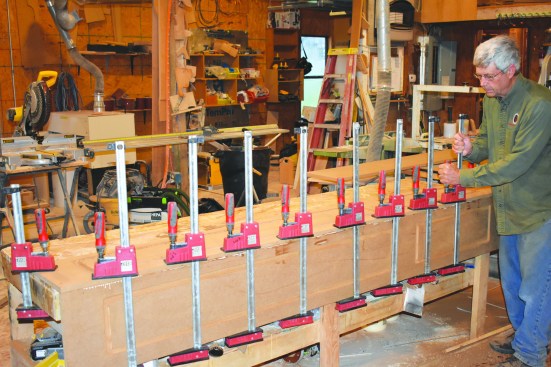
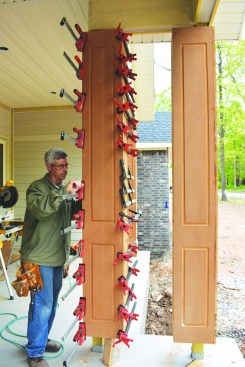
Once I’d routed several column faces, I started gluing them together in pairs using Titebond 3 glue. First, I tacked the joint in place using 18-gauge brads. To ensure tight joints, I then clamped the boards every 6 to 8 inches. After an hour or so, I pulled the clamps and belt-sanded the joint. By alternating the routing and clamping, I was able to rout and mate up all the pairs with no downtime, and I was ready to move everything to the jobsite.
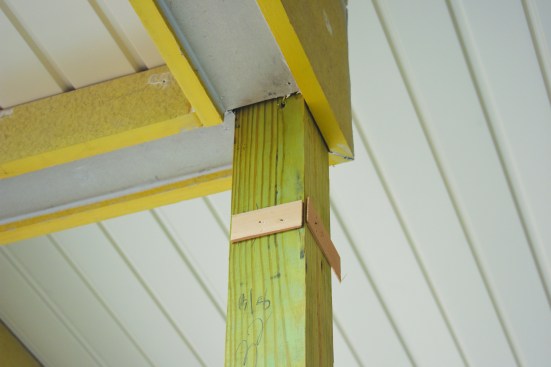
On site, the author began assembling the columns by adding shims…
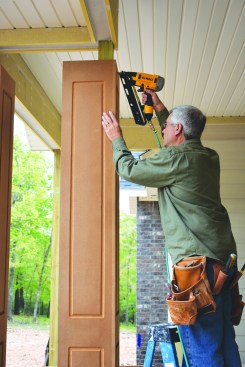
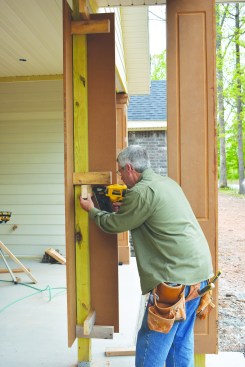
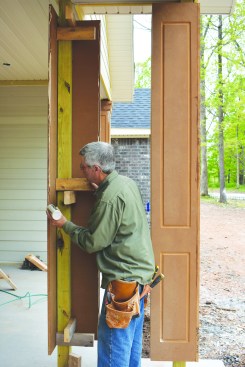
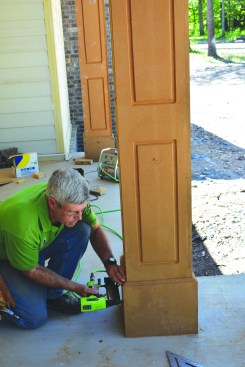
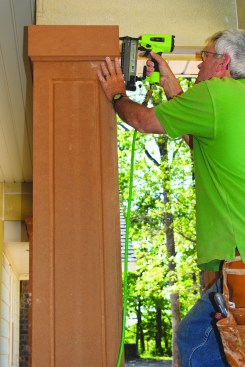
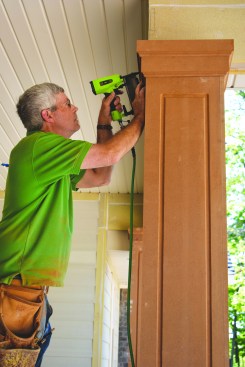
Installing the columns. On site, I had a simple method for installing the columns. First, I created a plumb surface on the posts, using a level to add shims as needed. I then attached the first half of the column with galvanized finish nails, using a short section of 2×4 to support the assembly while I nailed it in place.
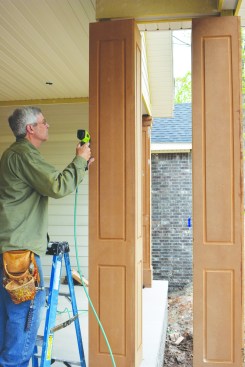
Next, I nailed pairs of 2×4 spacers to the top, bottom, and middle of the 4×4 posts to brace the second half of each column. I ran a bead of glue, then used 18-gauge brads to keep the sides lined up until I could clamp the joint. Clamping takes a little more time, but it’s the best way to get a good joint. When the glue has set, I pulled the clamps and sanded the two new joints.
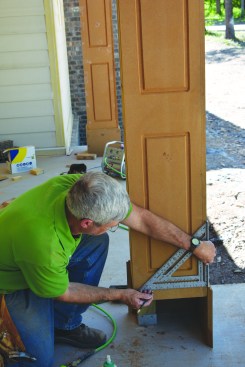
To keep the trim details simple, I used the same Whiteside 1801 router bit to shape all the edges of the bases and capitals. After routing the material, I mitered 12-inch-tall base pieces to fit around the column, squaring off the edge of the columns to keep the base pieces level. After scribing them to the concrete floor, I glued and nailed the bases in place. For the capitals, I installed a 4-inch-wide layer of MDF 1 1/2 inches from the top of each column, then added a 3 1/2-inch strip with the same edge profile above that. A simple square-edge MDF cap seals the top of the hollow column.
Photos by Gary Striegler