


Susan Burnet
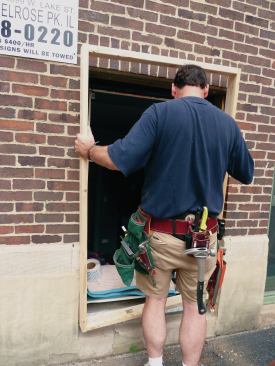
To remove the old window, first separate the trim from the openi…
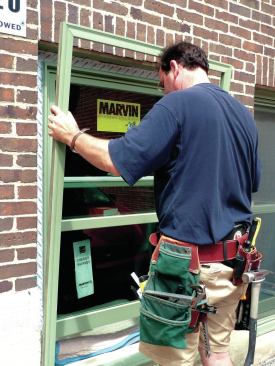
Installing the Replacement Window
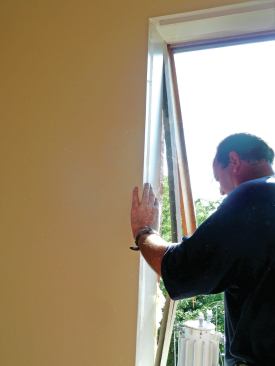
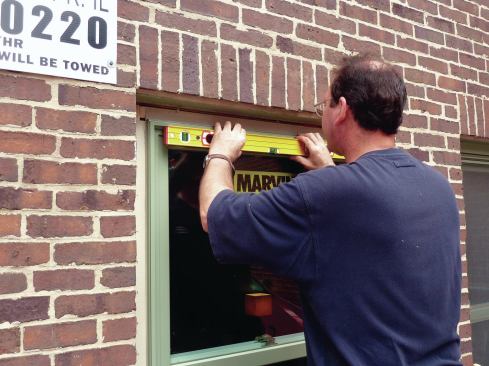
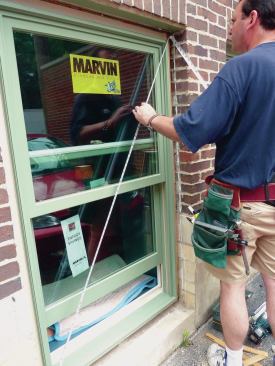
With the buck secure, we turn our attention to installing the window. The process is fairly straightforward. First, we center the unit in the buck, then check level and plumb, shimming if necessary. When we have the window where we want it, we secure the corner of the bottom flange to the buck with a 2-inch hot-dipped galvanized roofing nail. Next, we plumb the side jambs and nail the adjacent top corner. Finally, we double-check all sides for level and plumb, and take diagonal measurements to confirm that the window is square. When the window is set, we drive nails every 6 to 8 inches around the perimeter, taking care not to ding the aluminum cladding. The nailing process is complicated by having to swing your hammer between the side of the opening and the vulnerable window cladding. If you have trouble with hammer accuracy, it might be best to use a hammer with an extended head, such as a Japanese-style “duck” hammer or an electrician’s hammer.
Flashing the Flange
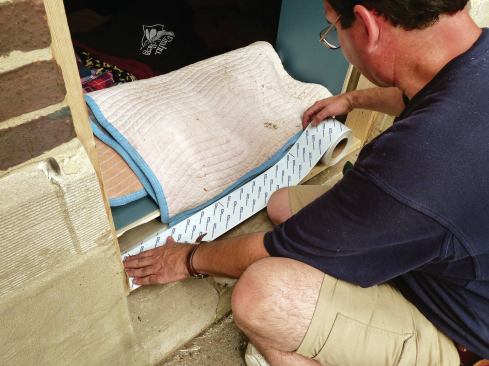
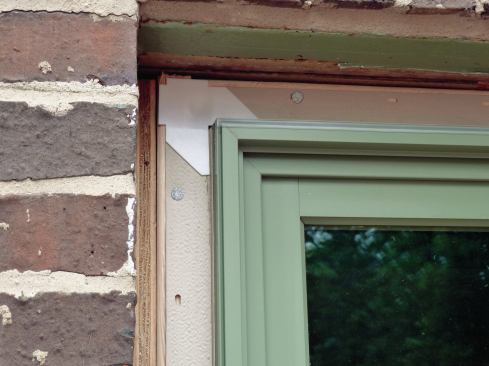
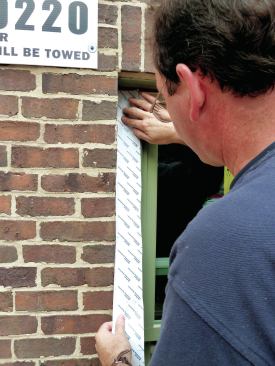
The window manufacturer provides precut pieces of peel-and-stick to bridge between the horizontal and vertical flanges at the corners. We cut additional peel-and-stick flashing tape and apply it over the side and top flanges of the window. We leave the bottom flange without any tape, because any water that may make its way under the window has to be able to drain back out. We install the peel-and-stick flashing tape first on the sides, where it laps slightly onto the window frame. The head flashing goes on last, extending over flashing tape on both sides. Once the flashing tape is installed, the window is weathertight.
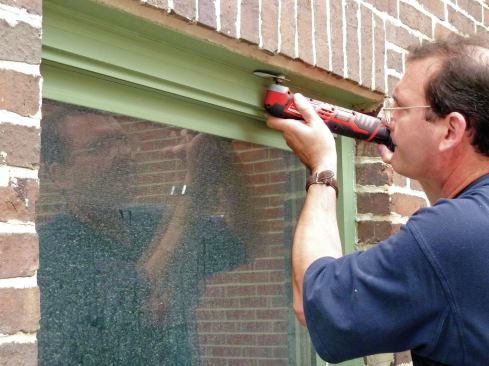
Exterior Trim
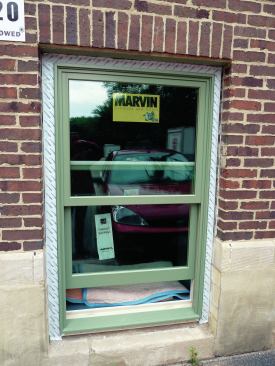
Because masonry openings are rarely true, we usually use PVC or engineered-wood trim, which is easier to work with than the extruded-aluminum panning systems that are available from the manufacturers. Whenever possible, I preassemble the trim so that it can be installed as a unit. We make the decision to preassemble the trim based on how square each individual opening is. While installing a preassembled unit is usually faster than building it in place, we find it more difficult to scribe and fit an assembled frame to an irregular opening. So if the opening looks like it will require scribing, we opt for the one-piece-at-a-time approach.
A quick note about preassembly: We try to take advantage of our shop to fabricate and preassemble as much of the trim as possible ahead of time, both interior and exterior. Working in a controlled environment lets us be more productive, and all of our machinery is set up and ready for whatever operation is required. Plus, the shop gives us more space to spread out, and all of the materials we need are readily accessible. Finally, working in the shop keeps a lot of the mess away from the job site, so clean up is easier and the time spent on site is minimized.
Whether preassembling a trim unit or installing the trim on site, we always start with the sill, which is actually a piece of stock that measures about 1 3/4 inches square, with a slight bevel milled on its top surface. This sill stock mimics the profile of traditional window sills and provides a landing place for the vertical legs of the brick mold, which are angled to match the bevel on the sill. The header trim completes the assembly.
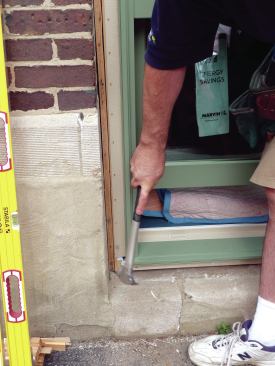
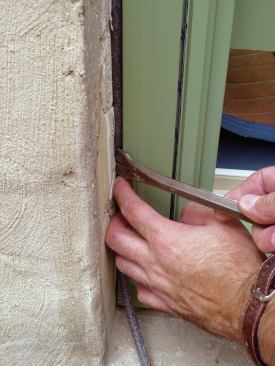
To attach it, we shoot 15-gauge galvanized finish nails through the trim and into the bucks, taking care not to drive nails through the window’s vinyl nailing fin. (Nailing through the flange can cause it to crack in cold weather.) Next, we install foam backer rod between the trim and the masonry, as well as between the trim and the window frame if necessary. Don’t skip this step; it increases the life of the sealant.
To seal the exterior of the window, we use a polymer sealant with a high solids content. These types of sealants are more expensive than their latex or silicone counterparts, but they remain flexible and retain their color much longer. And they’re available in hundreds of different colors, so matching the cladding on most windows is easy. In this application, we used OSI Quad.
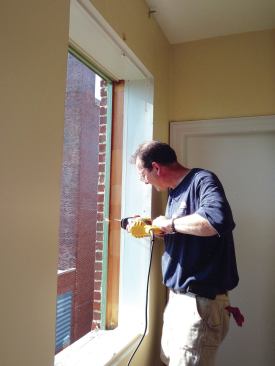
Interior Seal and Trim
We seal the interior of the window with low-expanding spray foam, which fills the void between the jamb and buck, and creates an effective air barrier to maximize the performance of the window. I’ve removed countless windows over the years where this step was omitted, or where fiberglass insulation was used instead of spray foam. The end results were windows that were always drafty around their perimeters because fiberglass by itself without an effective air barrier is practically useless.
The low-expanding foam we use is specifically formulated for window and door installations and, unlike other spray foams, it’s unlikely to cause jambs to bow when installed correctly. We opt for a professional spray gun because it accepts larger cans of foam, which are more economical and produce far less waste than the individual “straw cans” that you get at big-box home centers. The professional spray gun also makes it possible to use just part of a can and save the rest for use at a later date. And they offer much greater control than the individual straw cans.
Once the foam has cured, we remove any excess with a knife or scraper and install the interior trim. In most cases, we preassemble the interior casing as well as any necessary jamb extensions ahead of time in our shop. If we are dealing with drywall-return openings, as we were in this case, we just install transition trim to cover the small gap between the drywall and the window on all four sides. This trim is simply thin 1×3 or 1×4 stock cut to length and attached to the wall returns with 16-gauge finish nails, leaving a small reveal on the window jamb.
Because the trim stock is prefinished, we use color-matched putty to fill the nail holes. Then we run a bead of caulk in the joint between the trim and the drywall and along the corner created by the reveal. The last step is to put sash lifts on each window.