Working the Corners
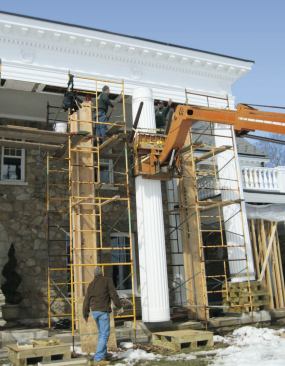

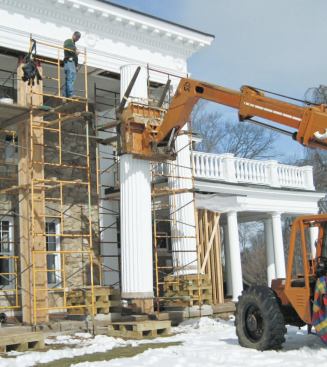
The author's firm had been hired to replace the bases of six 100…
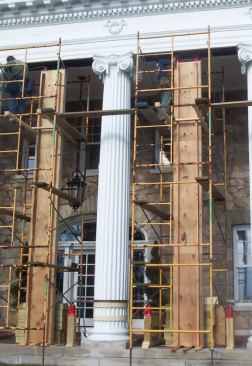
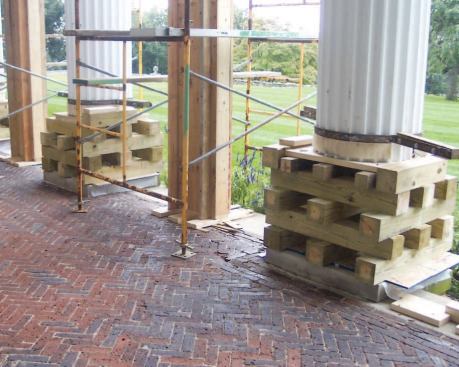
Because of all the scribed trim and intersecting rooflines, the columns at each end took a lot longer to install than the middle four columns. We knew we would have to move these columns back and forth to achieve a tight fit, so we first built staging platforms in front of and in the same plane as the corner plinths. We covered the staging platforms and the plinths with plastic laminate, initially thinking this would protect the limestone plinth from the wood and steel dowels we placed under the column to enable it to roll back and forth.
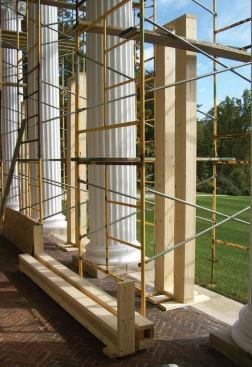
After a couple of moves, however, we realized that there was very little friction between the polycarbonate ring on the bottom of the column and the plastic laminate, and that two men could actually slide the column back and forth without using the dowel rollers. Suffice it to say, it took many moves back and forth to properly align and scribe the new columns to the existing moldings and rooflines, including the large built-up entablatures that intersected the columns at right angles, several porch railings, and some radiused copper flashings protecting the rubber roof membranes over the flanking porches.
We also had to carefully cut beam pockets to receive the ends of structural girders from the abutting porches. Plywood jigs helped us align the flutes with the previously scribed moldings. We actually practiced the cuts on an old column first, which allowed us to rehearse the entire process before trying it on one of the new columns.
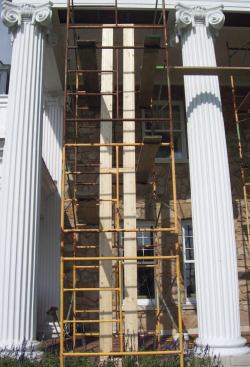
Structural plug. As mentioned above, one of the corner columns housed a structural post that supported the end of a porch girder. The girder had been added during a previous remodel, to support the extra load created when the rooftop deck was covered with heavy masonry pavers. The builder had inserted the post by simply cutting a wedge out of the column, then patching it back in.
We wanted to do something a little cleaner, so instead we built a structural “plug” that would be inserted into the column before we set it in position. We framed the plug like a small round room, with radiused top and bottom plates and studs in between. We used 3/4-inch pressure-treated plywood for the plates, and framed in a 5-1/2-inch by 5-1/2-inch Parallam post to support the girder. We also had to allow for the taper of the column, meaning the top of the plug was slightly smaller than the bottom.
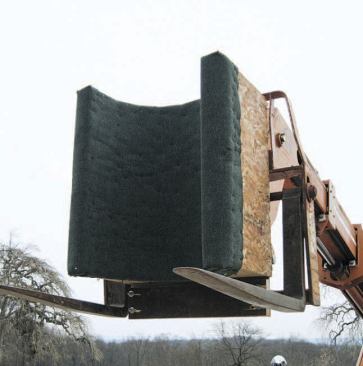
It was more than a little tricky to position the post in its exact orientation inside the column. First we had to lift the column into place “empty” to test fit it — to the end of the beam, the entablature moldings, and the porch railing. Once we were satisfied, we had to move the column back onto a set of horses so we could install the plug, which we did by pushing the snug-fitting assembly inside and securing it with LedgerLok screws driven from the outside.
Then the lift operator had to once again stand up the column with straps, attach it to the cradle, and move it back into place. When the column was close, we manually slid it into place. We had to twist it as it went so that the projecting beam landed inside the beam pocket (which was only 1/2 inch wider than the beam) and so that the flutes aligned correctly with the entablature and the porch rails. It was a challenge we don’t care to repeat.
Once the column was home, we secured it with the Simpson brackets top and bottom, then used long Spax screws to secure the porch beam to the post inside, tying everything together solidly.