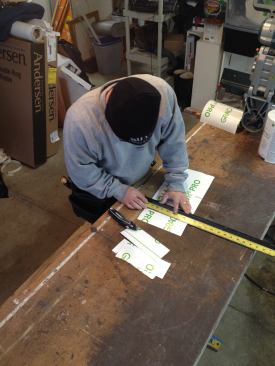
Before the old window is even removed, work begins in the warm c…
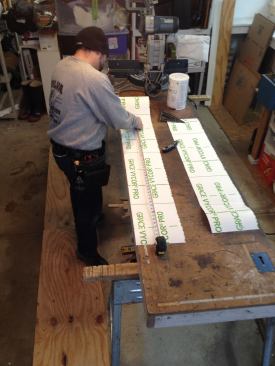
Before the old window is even removed, work begins in the warm confines of the shop where Manny pre-cuts all the lengths of flashing tape that he will need.
John Simmons
With a number of windows to install, it’s faster to cut duplic…
With a number of windows to install, it’s faster to cut duplicate lengths of tape, enough to cover every opening.
John Simmons
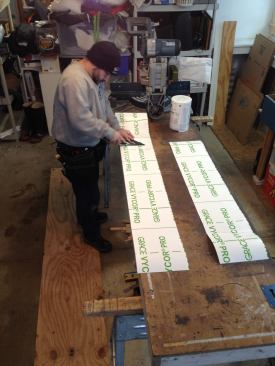
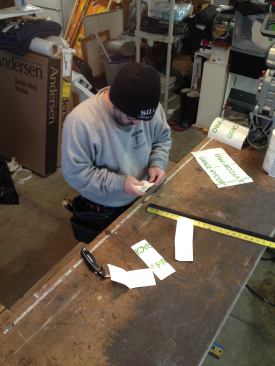
Marking the backs of the lengths of each flashing strip as they …
Marking the backs of the lengths of each flashing strip as they are cut helps in keeping track of the pieces. Each window will have its own “kit” to make the installation go as quickly as possible.
John Simmons
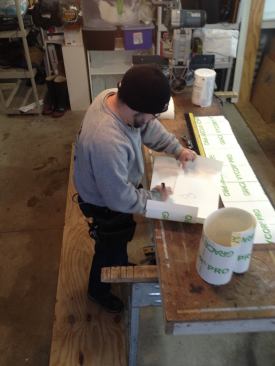
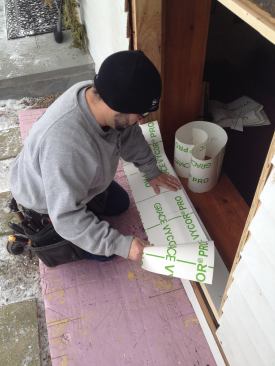
Vycor Pro is a “highly conforming,” non-asphaltic, butyl-mod…
Vycor Pro is a “highly conforming,” non-asphaltic, butyl-modified flashing tape. While it will stretch a little, it requires cutting small bow-tie shaped pieces to seal the two outside corners of the window opening. The first step is measuring for the individual strips.
John Simmons
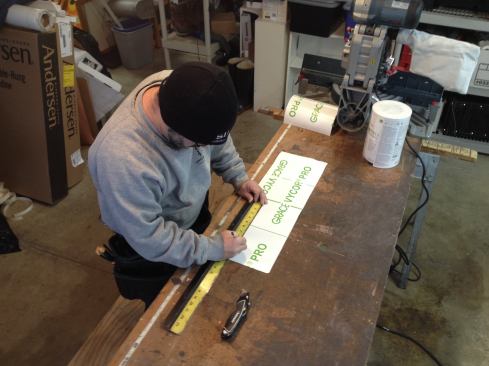
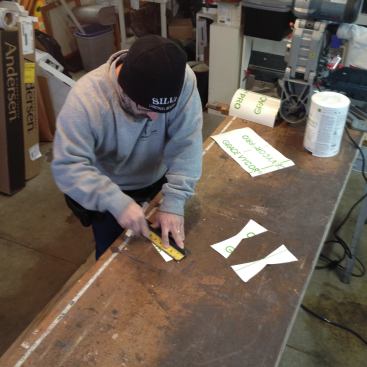
After marking out for a number of strips, Manny cuts the narrow …
After marking out for a number of strips, Manny cuts the narrow widths.
John Simmons
Folding each narrow strip in half lengthwise halves the cutting …
Folding each narrow strip in half lengthwise halves the cutting time.
John Simmons
Next Manny cuts the angles to form the bow ties. The widest part…
Next Manny cuts the angles to form the bow ties. The widest part of the tapered cut starts at the fold.
John Simmons
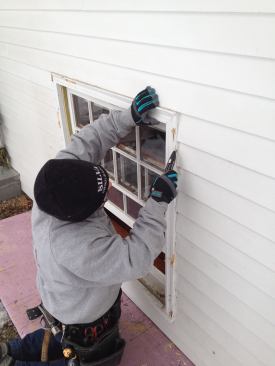
Once outside he slices back the caulking between the window and …
Once outside he slices back the caulking between the window and the clapboard siding.
John Simmons
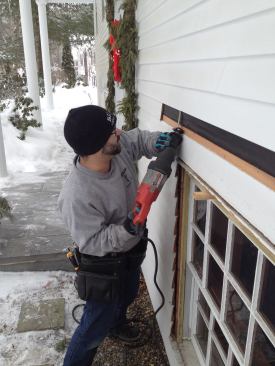
Manny peels back the siding above the window and then clips the …
Manny peels back the siding above the window and then clips the siding nails with a reciprocating saw. Note that he leaves the siding along the sides of the window intact.
John Simmons
The clapboards need to be taken out carefully to avoid ripping t…
The clapboards need to be taken out carefully to avoid ripping the tarpaper underlayment around the window.
John Simmons
With the clapboards above the window removed, the underlayment n…
With the clapboards above the window removed, the underlayment needs to be loose so that the new window flashing can tuck underneath it.
John Simmons
A pry bar slipped behind the clapboards along both sides of the …
A pry bar slipped behind the clapboards along both sides of the window pulls them slightly away from the walls. This will let the flashing tape tuck behind without removal of the siding.
John Simmons
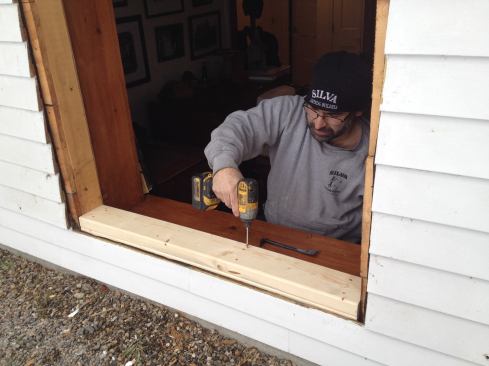
With the window removed, it’s time to work quickly. To get the…
With the window removed, it’s time to work quickly. To get the opening to the new RO size, Manny first builds up the sill with two layers of 2×6 stock. His earlier measurements of the windows confirm the RO space he has to work with.
John Simmons
Plywood strips ripped in his shop beforehand screw to the origin…
Plywood strips ripped in his shop beforehand screw to the original framing to build out the side jambs.
John Simmons
The taper of a length of primed clapboard material nailed flat o…
The taper of a length of primed clapboard material nailed flat on the sill will provide drainage for the opening.
John Simmons
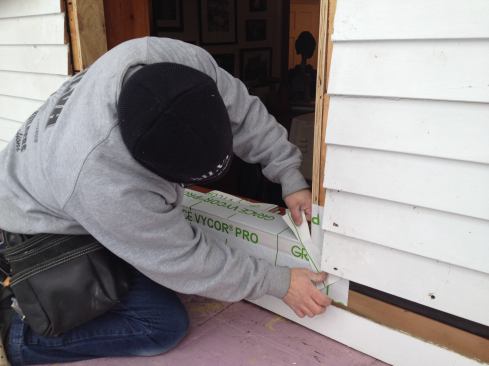
Manny unrolls the length of flashing tape that he pre-cut for th…
Manny unrolls the length of flashing tape that he pre-cut for the sill. He presses the tape into the corner and marks the location of the corner cuts.
John Simmons
Manny peels the backing off the flashing tape and presses it ont…
Manny peels the backing off the flashing tape and presses it onto the sloped sill. Using a shim shingle he then gently slips the flap of tape behind the clapboards.
John Simmons
The corner where the side flashing tape meets the sill tape is t…
The corner where the side flashing tape meets the sill tape is the most vulnerable for leaks. This is where the bow ties that were made in the shop earlier are used, stretching across the corner to seal it.
John Simmons
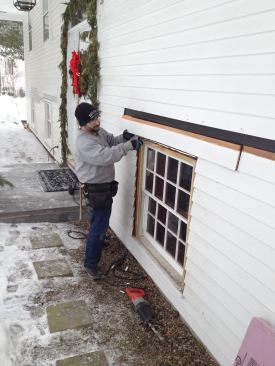
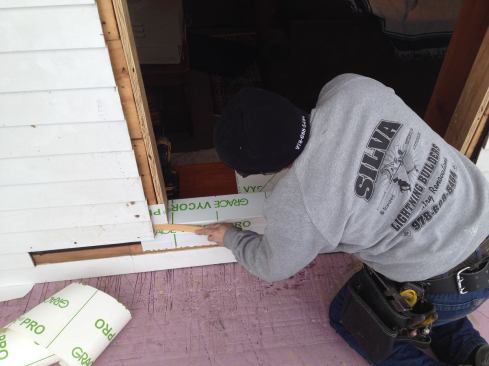
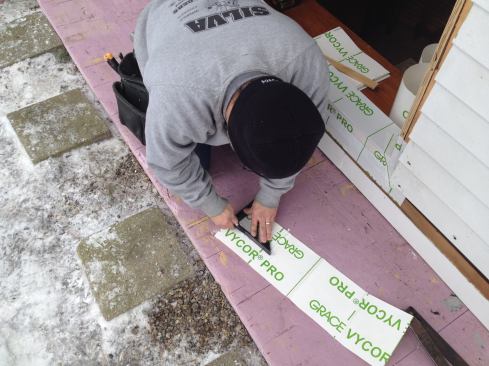
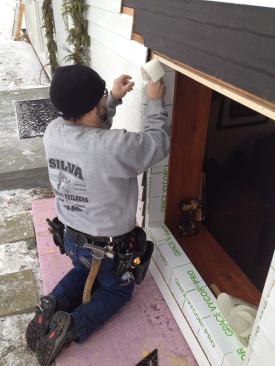
Covering the sides of the opening with flashing tape is easier i…
Covering the sides of the opening with flashing tape is easier if done in pieces. Here Manny makes an index mark for the top of the tape and marks the corner that will need to be cut.
John Simmons
It’s easier to make the cut that will allow the piece of flash…
It’s easier to make the cut that will allow the piece of flashing tape to wrap the corner before removing the backing from the tape.
John Simmons
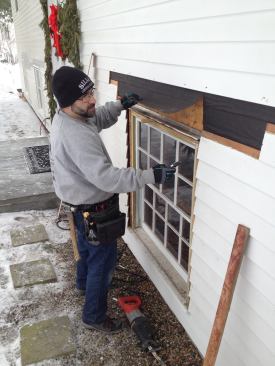
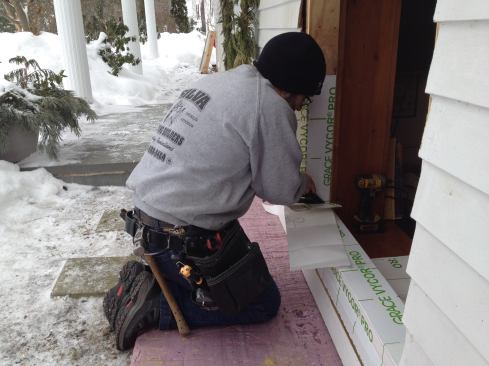
Manny peels the backing off the prepared piece of flashing, alig…
Manny peels the backing off the prepared piece of flashing, aligns the top with the index mark, and carefully presses the tape into place.
John Simmons
As with the sill piece, the tape is fed behind the ends of the s…
As with the sill piece, the tape is fed behind the ends of the siding so that it becomes integral with the home’s weather barrier.
John Simmons
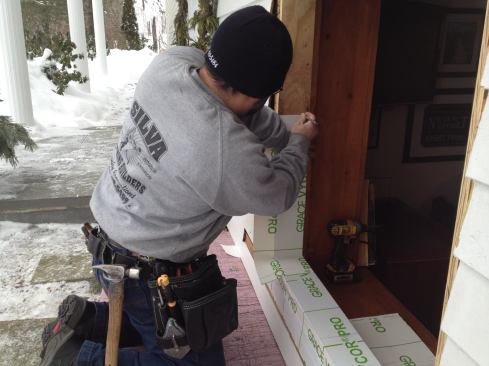
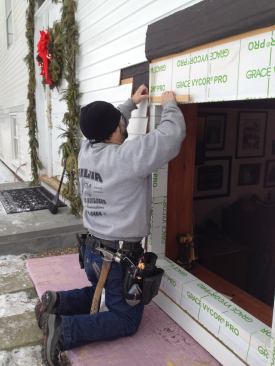
A second piece of flashing tape finishes the sides of the openin…
A second piece of flashing tape finishes the sides of the opening with the cut leg extending up and under the existing tar paper underlayment.
John Simmons
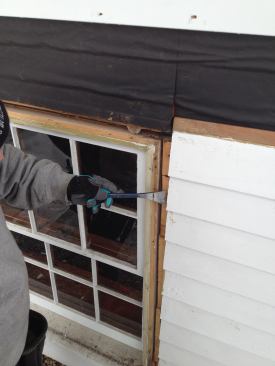
The flashing tape for the top of the window comes down flush wit…
The flashing tape for the top of the window comes down flush with the edge of the opening.
John Simmons
Like the rest of the pieces of flashing tape, the head flashing …
Like the rest of the pieces of flashing tape, the head flashing tucks behind the clapboard where it needs to.
John Simmons
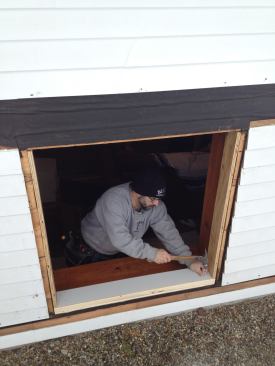
The opening is built out, taped and ready for the new window. Ca…
The opening is built out, taped and ready for the new window. Careful preparation meant that the inside of the house would be exposed to the elements for a minimal amount of time. Note that the existing underlayment over the window has been tacked up and out of the way.
Here in the Northeast we’ve been battling a brutal winter with record cold temperatures and record snowfalls. In the midst of all this, Manny Silva of Silva Lightning Builders in Andover, Mass., completed a project that involved removing and replacing the windows in an existing house. The trick at this time of the year was having the house open for the shortest period of time. The methods for accomplishing this are also consistent with the quickest and most efficient way to install the windows.
In Part 1 of a two-part slideshow on the topic, Manny preps the opening for the new window. The key was having things cut ahead of time and ready—good advice for working efficiently in any kind of weather. The complete article with text and photos will appear in the April issue of the magazine.
Emanuel Silva, a contributing editor to JLC, owns Silva Lightning Builders in North Andover, Mass. He can be reached at silvalightningbuilders@gmail.com.