
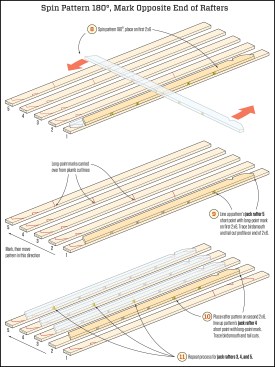
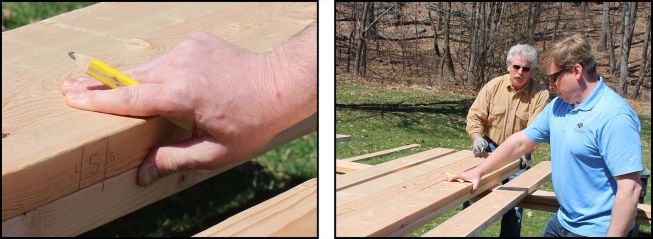
We spun the rafter pattern 180°, then marked the opposite ends of the 2-by stock, starting with first 2×6 in the group (see illustration, above). We placed the pattern with the short point of jack rafter “5” aligned with the long-point mark carried over from the plumb cut line of jack rafter “1” (photo, bottom left). I then traced the birdsmouth and rafter tail on the opposite end of the stock. Working down the line of rafter stock, we lined up the short points on our rafter pattern and marked the remaining four jack rafters (photo, bottom right). With this method, each piece of stock yields two jack rafters with only one plumb cut needed for each pair.
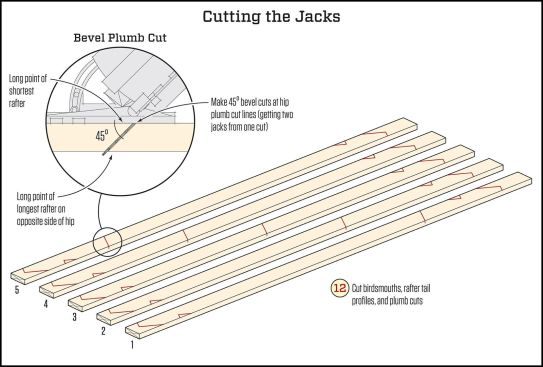
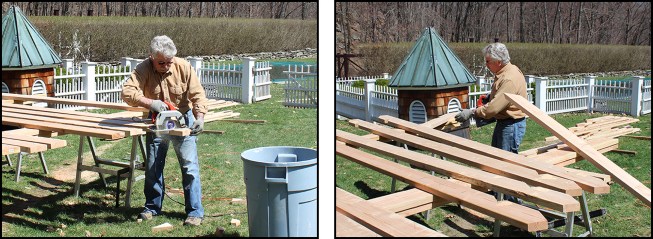
With the first group of 2x6s marked (see illustration, above), we repeated the process on the remaining three groups, after which I was ready to cut all my stock. The plumb cuts were made with a 45° bevel (see illustration inset, above). I lined up the 20 2x6s on my site bench (being careful to keep the four groups together) and cut all the birdsmouths and tails on one side (photo, bottom left), then on the opposite side. I made my 45° bevel cuts last, getting two jacks from one cut (photo, bottom right). From the first 2×6, I got the longest jack for one side of the hip and the shortest for the opposite side; from the second 2×6, the second-longest jack and the second-shortest, and so on, stacking the two sides of the hip in two separate piles.
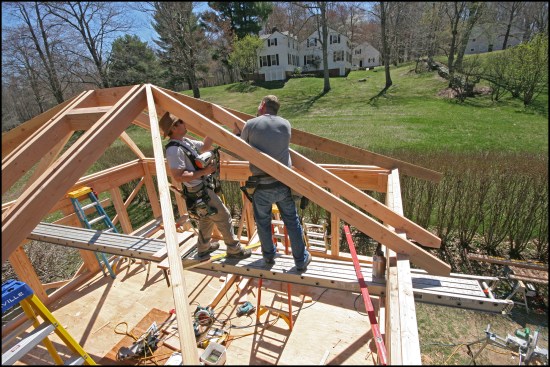
If you have a crew, they can be setting the ridge and hip rafters while a guy down on the bench (in this case, me) is preparing jack rafters and supplying them all their pieces to fill in the gaps. On big roofs, I typically show up on site a few days earlier and start cutting so when my guys are ready to frame the roof, they have plenty of commons and jacks ready to go.
One final, cautionary note: If you miss any of the steps I outlined in this article, you will be out of luck. My advice is to start out on a small roof to get the hang of it. My hope is you’ll find this fairly simple technique saves you a ton of time—and money—framing hips.