
Lee McGinley
I then snapped a line 4 inches in from the edge of the uphill ti…
Sheathing bottom up; shingles top down
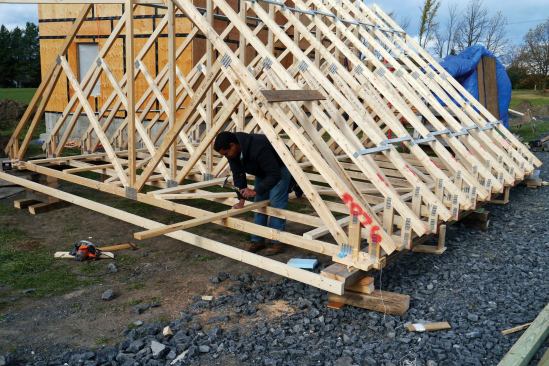
Sub-fascia was next. Beginning on the smaller roof, we used full-length 20-foot 2x6s to avoid the flexing that might occur with a joint.
I laid the sheathing out from the peak down, which left a 20-inch opening at the bottom of the smaller roof, giving us a grab hole to move the airborne roof into place, as well as allowing room for fastening the trusses to the top plate. Starting 20 inches up from the sub-fascia, we nailed on the first course of 5/8-inch plywood sheathing. When we got to the top, we reversed course and shingled from the top down.
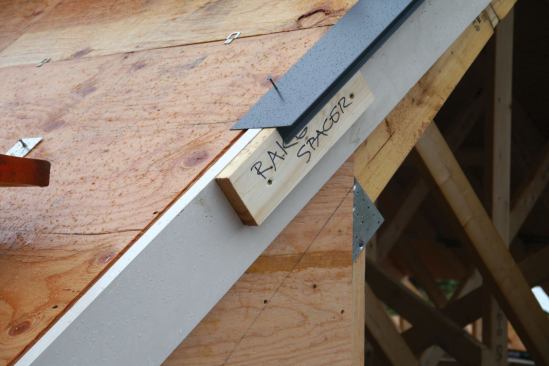
Since roofline trim would be installed when the house was clapboarded, I tacked on spacer blocks that simulated the width of the rake trim and eaves fascia before running the drip edge, which was nailed in place as we shingled.
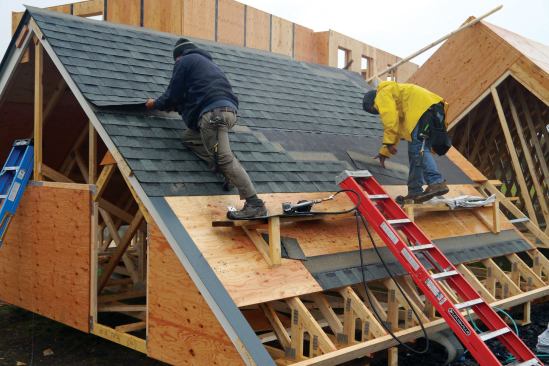
We laid out shingle courses from the eaves drip edge so weather exposure would be consistent. We measured down 6 feet from the peak, found the closest layout mark, snapped guide lines—which aligned the top edge of the shingle—and shingled up. The first course of shingles was nailed at the top so we could slip the last course from the next layout group under it before nailing off that course. We repeated the process until we were within a course of the opening at the eaves.
Before the lift, we ripped plywood the width of the eaves opening and tacked it onto the roof above the opening so it would be lifted by the crane operator. This way, we could easily reach it from staging on the wall brackets to complete the sheathing and shingling once the roof was up.
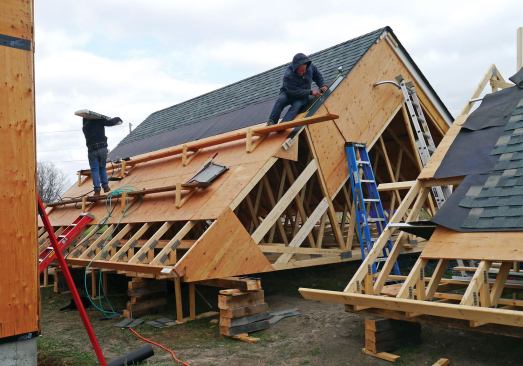
We followed the same procedure for the larger (26×28) roof, bracing it to the smaller roof. I was able to source 28-foot-long Douglas fir 2x10s, from which I ripped 2×6 sub-fascia. This eliminated any splices, reducing possible flexing. Drops from the rips were used for bracing. As a final step, we nailed in place a 2×10 catwalk.
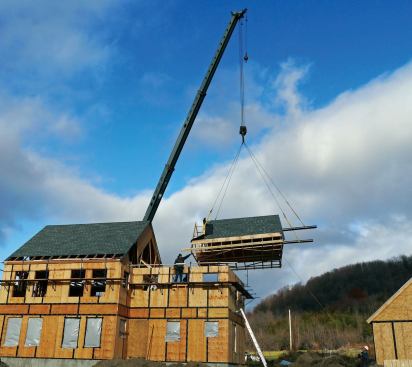
Up & Away
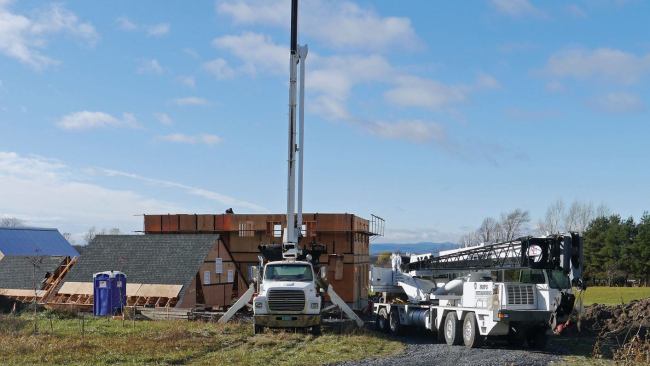
On roof-raising day, two cranes arrived at 8 a.m.; one small (10 tons) to set the steel rails, the larger (40 tons) to do the heavy lifting. Spectators came as well. Though this home is in the country, neighbors with digital camcorders appeared and passing vehicles slowed to a crawl so that drivers could watch.
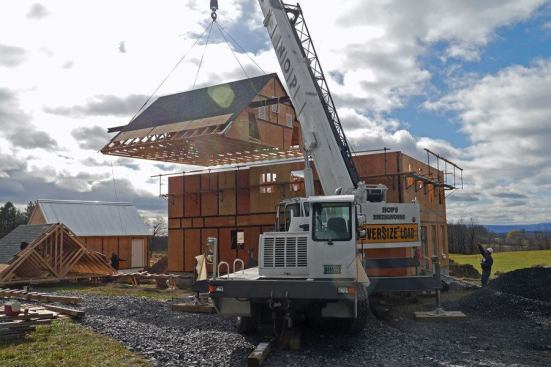
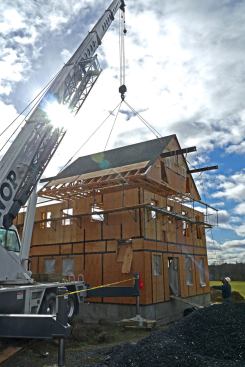
The big roof would be set first. Two steel I-beams carried its nearly 3-ton weight. Rigging this roof took three hours, setting it only 30 minutes. We had allowed ¼-inch clearance on either side of the wall framing for wiggle room. With two tag lines, we placed the roof with little effort.
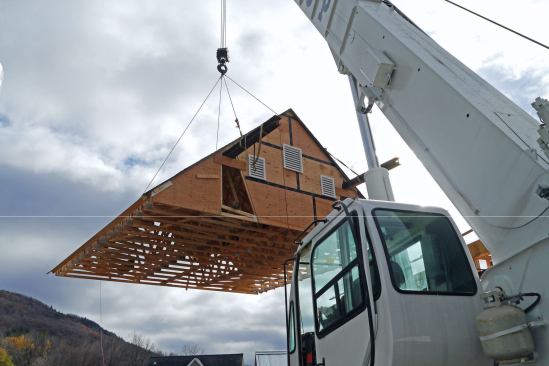
The smaller roof was hoisted on two 8-inch round pipes. Probably due to its lighter weight (less than 1 1/2 tons), this roof dodged back and forth before settling down.
By 2:30 p.m. the cranes were finished and we set about doing final tweaks with come-alongs and pipe clamps. We nailed hurricane clips to the inside and called it a day, after celebrating with a tiny fireworks display.
The following day we nailed off the ripped sheathing and shingled the eaves. It took about 12 man-hours total for two men working together to flash the smaller roof to the gable end of the larger roof section, despite the 20°F temperature.
Bottom Line
Building the roof on the ground was both a time and money saver (see Cost Comparison, sidebar), not to mention the added sense of security it gave us.
Had we elected to frame and shingle the roof in place, we would have sheathed the gable end trusses on the ground and lifted all trusses into place with a crane—a full day’s work for a three-man crew and crane. Getting the materials up there would have required two weeks’ rental of a Lull with a 56-foot reach, about $900 per week, plus delivery.
I’m beginning to like roofs again—as long as I can build them on the ground.
Three carpenters worked 2.3 weeks (306.5 worker hours) to build the roof on the ground, lift it into place using a crane, and finish up by nailing down the pre-cut sheathing and shingling the lower section.
Here’s the breakdown:
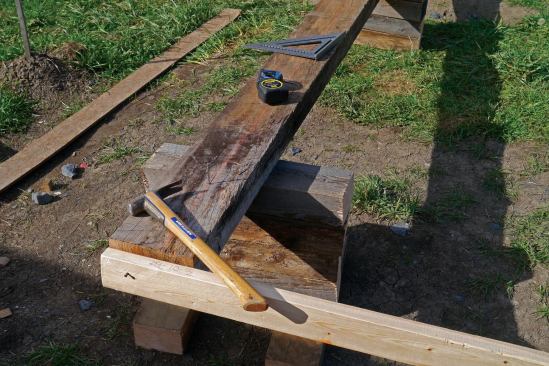
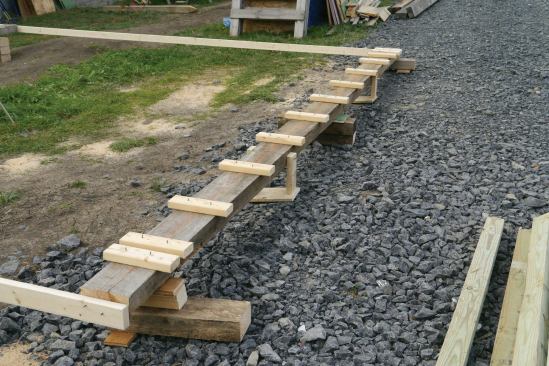
- Prep (set and level timbers, lay out trusses): 18 hours
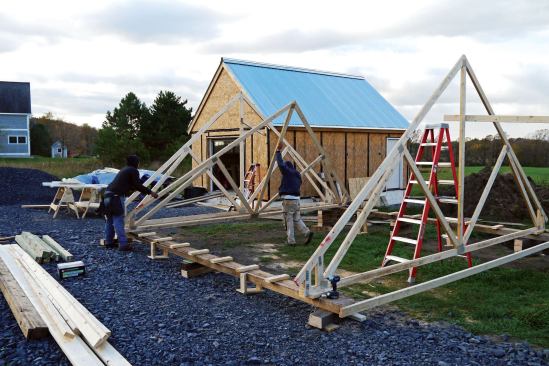
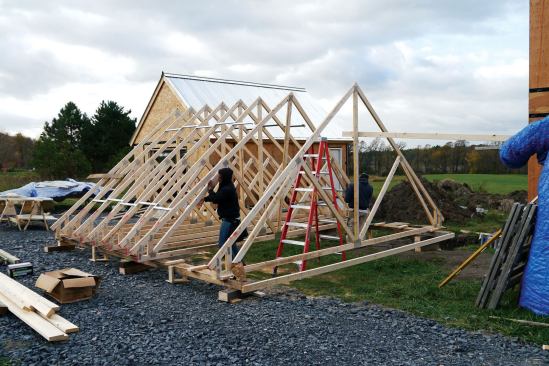
- Set trusses on timbers (includes bracing, sub-fascia, and sheathing): 80 hours
- On-ground shingling (place drip edge, shingle, apply ridge cap): 60 hours
- Sheath gable ends (frame up, cut and secure sheathing, attach mending plates): 32 hours
- Staging setup on house walls: 11.5 hours
- Crane prep and roof-setting (includes one day of tweaking after setting roof): 30 hours
- Nail off ripped sheathing fill-ins at eaves: 12 hours
- Fill-in shingling (shingle at eaves and install step flashing where small roof meets main house): 47 hours
- Staging take-down: 16 hours
The extra tasks we would have had to complete had the roof been built in place:
- Material handling: We would have had to move sheathing and shingles into place, either by hand or using a Lull. Although the site only sloped a bit (3 feet over 28 feet), a 56-foot Lull would have been needed to reach the ridge and a two-week rental would have cost $900 per week plus a $150 delivery and pick-up charge.
- Up and down: To access the work area, we would have had to climb stairs, then ladders to get to the roof.
- Daily setup, breakdown time: Lugging pneumatics and compressors to the second floor would have added two to three worker-hours daily.
- Slower pace: While my crew works efficiently and anticipates tasks, the cutting and passing back and forth of materials and equipment—think pneumatic hoses—would have slowed us down.
The one task that would have taken less time if we had framed in the conventional way was sheathing the gable ends on the ground and installing the louvers. We would have used typical gable end trusses for this. I’m guessing it would have taken three of us four weeks to build the roof in place. Add the additional labor and Lull charges (but subtract the crane charges for lifting the roof) and my extra out-of-pocket expenses for building on the ground would have been north of $4,000.