Window Replacements
The RRP’s 6-square-foot interior and 20-square-foot exterior exclusions don’t apply to wood-window replacement jobs. (Bare aluminum and unpainted vinyl windows don’t fall under the rule.) There’s a bit of a gray area when sash are being replaced by window inserts, since only the stops are disturbed; but most certified instructors consider this a full replacement requiring RRP compliance on both the interior and exterior.
Fortunately, compliance is easy: Inside the house, I just cover the floor with plastic extending 6 feet in all directions from the window I’m working on; outside, the plastic must cover the ground at least 10 feet in all directions underneath the window. I close doors, vents, and other windows within the containment area and cover them with plastic, move (or cover) furniture, and put up my warning signs.
One technique that can reduce compliance costs for window replacements and other small interior projects is to set up vertical containment. A number of manufacturers now offer reusable dust-barrier systems that speed this process. Another method that works on some window replacements is to simply seal off the window and the wall that it’s in – from floor to ceiling and from wall to wall – with a self-adhering plastic (Grip-N-Guard, 877/454-7477, gripnguard.com). This might work well in a window at the end of a hallway, for instance. If I can replace the window working from the outside, I don’t have to cover the floor with plastic and do interior cleanup afterward.
Exterior Jobs
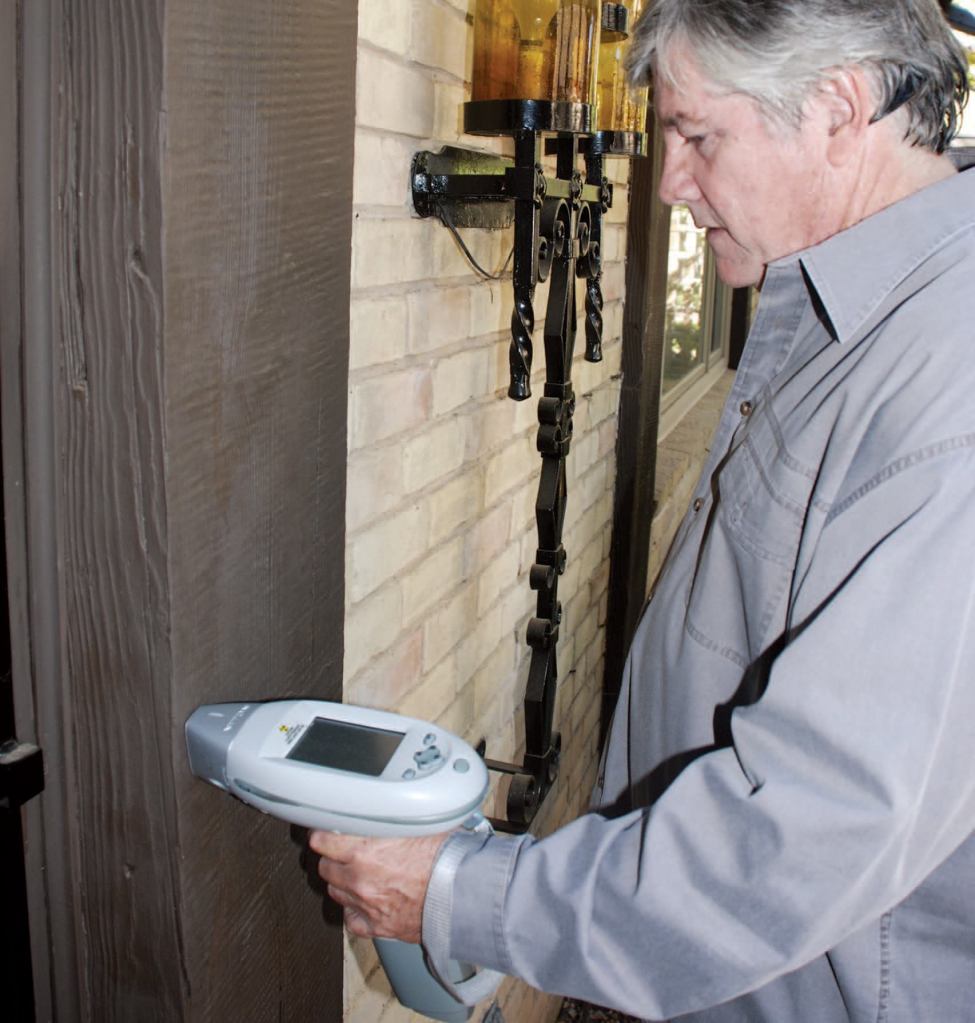
Not all exterior jobs have high compliance costs. For example, on a recent bay window repair (see photos), all I had to do was cover the ground with 6-mil plastic, make sure doors and windows within 20 feet of the work area were closed, cover the doors with 3.5-mil plastic, and put up my warning signs.
When I was done, I simply wrapped the debris in plastic, carried it to my truck for disposal, and cleaned up the work area. It required about an hour of additional labor and $15 in additional material costs.
On larger jobs, we carefully plan the containment area to eliminate unnecessary steps. For example, when we’re removing exterior siding or trim, I try to locate the dumpster or my pickup inside the containment area so that we don’t have to wrap up the demo waste or put it into trash cans. This means the plastic sheeting has to be large enough to completely surround the dumpster or truck. The advantage is that we can fill the dumpster or truck bed, then cover the whole pile of debris at once before removing it from the containment area. Vertical containment on exterior projects is now required when the property line is within 10 feet of a painted or stained surface that is being disturbed, thanks to a change to the RRP that took effect October 2011. Scaffolding covered with plastic sheeting would meet this requirement but would be labor-intensive, so we’ve been experimenting with some less-expensive approaches. So far our favorite is a quick and dirty 2×4 frame that can be propped against a gutter or roofline (see photos). We attach the plastic to the house side of the frame, which means we don’t have to clean the 2x4s and can easily disassemble and use the frame on other projects.
Dean Lovvorn is a contractor, certified RRP trainer, and certified lead inspector in the Dallas–Fort Worth area.