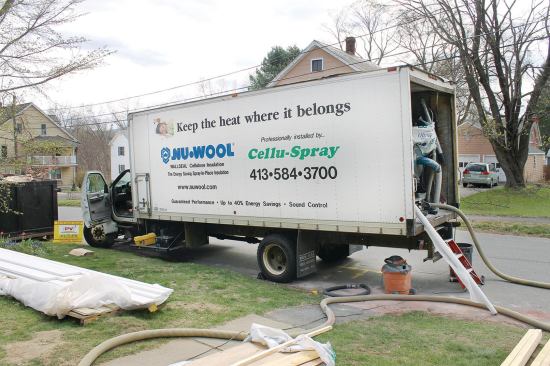
This truck is equipped to install either damp-spray or dense-pac…
Blowing Wall Cavities
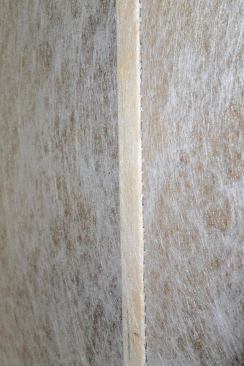
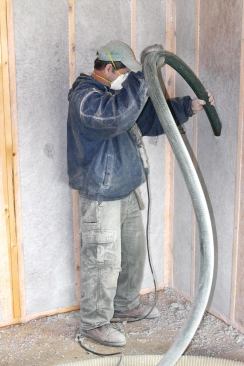
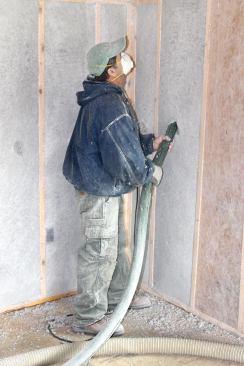
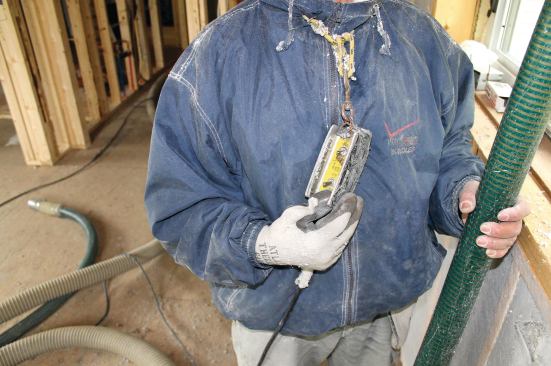
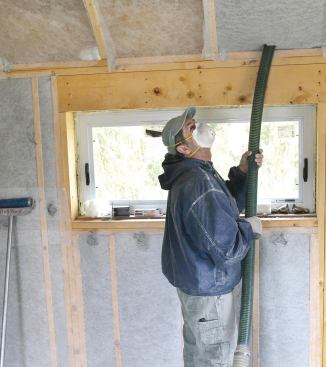
For most applications, the 3-inch hose from the truck is stepped down to 2 inches at the business end. Hoses as small as 11/4 inch can be used for narrow cavities (tighter cavities are filled with low-expanding one-part spray foam). The operator makes a small slit in the netting just big enough to provide an entry point for the sharply angled tip of the hose, which he pushes to the bottom of the cavity. A control box on a lanyard around the operator’s neck contains a combination switch that operates the blower and the cellulose feed mechanism. When both are turned on, cellulose quickly begins flowing into the netted cavity.
Judging when the correct density is reached is a matter of feel and isn’t easy to describe, but if the pressure on the blower is set correctly, the flow of material begins to slow and the sound will change, alerting the operator to begin withdrawing the hose while keeping the cellulose flowing. Once the cavity has been halfway filled and the end of the hose is just inside the insertion hole, it’s redirected upward, shoved to the top of the cavity, and then withdrawn as it fills from the top back to the middle.
When the cavity has been packed full all the way to the insertion point, the operator shuts off the blower, shoves the hose into the next cavity over, and repeats the process. There’s no need to plug the entry holes in the netting; properly installed dense-pack is so compact it won’t fall out on its own even if the netting is removed.
All of that happens fast, practically in one continuous motion. It has to, because if the hose is left in one place too long, the material inside it will begin to back up and bind together. An inexperienced or careless operator can pack the hose full all the way back to the truck, creating a mess that may take hours to clear.
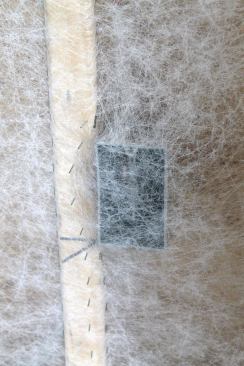
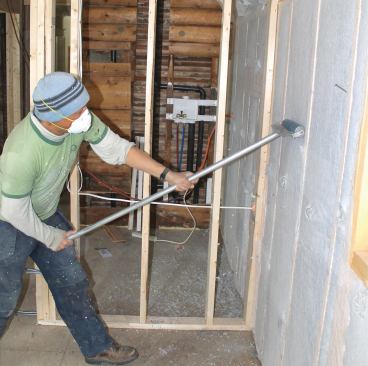
You can tell when a cavity has been filled to the right density by feeling it through the netting with the palm of your hand. It should be solid but have some give to it, somewhat like a firm mattress. If everything has been done right, the netting shouldn’t bulge noticeably beyond the framing. But some bulging is unavoidable, so each cavity has to be rolled flat with a heavy aluminum roller — a task we jokingly describe as the company fitness plan. A couple of quick passes up and down is usually all that’s needed, but it adds up when you’re talking about a whole house, especially if there are sloped or flat ceilings to deal with.
Rolling may seem like an afterthought, but it’s something we take seriously. The one guy who can really hurt my business is the sub who comes on the job after I leave. If the drywallers complain to the GC about having to flatten the insulation themselves, it makes us look bad. Worse, if they ignore slight bulges and just hang the drywall over them, the pressure exerted by the cellulose will eventually cause the fasteners to pop through the paper facing, especially with 1/2-inch-drywall. That makes us, the drywall crew, and the GC all look bad. Taking the time to roll the cellulose really flat saves trouble all around.
Working Overhead
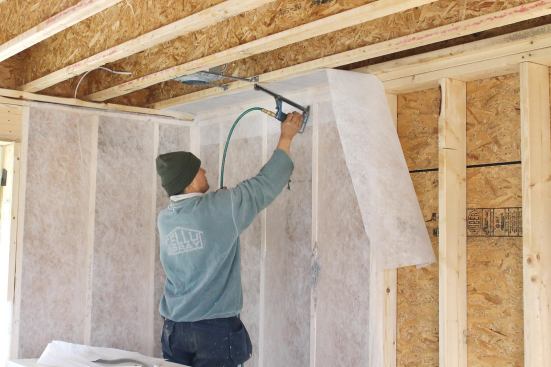
Blowing a cathedral ceiling is similar to working on a tall wall, except that there’s usually no way to start in the middle of the bay. The nozzle ordinarily goes in just above the plate and is pushed all the way to the peak, with work proceeding from the top down. If there’s no ridge board at the peak, we’ll push the nozzle high enough to let us blow material over the top and down the other side. This will fill the cavity most of the way, but we will still need to come into it again from the other side to “touch up” the density to the right level.
When the rafters are spaced 24 inches or more on-center, we make two passes along each cavity, because the natural curvature of the hose causes it to flop to one side, depositing more material there than on the back side of the curve. Once the hose has been withdrawn the length of that side, we twist it so the curve faces the other way and push it back to the peak, then pack the cavity to its final density.
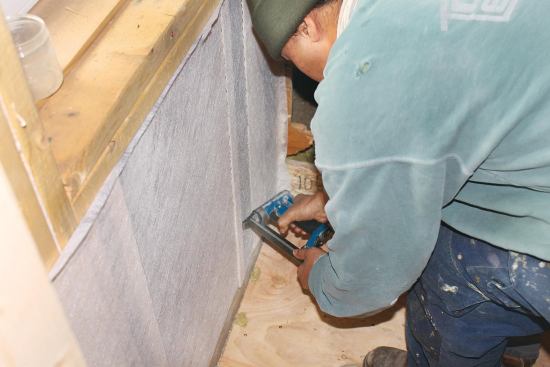
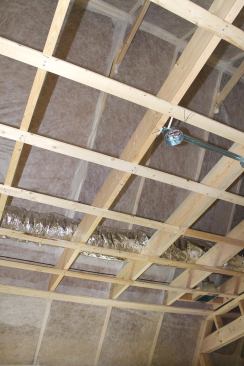
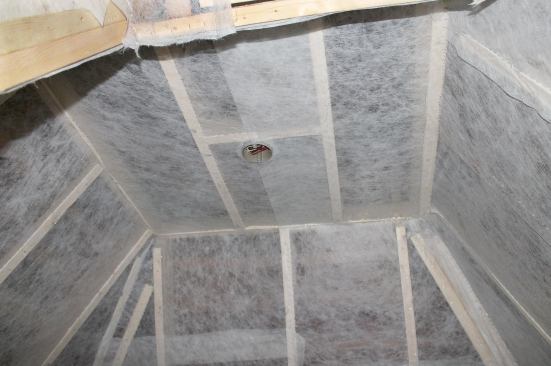
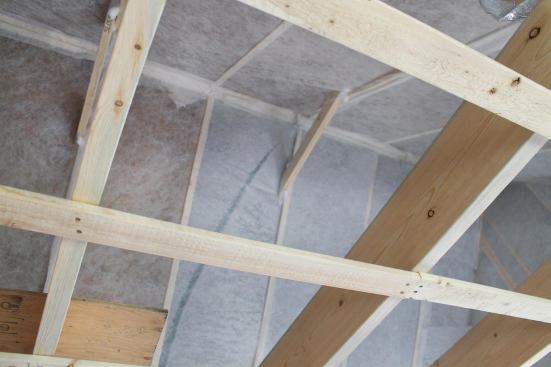
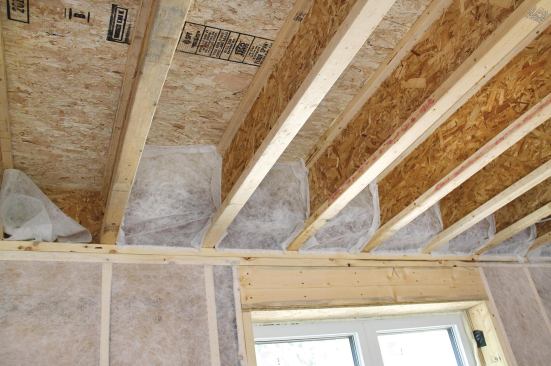
It’s generally cheaper to insulate a ceiling with loose-fill than it is to dense-pack it, but overhead rafter cavities are sometimes insulated for soundproofing, or if an attic will be floored to provide storage space. Gravity makes it more likely that the insulation will bulge beyond the framing in the ceiling, but it’s difficult to use the roller overhead. To avoid putting any pressure on the ceiling drywall, we have the builder strap the ceiling after we’ve stapled netting to the undersides of the joists, but before we blow the cavities. That restrains the cellulose and ensures that any bulges that do form won’t push out against the drywall.
Another benefit of dense-packing the ceiling is that it insulates and helps air-seal the band joist area at the same time. Even if we’re not going to do the entire ceiling, we’ll usually net and fill between the two outermost joists that run parallel to an outside wall. To insulate and air-seal the spaces between the joist ends, we’ll often create “pillows” of material by folding and stapling netting into place before filling it with dense-pack. This requires some time-consuming origami, but it lets us do this part of the job on our own schedule with materials we already have available. It often means that we don’t have to bring in a foam sub at all, which saves time and money in the end.
Jonathan Tauer owns Cellu-Spray Insulation in Florence, Mass.