Pipe Penetrations
I like to use tape to seal pipe penetrations through drywall, because it can withstand the inevitable wiggling, pushing, and pulling when the plumber installs the fixtures. A more brittle sealant like foam is too likely to crack and leak air in this situation.
I like flexible Rissan tape for this application, though I’ll sometimes use another tape if that’s what I already have in my dispenser. For a half-inch supply pipe, I cut two short pieces of tape and wrap them around so that they extend well up the pipe and overlap one another. Larger DWV pipes may require a half-dozen pieces or more to get a good seal all the way around.
Tape is also my first choice for sealing pipes that penetrate the floor, especially when the plumbing will be enclosed in a partition wall. This requires roughing in the pipes before the partitions have been built, but it prevents the air leaks between the plate and subflooring that result when pipes are sealed where they emerge from the plate. If there’s not enough room overhead to drill the plate of a preassembled partition and lift it over the pipes, I’ll notch the plate instead. To accommodate a larger DWV pipe, it’s sometimes easiest to leave out a short section of plate altogether.
If the partitions are already in place, it’s often possible to seal them from the basement or crawlspace. Another alternative – not ideal but better than nothing – is to paint the crack between the subfloor and partition plate with duct mastic or cover it with tape.
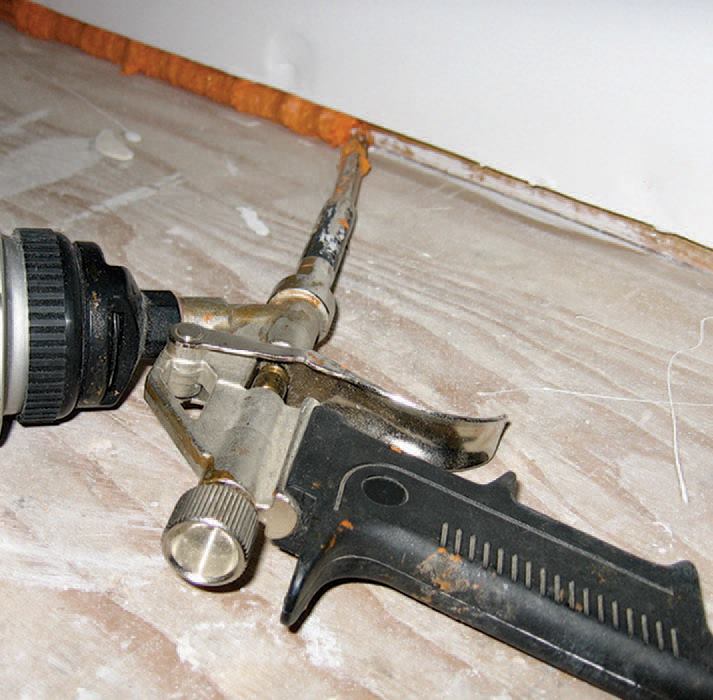
Larger subfloor openings – like the 6-by-12-inch hole that plumbers leave behind after installing a bathtub P-trap – are best sealed with rigid foam and caulk. I first cut the rigid foam to fit, then bed it in a continuous bead of spray foam applied to the underside of the subfloor. Finally, I apply more foam where the pipes pass through the sheet material.
Wires, Electrical Boxes, and Fixtures
My favorite electrical box for new construction is made by Airfoil (airfoilinc.com). It has a wide flange around the outside that can be caulked before the drywall is hung to provide a positive seal around its perimeter. The wires leading into the box pass through two narrow chambers that are open to the front. After the drywall is hung and the receptacles have been wired, the open chambers are filled with foam to completely seal the box. The only drawback to Airfoil boxes is that they’re expensive, so I use them mostly on outside walls, where air leaks are most prevalent.
The edges of a conventional plastic box can be sealed to the drywall by running a few strips of tape around the inside of the box, leaving a narrow strip extending beyond it. The resulting flanges are then folded over and adhered to the drywall. With a little practice, it’s possible to get a good seal without extending the tape beyond the edges of the cover plate. I like to use oversized cover plates because they allow for better tape coverage at the drywall.
Metal boxes are problematic because they often contain open seams and always have holes. If they’re already installed and wired in a retrofit project, there’s usually not much you can do unless you have access to the back, in which case they can be taped. If I have to install a new metal box (I recently worked on a project where the homeowner insisted on metal boxes throughout the house), I’ll tape around the wire penetrations and seal the box to the drywall with more tape.
Individual wire penetrations through a top or bottom plate are easy to seal with a shot of foam. In areas where there will be a series of wires entering a single stud cavity, I cut a strip of plywood or OSB that’s just long enough to fit between the studs and temporarily tack it to the plate with a couple of screws. After the electrician has drilled the holes and run the wires, I remove the screws, lift the plywood strip slightly, and inject the space between it and the plate with foam. Hemmed in by the sheathing in back, the studs on either side, and the plate and plywood above and below, the foam expands to completely enclose the wires and seal the holes. Excess foam that spills out the front can be trimmed off after it sets up.
Ceiling cans. Conventional recessed ceiling cans leak huge amounts of air, and even supposedly airtight cans usually have holes in them. I seal up any holes in the body of the airtight cans with foil tape and close the gap between the can and the ceiling drywall with Wigluv or Rissan tape. Some new retrofit LED cans have an airtight module that actually is reliably airtight. The interface of the fixture and the drywall can still leak air, though. When installing this type of can, I create a reliable seal by rolling a “shoelace” of duct putty between my hands and adhering it to the inside of the trim ring/diffuser, since its design makes it impossible to seal with tape.
