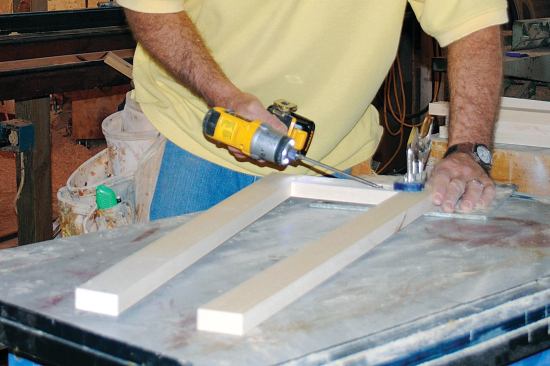
The tapered center section of the newel is made up of four frame…
The tapered center section of the newel is made up of four frame-and-panel assemblies. I transferred the dimensions and angles for the stiles and rails from my full-scale drawing, cut them to width and length from 3/4-inch poplar, and joined them together with pocket screws and glue.
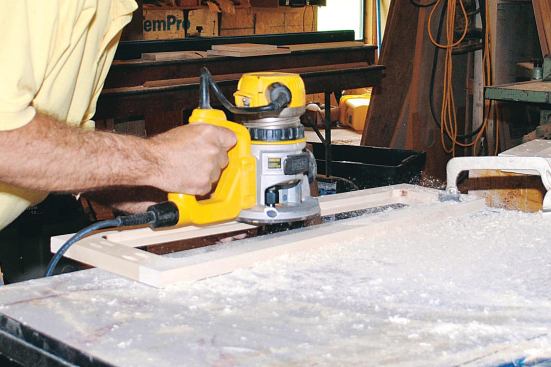
I then cut a 3/8-inch rabbet around the inside of each frame wit…
I then cut a 3/8-inch rabbet around the inside of each frame with a router to accommodate the plywood panels, which I would make from readily available 3/4-inch birch plywood.
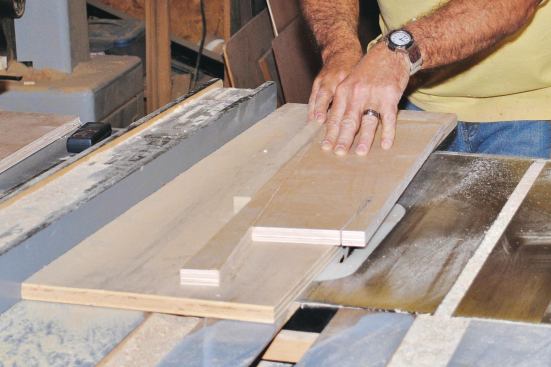
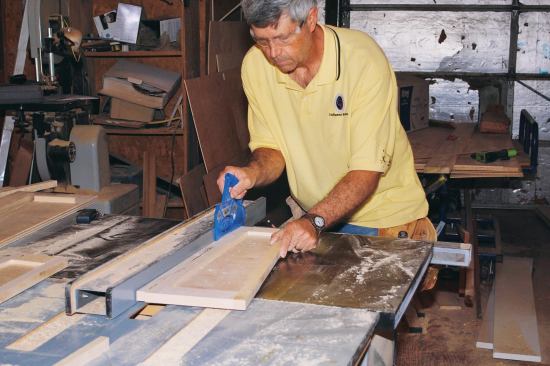
To safely cut the tapered 3/4-inch plywood panels, I made a plyw…
To safely cut the tapered 3/4-inch plywood panels, I made a plywood sled for the table saw and used the drop from the first angled cut as a spacer for cutting the remaining edges.
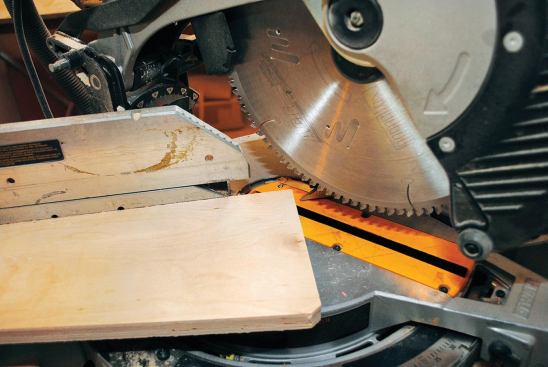
Instead of squaring the corners of my rabbet in the back of the …
Instead of squaring the corners of my rabbet in the back of the frame with a chisel, I clipped the corners of each plywood panel with the miter saw.
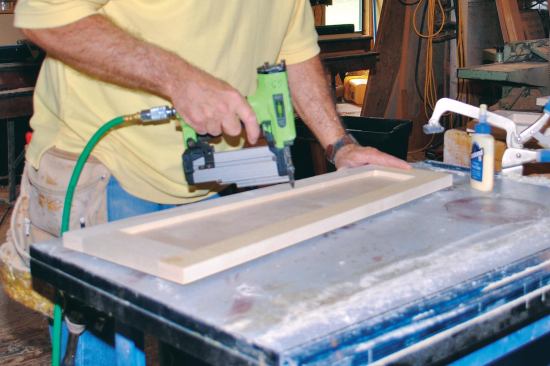
I applied yellow glue to the rabbets, dropped the panels in plac…
I applied yellow glue to the rabbets, dropped the panels in place, and secured them with headless pins while the glue dried.
In preparation for assembly, I ripped 3/4 inch from the 1-7/8-in…
In preparation for assembly, I ripped 3/4 inch from the 1-7/8-inch-wide stiles of two of the frames. I also cut a 15-degree angle on the bottom rail of each frame, using the table-saw miter gauge and the wedge-shaped spacer to hold the frame square to the blade.
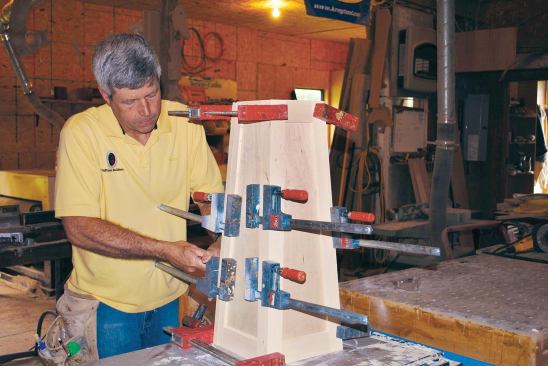
I glued the four frames together, pinning them to each other wit…
I glued the four frames together, pinning them to each other with my 23-gauge headless nailer to hold the assembly in place while I set up my clamps.
The clamps provide the pressure, while the headless pins keep th…
The clamps provide the pressure, while the headless pins keep the panels aligned.
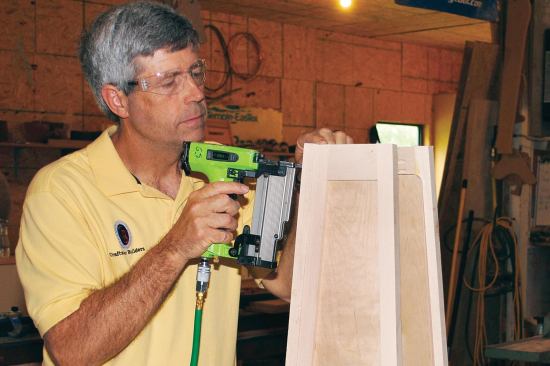
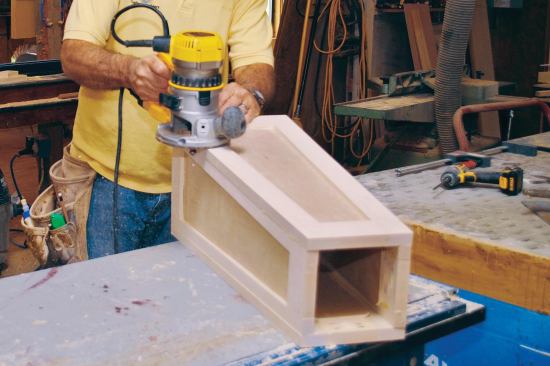
Setting the two wider frames slightly proud of the two narrower …
Setting the two wider frames slightly proud of the two narrower frames made it easier to flush-trim the joints with a router after the glue dried; this resulted in better-looking joints. I cleaned up the 26-inch-high assembly with a random-orbit sander and 120-grit paper.
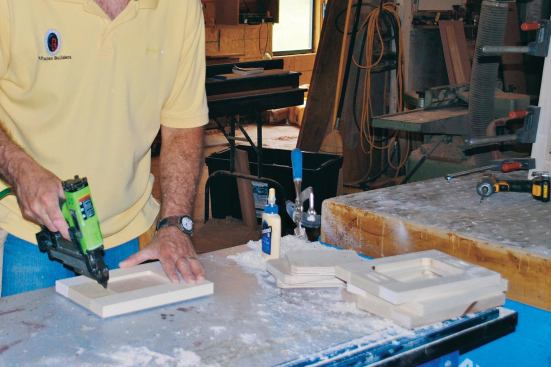
While the tapered glue-up was drying, I made the four rectangula…
While the tapered glue-up was drying, I made the four rectangular panels for the 9-inch-high upper assembly in the same way.
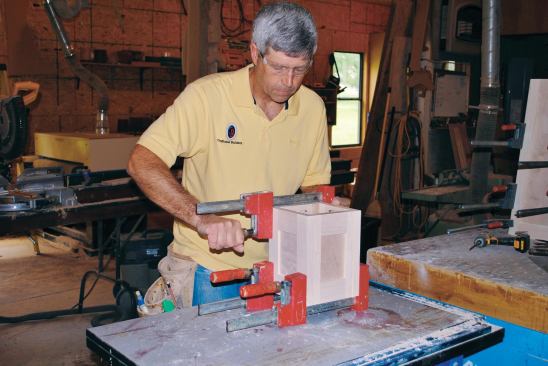
I again used headless pins to keep the panels aligned as I clamp…
I again used headless pins to keep the panels aligned as I clamped them together.
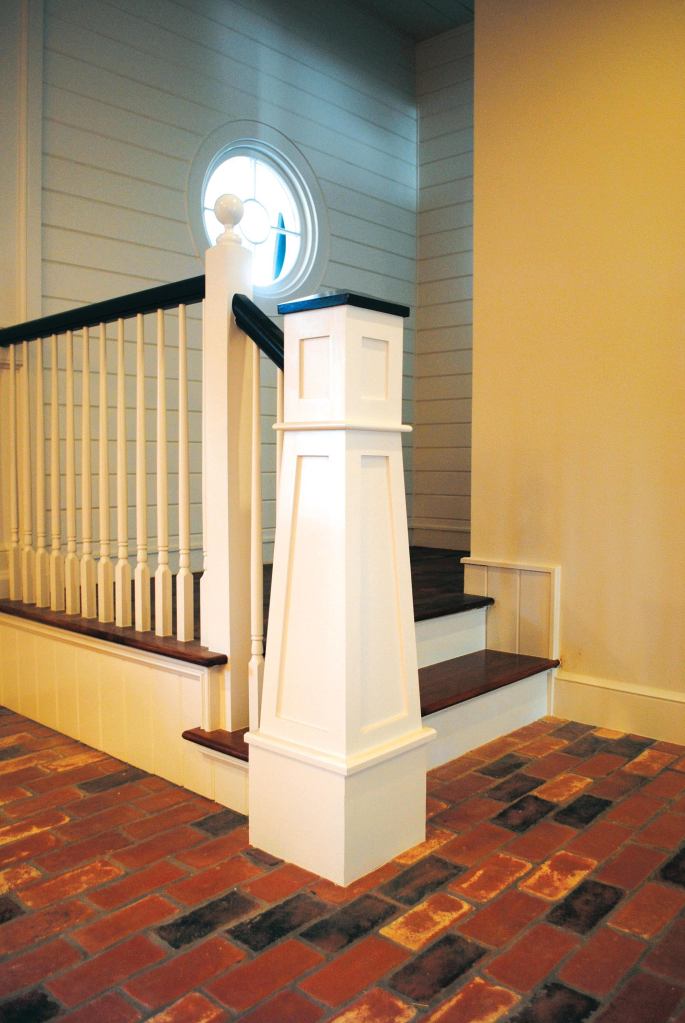
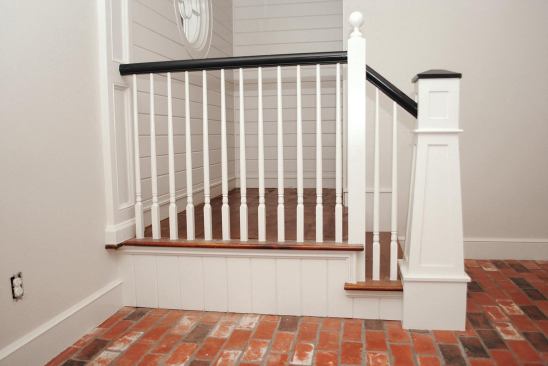
Later, after I was finished installing the treads, handrail, and…
Later, after I was finished installing the treads, handrail, and balusters for the landing, my painter added the finishing touches.
The final phase involved fastening the newel post in place and adding the decorative frame-and-panel base to conceal the structural connections. In the accompanying slideshow you’ll see how I:
Set blocking and cleats on the floor and first stair riser to provide adequate structural support for fastening the newel post in place
Fastened the base of the newel so that it won’t budge
Finished the base of the newel post with panels and chamfered trim
Gary Striegler, a JLC contributing editor, owns Striegler and Associates in Fayetteville, Ark., and teaches workshops at the Marc Adams School of Woodworking.